 EN
EN  Romana
 Magyar
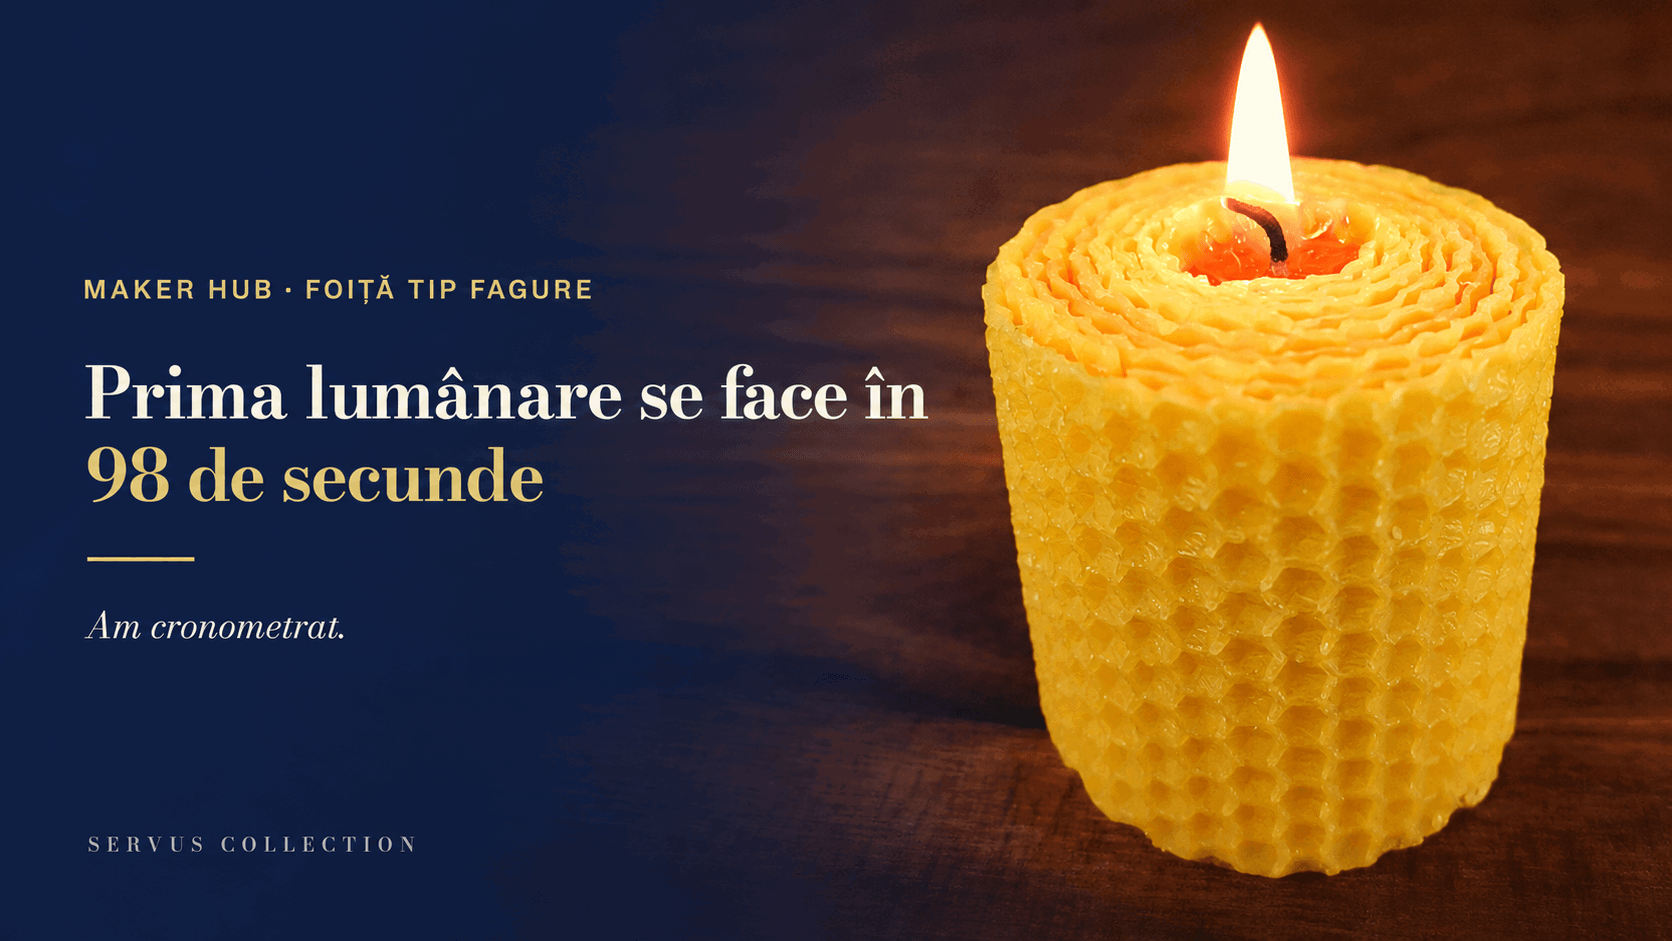
I timed it, so I wouldn’t be guessing. I had the materials on the table, a sheet cut into four and the wick waxed beforehand. I warmed it, rolled it, pressed the base down and lit it. 98 seconds from the first move to the flame. It came out a candle 5.5 cm across and 10 cm tall.
I’ll also tell you under what conditions, because otherwise I’d be lying to you: not 98 seconds from the moment you open the parcel. 98 seconds of rolling, with everything ready.
But that’s about all you have to do. You prepare and you roll. You don’t melt the sheet wax, you don’t need a thermometer, you don’t need a mould, you don’t wait until the next day for it to cool. At the end you’re holding a candle that burns.
Not a good one. But it burns.
I’m Sînziana, from the Servus workshop in Maramureș, Romania. The second one took just as long, and so did the third. It took about a hundred before I made one I’d have given to a customer.
All from the same wax, because with honeycomb wax sheets you don’t throw anything away. You unroll it and start again.
This article is about the second part.
In short: the number of sheets gives you the diameter: 1 sheet = Ø 2.5 cm, 3 sheets = Ø 4.5 cm, 4 sheets = Ø 5.5 cm. The first one won’t come out right: between too loose (the wax runs and no melt pool forms) and too tight (your fingers sink into the honeycomb) there’s a narrow window. But, unlike pouring, you don’t lose the material: you warm it gently, unroll it back to where you went wrong and roll it again, straight. One kilogram = 10 sheets of 41 × 26 cm.
What happens if you roll it crooked
Nothing. You warm it gently, unroll it back to where you went wrong and roll it again, straight. The wax is all still there. You’ve lost two minutes.
Pouring doesn’t work like that. Wax poured at the wrong temperature is dead wax. You remelt it, you lose the fragrance, you lose the batch, and in the morning you look at it and there’s nothing you can do. With rolling there’s no batch. You have a sheet that you unroll.
That’s why it’s a good material to learn on. Not because it comes out right the first time, because it doesn’t. Because it costs you nothing when it doesn’t.
How many sheets you need: the table from the workshop
A honeycomb wax sheet is a rectangle of 41 by 26 centimetres. The 41 cm side gives you the height of the candle: that’s where you cut it as tall as you want it. You roll along the 26 cm side, and that gives you the diameter. The more sheets you lay one on top of the other, the thicker it comes out:
| Sheets | Candle diameter | Wick |
|---|---|---|
| 1 | 2.5 cm | no. 5 |
| 2 | 3.5 cm | no. 5 |
| 3 | 4.5 cm | no. 5, see below |
| 4 | 5.5 cm | no. 7 |
| 5 | 6 cm | no. 7 |
| 6 | 6.5 cm | no. 7 |
| 7 | 7 cm | no. 7 |
One kilogram means ten sheets of 41 × 26 cm. That’s two candles of Ø 5.5 cm or three of Ø 4.5 cm, plus the small candles from what’s left after cutting.
Why no. 5 at 4.5 cm, when the data sheet says 20–40 mm
The manufacturer’s data sheet gives no. 5 for Ø 20–40 mm and no. 7 for Ø 50–80 mm. Only those ranges are worked out for poured candles.
A rolled candle has air between the layers and weighs almost half as much at the same diameter. At 4.5 cm in diameter and 40 cm tall, poured paraffin weighs about 600 grams. Rolled honeycomb wax sheet, around 310.
Less wax for the wick to draw up, so the same wick can carry more. That’s why no. 5 works on a rolled 4.5 cm candle, even though it wouldn’t on a poured 45 mm one.
The data sheet isn’t wrong. It’s written for a different kind of candle. In the workshop we do it the way I’ve written above.
What actually goes wrong
1. You rolled it too loose and the wax runs
If you roll loosely, air stays between the sheets. When it burns, the melted wax has nowhere to collect, so it runs down the side and the melt pool around the wick never forms. The flame grows, leans to one side, and the wall gives way on that side.
It’s the mistake everyone makes. And you only see it when you light the candle.
2. You rolled it too tight and spoiled the honeycomb
After the first one, the reflex is to squeeze. And then your fingers sink into the wax. You leave marks and dents, and the honeycomb pattern is gone. The candle burns well, but you can’t see the honeycomb any more, which is exactly what you wanted from this wax.
Between too loose and too tight there’s a narrow window. You don’t find it by reading. You find it by rolling.
3. You didn’t seal the edge and it comes apart
You warm the edge more than the rest of the sheet. Then you seal it by running your finger along it from one end to the other, evenly.
Don’t press hard, or you’ll sink into the wax and leave a mark. But not too lightly either, or it won’t hold.
When you use several sheets, it’s the same: you warm the edge and stick the next sheet to the one before. If they aren’t stuck together, the cylinder comes apart. Sometimes on the shelf. Sometimes while it’s burning.
4. You went crooked and it climbs in a spiral
While you roll, the edge has to come out the same on both sides. If it comes out further on one side, the candle climbs in a spiral and ends up conical.
You only see it at the end, when there’s nothing left to straighten. That’s why you check every few turns, not at the end. And if you’ve gone crooked, you unroll it and start again.
5. The sheet was cold and it cracked
Don’t work with sheets taken straight from storage. In winter, or in an unheated room, they go stiff and crack when you bend them, instead of folding. Give them 2–4 seconds with the heat gun and they’re fine.
How I start a candle
The warmed sheet in front of me. The wick with the V towards the base.
I fix the wick at the bottom, at the base, on the side I roll from. I roll to the right, so I put it on the right. If you roll the other way, you put it on the left. The direction doesn’t matter. What matters is that you start from the base, not from the middle.
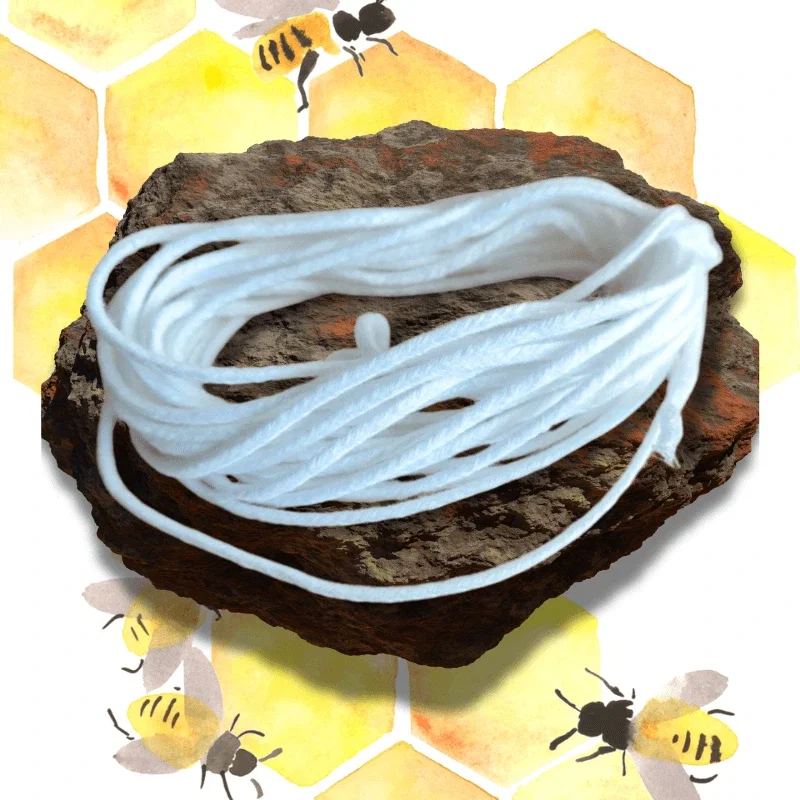
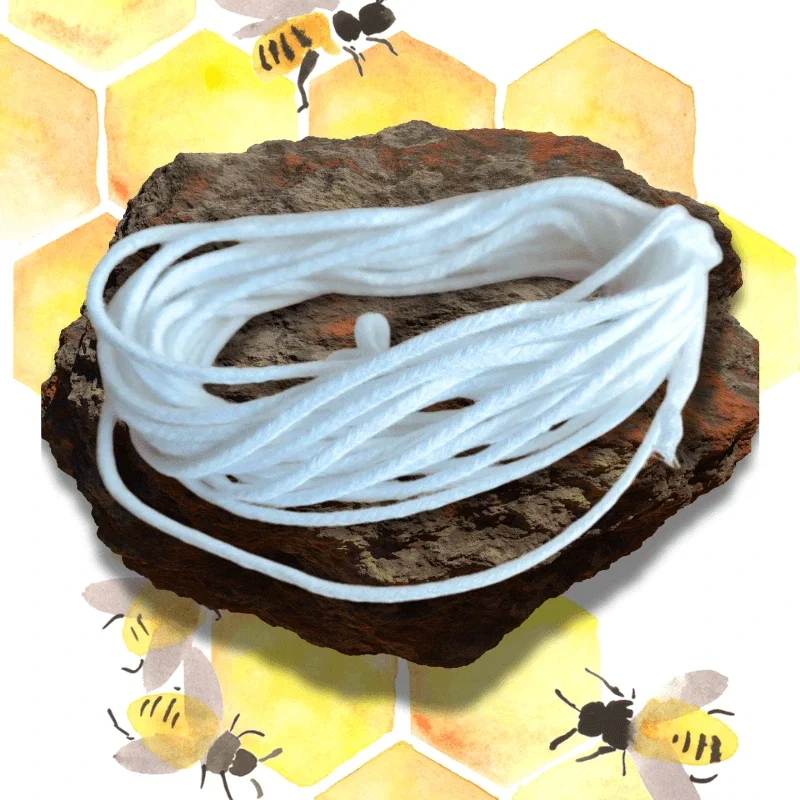
The Special wick has a round side and a flat side. The flat side, with the "V" braid, goes towards the base of the candle. It keeps the flame straight and gives it the direction of burning.
And, before anything else, I coat the wick in a thin layer of melted wax. It gives it strength and a little fuel for the first few seconds, so it lights first time and the flame doesn’t flicker. I use wax left over from other batches. It isn’t a trick, it’s a step.
The base, the step you don’t see in any photo
After rolling, I gently warm the bottom. I stand the candle on the table, upright, with the warmed end down, and press. I centre it so it stands straight.
The base settles a little, and then the candle stands on its own.
That’s why a 41 cm sheet gives you a 35 cm candle and leaves a strip of about 5, not 6. A little is lost in cutting, a little goes into the base.
Don’t throw away the strip that’s left. Roll it as well, and it makes a small candle.
It burns differently from paraffin
A rolled candle isn’t a solid block. It has air between the layers. It burns from the middle towards the edge and digs itself a crater as it goes down, not straight down like a poured one.
It also burns for less time than a paraffin candle of the same diameter. And if you rolled them by hand, two candles of the same diameter can burn differently, depending on how tightly you rolled each one.
So I won’t give you a figure. Burn a whole one, and then go by that for the rest.
What a candle costs you
July 2026. One kilogram means ten sheets, in both versions:
- natural: 66.99 lei → 6.70 lei a sheet
- coloured: 71.99 lei → 7.20 lei a sheet
| 35 cm candle | Sheets | Natural wax | Coloured wax |
|---|---|---|---|
| Ø 4.5 cm | 3 | 20.10 lei | 21.60 lei |
| Ø 5.5 cm | 4 | 26.80 lei | 28.80 lei |
On top of these come the strips left over from each sheet, which you roll as well. I haven’t counted them in; you get them as an extra.
You buy the wick once
It’s sold in 5-metre packs: no. 5 costs 8.91 lei, no. 7 costs 10.72.
For a 35 cm candle you use less than half a metre. One pack is enough for about twelve to fourteen candles.
So the first one looks expensive: the wax plus a whole pack of wick. From the second one on, you only buy wax. Worked out per candle, the wick costs you less than one leu.
That’s pretty much the whole sum. You don’t need a melter, you don’t need a thermometer, you don’t need a mould. The material is the only cost, and you don’t lose that either.
If you don’t want to do the sums now
I’ve put what you need to get started into a kit: Honeycomb candle kit: 10 sheets + 2 wicks, 86.62 lei.
One kilogram of natural honeycomb wax sheets and both wicks, no. 5 for the small diameters and no. 7 for those from 5.5 cm up. That way you don’t need to know in advance which diameter you want. You have both, and you choose when you’ve got the sheet in your hand.
It costs exactly what they would cost bought separately. You don’t pay anything extra because they’re put together. The only thing you get on top is that you don’t have to do the sums yourself.
If they’re for a wedding or a christening
If you have a fixed date, don’t start two weeks before.
Roll a few a month ahead and burn one all the way down. Watch how it behaves. Then make the real ones.
And if you look at them and realise it isn’t for you, we’ll make them for you, in the workshop, from the same wax. No hard feelings. I spoiled a hundred too.
Where to get the materials
- Natural honeycomb wax sheets: 1 kg, ten sheets of 41 × 26 cm. The wax as it comes from the apiary.
- Coloured honeycomb wax sheets: the same ten sheets, in the other colours.
- Special wick no. 5: for rolled candles of 2.5–4.5 cm.
- Special wick no. 7: for 5.5 cm and above.
When you want the next step
You’ve rolled a candle without melting the sheet wax. That was the idea.
At some point you’ll want a candle you can’t roll. One in a glass, one with fragrance, one in a mould. That’s where everything changes: in come the melter, the thermometer, the temperatures, choosing the wick by the wax. It’s harder than what you’ve just done. But now you’ve already made something.
- Your first soy wax candle: one recipe, one wick, one fragrance: step two. A single recipe, taken all the way.
- The Raw Materials blog: the rest of the guides from the workshop.
If you get stuck, write to us on WhatsApp or call us on +40 726 162 810 (we answer in English). Tell us the diameter and how many sheets you used, and send a photo. We’ve seen just about every way of getting it wrong. I made most of them myself.
The first one doesn’t have to be good. You just have to make it. And know that, if it doesn’t come out right, you unroll it.