 EN
EN  Romana
 Magyar
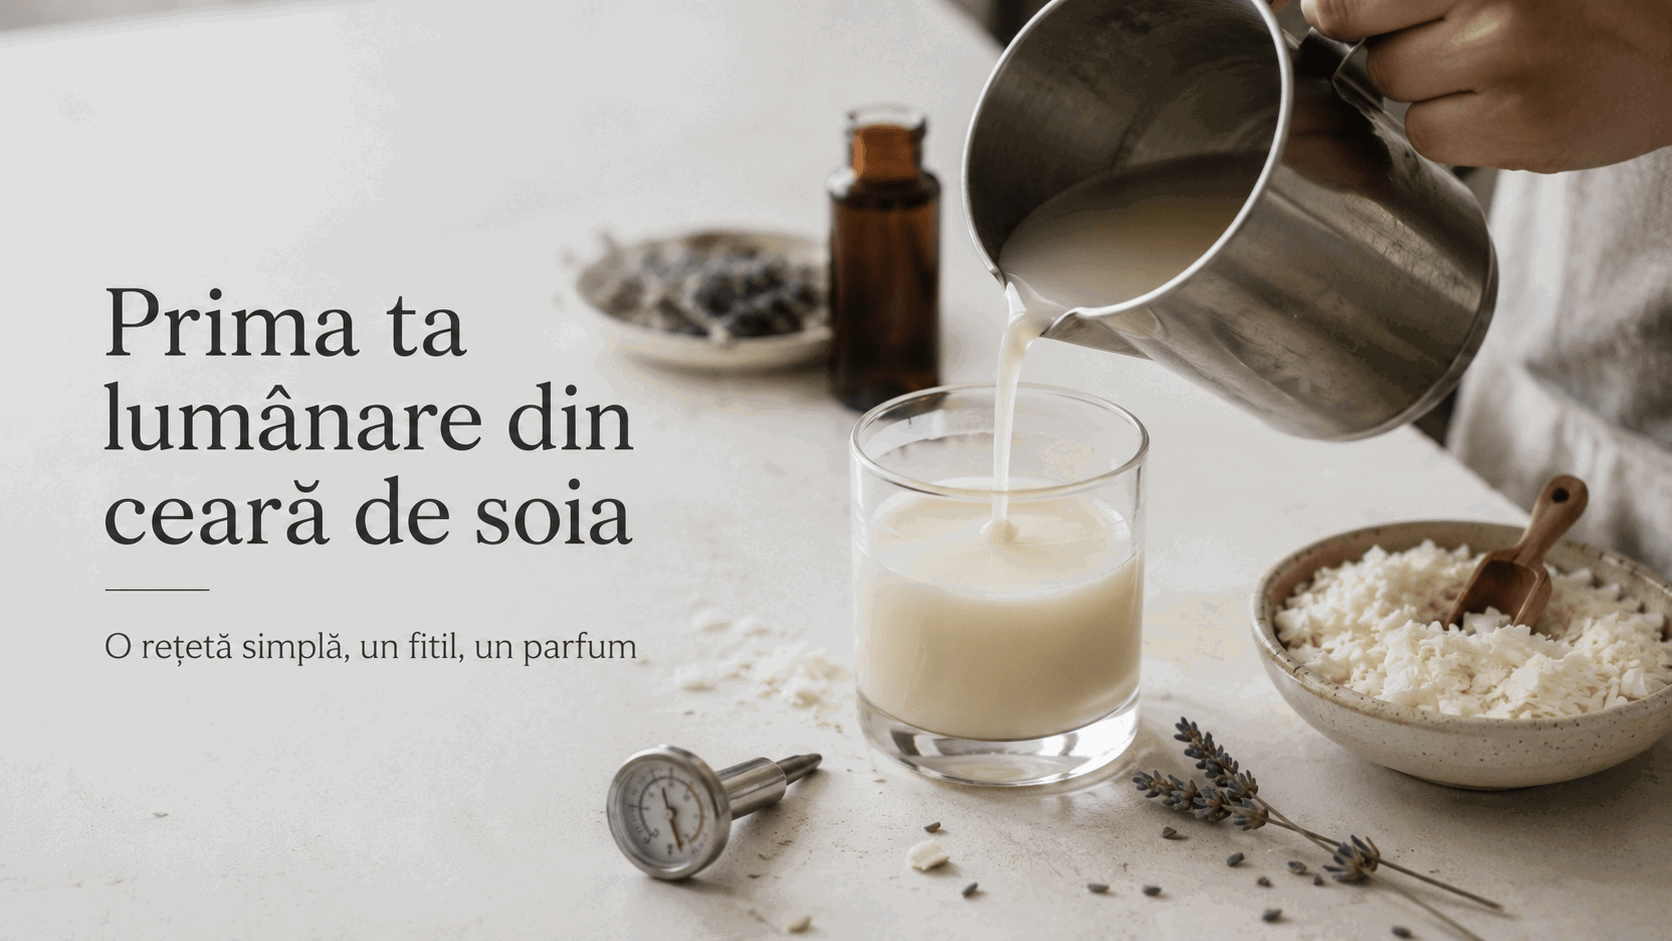
You’ve ordered the wax. Or you have the basket open and you’re not pressing the button.
What stops you is the same question that stops all of us at the start: "What if I ruin it all?" The money for materials isn’t little. The videos show ten ways of doing the same thing. One forum gives one temperature, another gives a different one. And the more you read, the less sure you are.
I’m Sînziana, from the Servus workshop in Maramureș, Romania. We’ve been pouring candles since 2010.
The short answer: to start, you don’t need ten options. You need two recipes, in this order: a simple one, so you understand the wax, and only then the scented candle. We made the decisions in the workshop, on our own batches, the ruined ones included. All you have to do is follow the steps.
In short, the recipe Servus recommends for your first soy candle in a glass: 500 g KeraSoy 4130, waxed wick with tab 50/7.5, glasses Ø 5–6 cm, preheated (warm to the touch, not hot), pouring at 45–55 °C, burn test after 24–48 hours. You make your first candle plain, without fragrance. The second, with 5% lavender fragrance and one drop of purple colourant. Total cost of materials: ~89 lei (July 2026).
Recipe 1, the plain glass: this is where you learn the wax
You make the first pour without fragrance and without colourant. Not to save money, but to see how soy behaves when nothing covers it up. One variable, not five.
What you use:
- KeraSoy 4130 soy wax for containers (Kerax, UK), the wax we use in production for containers. Melt 500 g, not the exact amount for one glass: you pour 2–3 glasses at once. A 200 ml glass "uses" ~180 g, but some wax always stays on the sides of the pot, so if you melt exactly 180 g, you won’t even get the first glass full. That’s how we work on our tests too: we round the batch up, we don’t work it out to the gram.
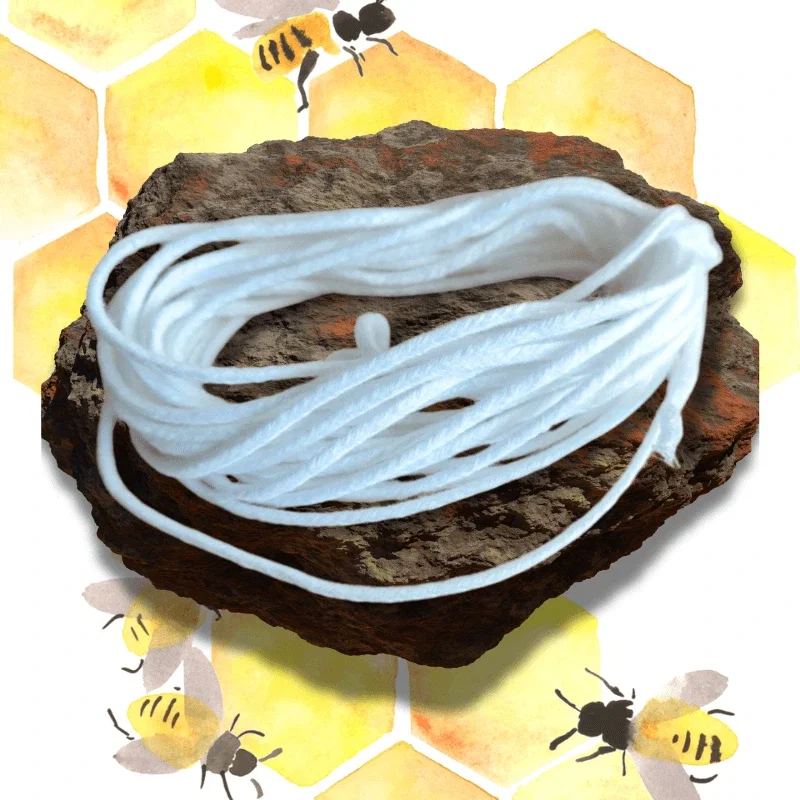
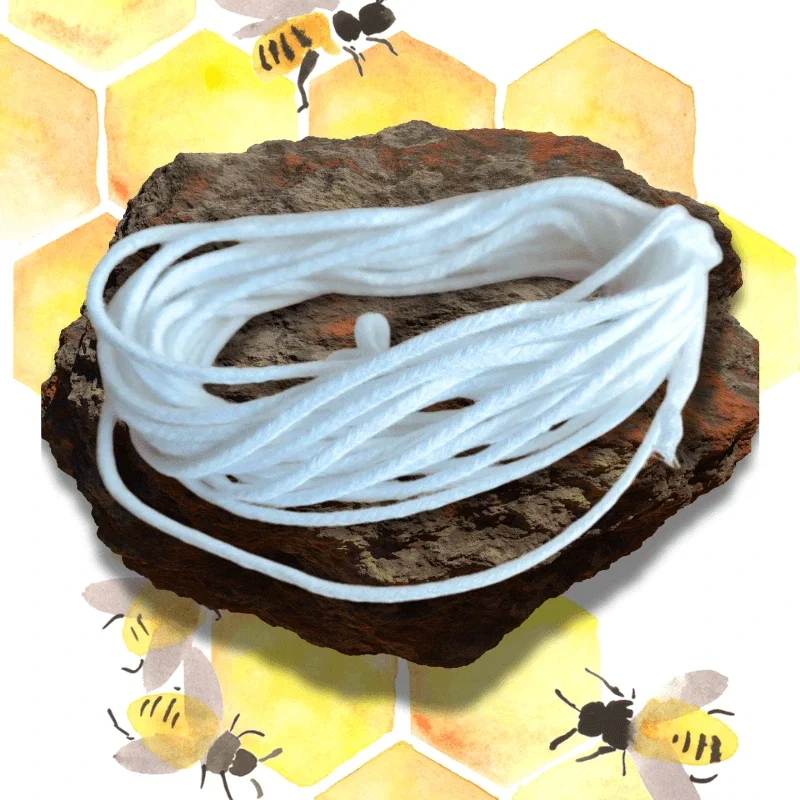
- Waxed cotton wicks with tab, code 50/7.5 (burn diameter ~5 cm), right for a standard glass 5–6 cm in diameter. They come in a pack of 20, exactly the logic of a start: you test, you validate, you pour a small batch. The burn diameter is a guide; you check it at the final test.
- 2–3 glass containers with straight sides, Ø 5–6 cm, clean and dry.
- A thermometer. It isn’t optional. The whole recipe rests on three temperatures.
The steps
- Melt the wax in a water bath, slowly, to 70–75 °C. A stainless steel pot set in hot water, never directly on the flame: wax put straight on the heat burns in places before it has all melted. In the workshop we do exactly the same, just on another scale: our melting tanks have double walls, which means a water bath too, an industrial one. The thermometer probe goes in the wax, not on the bottom of the pot. When it has reached temperature, leave it 5 minutes to settle: the bubbles rise on their own.
- Stick the wicks down in the centre of the glasses. The metal tab at the bottom, the wick straight. A clothes peg or a stick laid across the rim keeps it centred.
- Preheat the glasses. The step everyone skips, and the reason the wax "comes away" from the sides and ugly patches appear. The aim is to take the cold out of the glass, not to bring it to pouring temperature: a glass that hot you couldn’t even handle safely. Half the pouring temperature is enough: warm to the touch, that’s all. In the workshop we use a heat gun, with even movements over the whole glass, not held on one spot. If you don’t have one, the oven on its lowest setting works too.
- Pour at 45–55 °C, in a single pour, one glass at a time. Slowly, beside the wick, without stopping and starting again on the same glass. Close to the point where it sets, the wax sticks best to the sides. If the adhesion doesn’t come out right, you adjust in steps of 5–10 °C; you don’t change the whole recipe.
- Let them set, in two stages, the way we do. For the first ~12 hours you don’t move them and you don’t touch them; at the end of that time you check the top: if it has sunk next to the wick, you top it up with a little hotter wax (that’s why it’s good you melted 500 g, not the exact amount). Then another ~12 hours of rest. All the time at 20–24 °C, no draughts, no fridge: forced cooling is the shortest road to white patches and cracks.
- The burn test, only now. Light one for 2 hours and look from the side, through the glass: the pool of melted wax should reach the sides and be no more than 0.5 cm deep. Deeper means the wick is too big. Not reaching the sides means the wick is too small. The full rule, with the complete calibration method, is in our wick guide for containers.
What you notice on the plain glass, and it’s normal
- The colour is ivory, not white. Soy has a natural creamy white. If you want a clean white, the material is a different one (coconut leans towards white), not bleach.
- It has a faint smell of its own. Soy wax isn’t odourless. It’s a faint plant note, which almost disappears when it burns and over which fragrance settles without trouble. If someone sells you "completely odourless soy", ask them what else they’ve mixed into it.
- The surface doesn’t always come out shop-window perfect. White patches (frosting, the signature of soy wax), a fine texture, a slightly uneven top: that’s how plant wax behaves, not your mistake.
The materials in the recipe above are in our shop, the same ones we work with: KeraSoy 4130 soy wax and the waxed wick with tab 50/7.5.
Recipe 2, the summer candle: lavender and a hint of colour
You’ve seen how the wax behaves. Now you add the rest, on the same skeleton:
- the same batch: 500 g of 4130, 50/7.5 wicks, preheated glasses;
- Lavender fragrance oil, start with 5% of the weight of the wax: 25 g for the 500 g batch. Weigh the fragrance, don’t count it in drops. 5% is the starting point, not the verdict: you burn the candle, see how present the lavender is in the room, and only at the next batch do you raise the percentage if you want more. One variable per batch, otherwise you don’t know what changed the result;
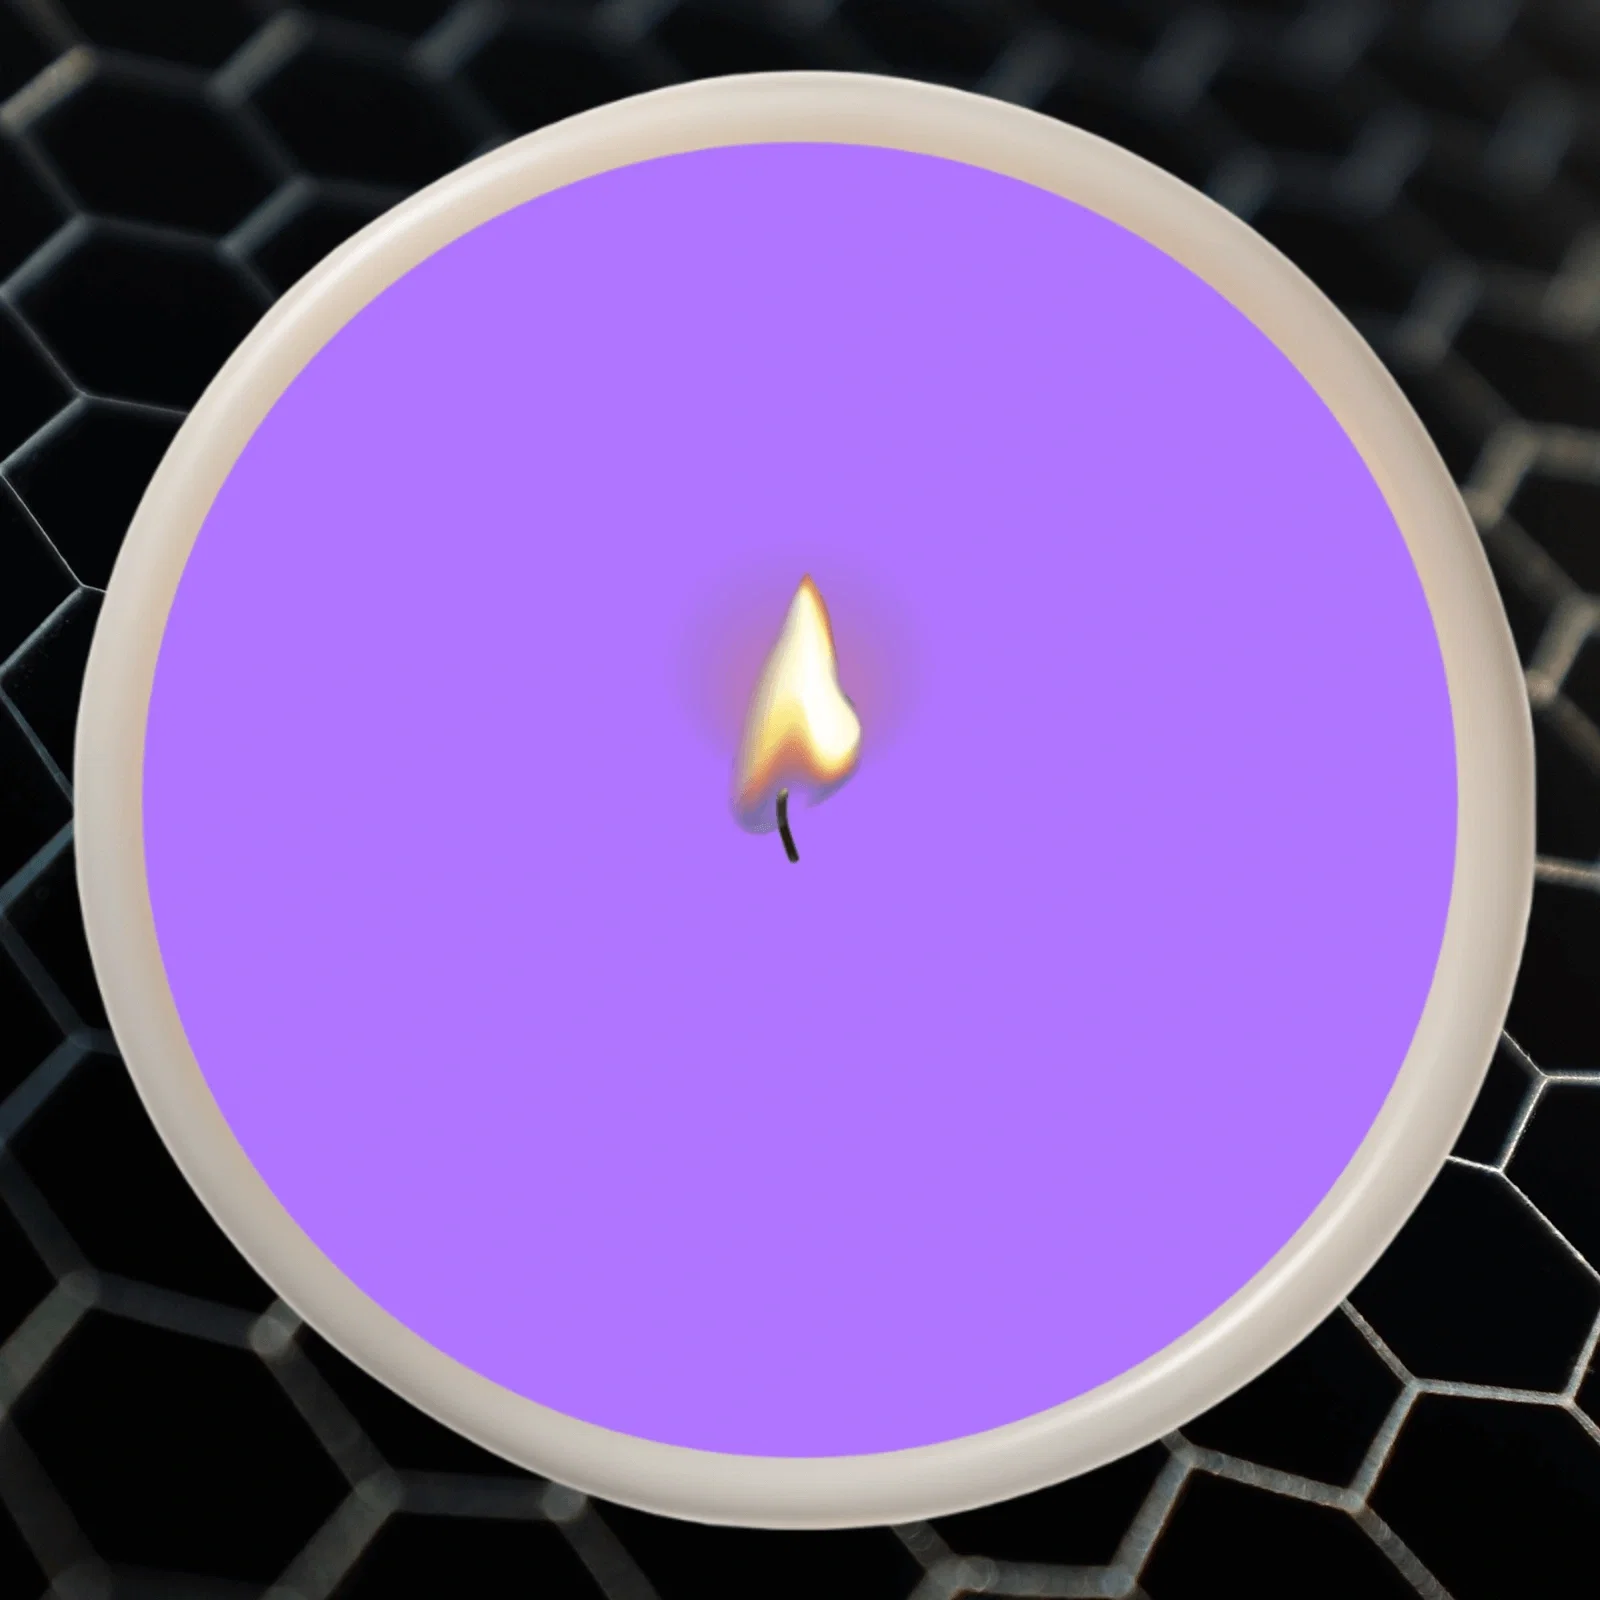
- liquid purple colourant, 1 drop per batch. Yes, just one: it gives a pale purple, exactly what you want with lavender. With liquid colourant, the drops are counted, not judged by eye.
The steps that change
- The colourant goes in first, at about 70 °C, once the wax is completely melted and even. Stir until you no longer see streaks.
- The fragrance goes in last, just before pouring. Stir slowly, 1–2 minutes, until even: the fragrance has to blend into the wax, not float in it. Don’t put it into wax that has only just melted: at a high temperature it evaporates before it gets into the glass, and you’re left with a candle that only smelled in the pot.
- The rest is identical: pouring at 45–55 °C, a single pour, the same two setting stages: ~12 hours, a top-up if the top has sunk, another ~12 hours of rest. Just one difference: you do the 2-hour burn test only 48 hours after pouring, because the fragrance needs time to bind with the wax.
Why lavender in summer: it’s one of the fragrances that suit the season well, it doesn’t become tiring in the heat. And one detail, in honesty: the colour of the candle does NOT come from the fragrance; lavender doesn’t turn the wax purple. The colourant gives the colour, the fragrance gives only the smell.
The 3 mistakes that ruin your first glass
Sînziana says: "It isn’t the wax that ruins your first candle. Usually it’s haste: a cold glass, fragrance added by guesswork, lit too soon. The wax shows you what it needs, but you have to give it time."
What the three look like, in practice, on your first glass:
1. Haste: the cold glass. You skip preheating to finish sooner. The hot wax meets the cold glass, contracts suddenly and comes away from the sides, leaving white, "wet-looking" areas. The wax isn’t to blame. The difference in temperature is.
2. Improvisation: fragrance added by guesswork. No thermometer, no scale. Too early and it evaporates, too late and it stays separate. And more fragrance doesn’t mean more scent: above the wax’s limit (10–12% for 4130), the fragrance sweats out on the surface.
3. Impatience: the next-day panic. You light it before it has set, or you see white patches on the sides and throw the batch away. The patches are called frosting and they’re the signature of soy wax, not your mistake. You don’t change the recipe for that.
Soy, coconut or olive? The 4 container waxes from our workshop
For your first candle, our recommendation is 4130. Not because the others are weaker, but because 4130 is the wax we’ve poured the most batches with and the one that behaves most predictably for someone starting out. The rest of the range makes sense later, when you know what you’re looking for:
KeraSoy 4130 (soy, Kerax UK), the first choice for a start. What we’ve seen in the workshop: good adhesion to the glass, with the container preheated. The most predictable behaviour in the range.
EcoCoco Container (plant wax, mainly coconut), for when you want a whiter colour and a flawless top. What we’ve seen in the workshop: it leaves a clean, straight, flat film on top, so the top comes out beautifully without finishing. The colour leans towards white, compared with the ivory of soy, and the scent throw is strong.
EcoOlive Container (plant wax, mainly olive), for when you accept a note of its own, a plant one. What we’ve seen in the workshop: a subtle sheen and a smell of olives of its own; we tell you straight, so you don’t find out at home.
EcoSoya CB-Advanced (pure soy, full traceability of refining), for when you want plain soy, not a blend. What we’ve seen in the workshop: small bubbles at the wick while burning, normal for this wax, not a defect.
All four are poured by the same logic: a preheated container, the fragrance in its temperature window, a single pour, setting in two stages: 12 hours, a top-up if needed, another 12 of rest.
Where to get the materials, and what your start costs
Everything above is on our shelf, the same materials we use in production: the container wax, the wicks with tab, the fragrance oils and the candle colourants.
So you know exactly what you’re taking on, the full basket for both recipes (Servus prices, July 2026):
- KeraSoy 4130 soy wax, 1 kg: 36.20 lei (enough for two batches of 500 g each);
- waxed wicks with tab 50/7.5, set of 20: 10.82 lei;
- liquid purple colourant, 10 ml: 12.95 lei (at 1 drop per batch, the bottle lasts hundreds of batches);
- Lavender fragrance oil, 50 ml: 28.92 lei.
Total: ~89 lei for the materials that give you your first 4–6 candles, with wax, colourant and fragrance left over. From you come only the glasses, the time, the patience and the passion: those we don’t sell.
If the recipe doesn’t work for you, write to us on WhatsApp at +40 726 162 810 (we answer in English) with the wax, the wick and the diameter of the glass, and we’ll track down the cause together.
Your first candle doesn’t have to be perfect. You just have to make it, with a recipe that doesn’t leave you on your own at the first glass.