 EN
EN  Romana
 Magyar
If you've read the 2025 guide, you're halfway there.
In 2025 I showed you how to choose the wick. Today I'm showing you how to check whether you chose it correctly.
These are two different steps. And many makers think they're done after the first one.
The Servus Method, in 2 steps:
Step 1 – Choosing (2025): diameter → wax type → initial quick test Step 2 – Checking (2026): how the wick really behaves in the container, after 2 hours of burning
If you haven't read Step 1, start there: How to choose the right candle wick – the complete Servus guide 2025
You can also do Step 1 in the wick calculator: enter the inside diameter, the wax and the height of the glass and see the wick you start from.
If you have read it and think you have the right wick, carry on. I'm about to show you what you may not have checked yet.
The scene that keeps repeating in the workshop
A maker sends a photo. The candle looks very good: a calm flame, 1–1.5 cm, no smoke, and the melt pool has reached the walls of the jar nicely, evenly, round.
“Sînziana, I've found the wick.”
I ask just one question: How hot was the glass after two hours?
Silence.
Then: “I don't know. I didn't check.”
That's the problem hidden in container candles. You don't see it from the front. Your customer feels it, after they've already bought the candle.
Why containers are a chapter of their own
With pillar candles, the heat escapes sideways, outwards. The wax lives in the open air.
With containers, the candle burns inside an enclosed space. The glass holds the heat. The melted wax has nowhere to escape to. Everything that happens inside, the temperature, the depth of the melt pool, the way the fragrance behaves, is amplified.
That's why a wick that's too strong doesn't show in the flame. It shows in the glass, if you know where to look.
Anatomy of a glass that burns badly (but looks good)
Picture a wick with a 1.5 cm flame, steady, no smoke. The melt pool reached the walls in 90 minutes. Every box ticked on the surface.
But you look at the glass from the side and notice that the layer of liquid wax under the flame is more than a centimetre deep compared with the solid surface around it.
What's happening, in short:
- What you see: a correct flame, a level, even melt pool
- What's happening underneath: the wick works like an oversized engine, burning more fuel than it can turn into light and scent
- What it produces: the fragrance oils overheat and evaporate suddenly in the hot layer, before they can spread properly through the room
The result: a room with no scent, or worse, a heavy, burnt smell. Your customer won't know the wick was too strong. They'll say “the fragrance didn't last”.
The 0.5 cm rule, and where it comes from
We set this rule after hundreds of tests in clear glasses:
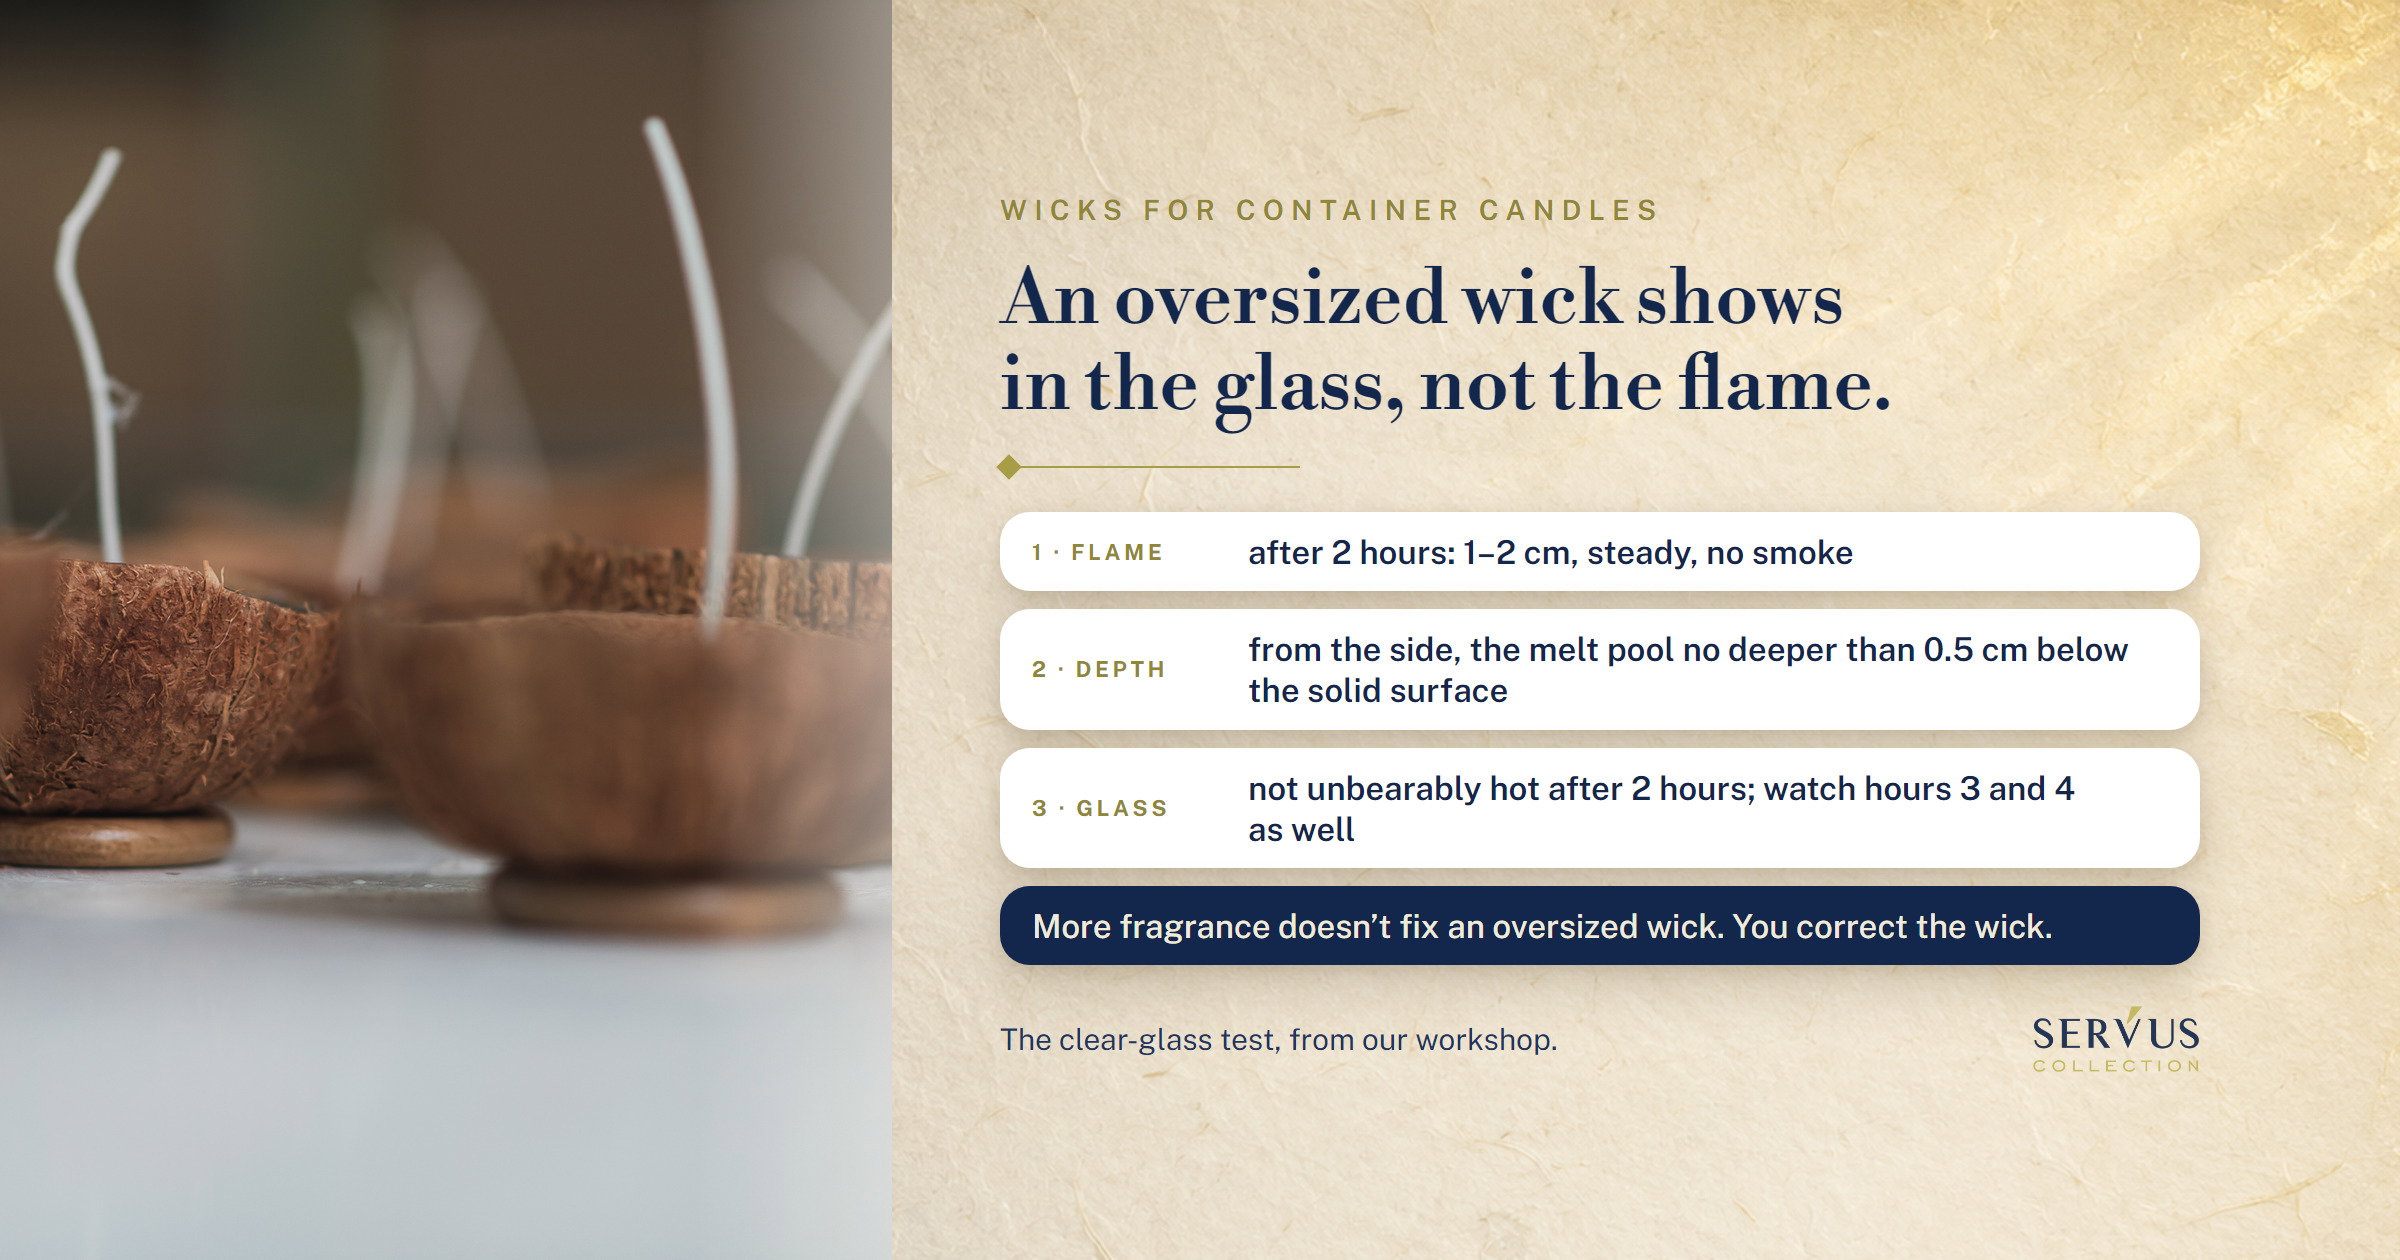
If the melt pool goes deeper than 0.5 cm vertically below the solid surface, the wick fails the test. However good the flame looks.
(Note: we're talking about vertical depth, how far down the liquid goes compared with the solid surface around it, not the horizontal distance to the walls. Those are two different measurements.)
We had a batch of waxed wicks with tabs that gave a textbook flame: calm, straight, 1.5 cm. The melt pool reached the walls in an hour. Every box ticked.
But the pool of liquid wax had gone down to over a centimetre deep. The glass was scorching from 5 cm away. The fragrance, a delicate floral that had tested well on its own, had vanished completely after the first hour.
That was the moment we realised we'd been judging the candle the wrong way. We were watching the film, not what was happening under the stage.
The diagnostic table: what you see through the glass and what it means
The calibration test has to be done in completely clear glass, even if the final product will be in ceramic or coloured glass.
| What you see through the glass (from the side) | Diagnosis | Long-term effect | What you do |
|---|---|---|---|
| Liquid layer > 0.5 cm deep vertically | Oversized wick | Fragrance destroyed by heat. A dangerously hot glass. | Go down one wick size. |
| Shallow pool, doesn't reach the walls | Undersized wick | Tunnelling and wax lost at the edges. | Go up a size or change the wick type. |
| Max 0.5 cm deep + walls reached evenly | The Servus balance | The fragrance develops well; the glass doesn't overheat. | Keep the recipe! |
The full protocol: the clear-glass test
1. Pour the final recipe Exactly your container wax, with the final fragrance, with the dye if you use one. One change of ingredient = a new test.
2. Let the candle cure for 48–72 hours The wax needs time to crystallise and bind the fragrance. Testing too early gives false results.
3. Light it and let it burn for 2 hours without a break The first hour is the “warm-up”. The wick's real behaviour shows in the second hour.
4. Check the flame It should be between 1 and 2 cm, steady. Flickering or smoke are warning signs before any other measurement.
5. Look through the glass, from the side, and measure the vertical depth If the layer of liquid wax goes more than 0.5 cm below the surrounding solid surface, the wick is too strong.
6. Check the outside temperature of the glass A standard glass container shouldn't be unbearably hot after 2 hours.
Safety note: 2 hours is the minimum observation time, not the end. Critical overheating sometimes shows up in hour 3 or 4. If at hour 2 you have exactly 0.5 cm, watch hour 3 closely. If the melt pool jumps to 1 cm, the wick is clearly too big, even if the first 2 hours seemed fine.
Waxed cotton with a tab vs. wood: when to choose which
Waxed cotton wicks with a metal tab The classic for containers. They work in the great majority of recipes: soy, blends, soft paraffins, Kerax 4130, Cargill NatureWax. A linear, predictable burn. A good starting point for calibration.
Wooden wicks, on a metal stand (ordered separately) The flame is wider and lower; in some recipes it gives a quiet crackle, but that can't be promised. They need a separate test: sizes don't carry over directly from cotton to wood.
The 0.5 cm rule applies in both cases.
The compensating-fragrance mistake
I get this question often:
“If the wick has overheated the candle, can I add more fragrance to make up for it?”
No. The paradox is that more fragrance in an overheated recipe makes things worse: the extra oils burn off even faster, creating an even less stable or chemical smell.
The fix is at the wick, not the fragrance. You correct the engine, you don't add fuel.
If you've made it this far, you're no longer looking for a “good” wick
You're looking for a calibrated one.
There's a huge difference between the two.
You'll find a good wick in any catalogue. You find a calibrated wick after you've applied Step 1 and Step 2 of the Servus Method, and you know exactly what depth it produces in your recipe, in your glass, with your fragrance.
Our range of container wicks, waxed with a tab and wooden, tested in the workshop with Kerax, Keragreen (soy and sunflower), Cargill and Servus blends, is here:
I am the depth you couldn't see. I was there every time your candle didn't smell the way it should. Not in the fragrance. Not in the wax. In those vertical millimetres nobody had measured.
Now you know where to look. Not at the surface. Inside.
That's the difference between a maker who tests and one who calibrates. You're now the second.
Nu-i Bai. Step 2 is yours.