 EN
EN  Romana
 Magyar
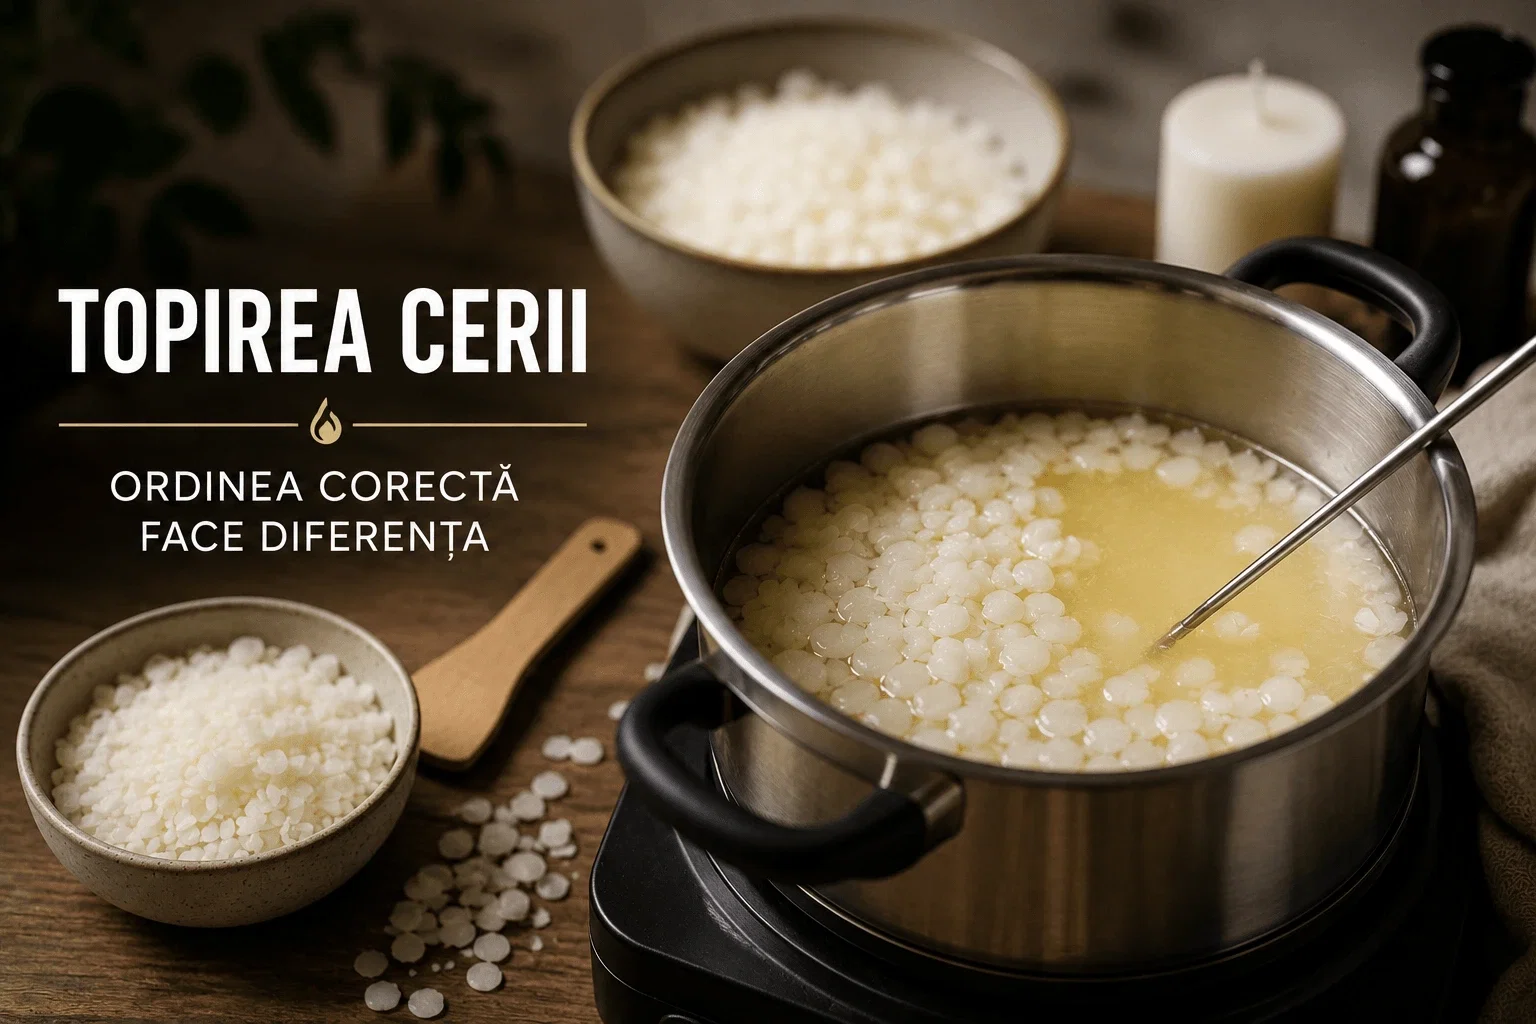
Why does it take 5 hours to melt a batch of wax?
You have a bigger batch of candles to pour and, on paper, the recipe looks simple. You have the quantities, you have the percentages, you have the materials ready. Still, in the melter, things don’t behave the way they do in a table.
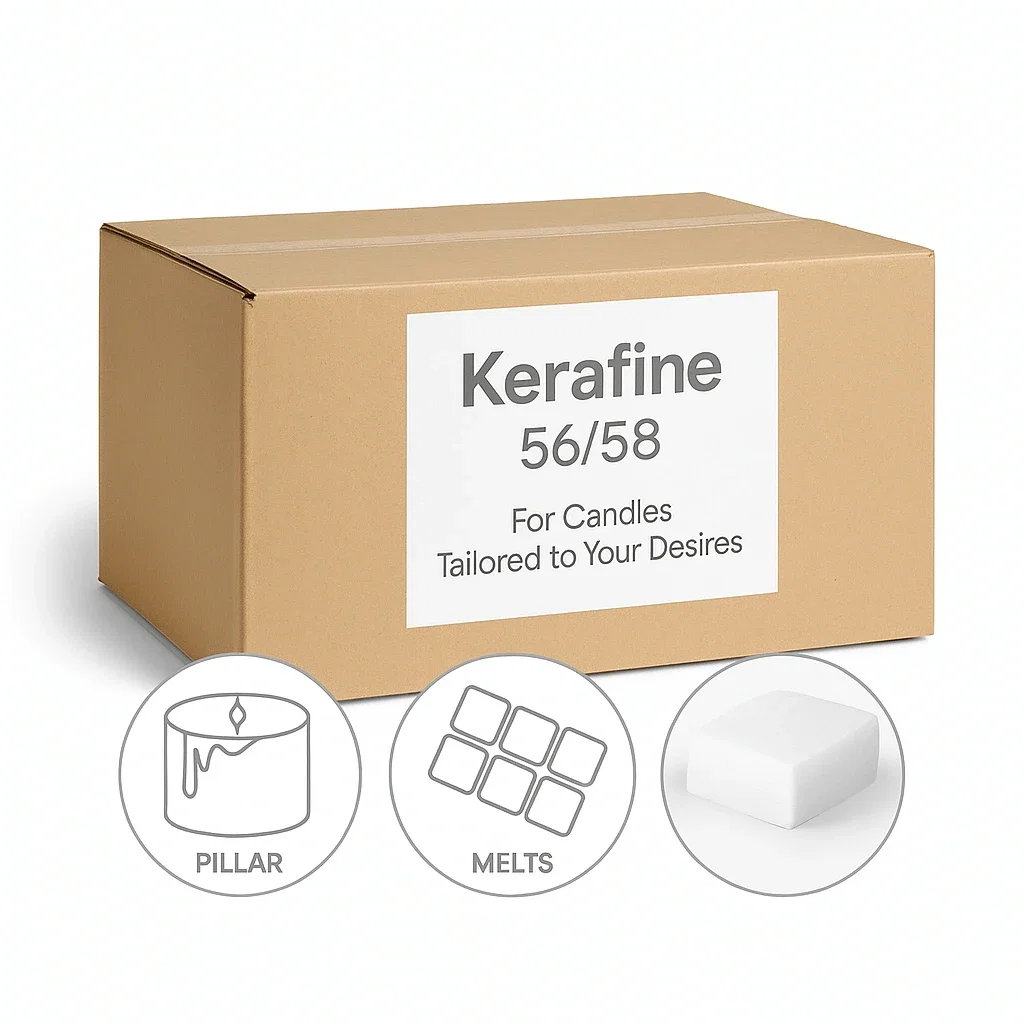
Maybe you work with paraffin and stearin.
Maybe you’re making a plant-based blend with soy wax, vegetable flakes and a harder additive.
Maybe you’re testing a new formula with three different waxes, to get a candle that’s more rigid, whiter or more stable at summer temperatures.
You put them all in the melter, turn on the heat and wait.
After an hour, there are still unmelted pieces.
After three hours, the melter is still working.
After five hours, the batch is almost liquid, but something has changed: the wax looks slightly yellowish, smells different or no longer has the clean texture you were expecting.
And then comes the natural question: did I get the recipe wrong, or the process?
Often, the problem isn’t the recipe. The problem is the order in which you melted the waxes.
Servus, I’m Sînziana. In our workshop in Maramureș, Romania, we learned the hard way that with candles, physics beats maths. It isn’t enough to have the right percentages on paper. If you don’t keep to the melting order, you can lose time, electricity, stability and sometimes even the quality of the whole batch.
Melting "all at once" looks convenient. But in the workshop, that convenience comes at a price.
Why not all types of wax melt the same way
When you work with several types of wax in one formula, you don’t have materials in the melter that behave identically. You have materials with different melting points, with different densities, waxes that melt quickly and waxes that need more time.
You also have components that handle heat well and components that can degrade if they stay hot for too long.
This is where the first trap is. On paper, they’re all just ingredients in a recipe. In the melter, each material has its own pace.
One wax can melt at 55–60°C. Another needs 75–85°C. Another becomes fully liquid with more difficulty and asks for time, not just temperature.
If you put them all in together from the start, the materials don’t melt neatly, in the order you wrote your recipe. They melt according to their physics. And physics doesn’t care how rushed the workshop is.
What is the right order for melting wax in the workshop
The general rule is simple: the wax with the higher melting point, or the hardest thermal behaviour, goes into the melter first. Only once the base has melted properly do you add the materials that melt more easily.
In other words: first you build a stable hot bath, then you add the rest.
This rule matters especially when you work with:
- paraffin + stearin
- soy wax for moulds + plant-based additives
- plant-based blends for pillar candles
- beeswax + other waxes
- mixed recipes with 2–3 different types of wax
- large batches, where melting time is much harder to control
In a small batch, of 1–2 kg, some mistakes are forgiven. In a batch of 30, 50 or 100 kg, the wrong order shows straight away.
What happens if you put all the waxes in the melter from the start
This is one of the most common mistakes.
You have three materials. You weigh them correctly. You put them in the melter together. You turn up the temperature. In theory, it seems logical. In practice, something else happens in the melter.
The material with the lower melting point melts first. It turns liquid quickly. But it runs into large pieces of wax that are still cold, which absorb the heat around them. Instead of helping the melt, the material that has already melted can start to insulate the solid pieces that are left. You get a kind of thermal blockage.
The melter is working. The heating elements are drawing power. You’re waiting. But inside, the heat transfer isn’t efficient.
It’s like having a large cold body in the middle of a warm liquid: the liquid loses energy heating the cold mass, and the process becomes slow, uneven and hard to control.
That’s how you end up with batches that seem as if they’ll never finish melting. And the longer the batch stays hot, the greater the risk of changing its colour, its smell or the way it behaves when you pour.
Why a high temperature doesn’t always solve wax melting
When you see the wax isn’t melting quickly, the temptation is to raise the temperature. More heat. Faster. Harder.
But with wax, "harder" doesn’t automatically mean "better".
Yes, the material will melt in the end. But the question is: what state does it reach the pour in?
Some waxes handle temperature better. Others are more sensitive. Some change colour if they’re kept hot for too long. Others can pick up a scorched smell, turn more yellow or lose some of their original visual cleanness.
In the workshop, we don’t just aim to make the wax liquid. We aim to make it liquid without spoiling its quality. That’s the difference between simply melting and a controlled process.
A practical example: how to melt paraffin and stearin correctly
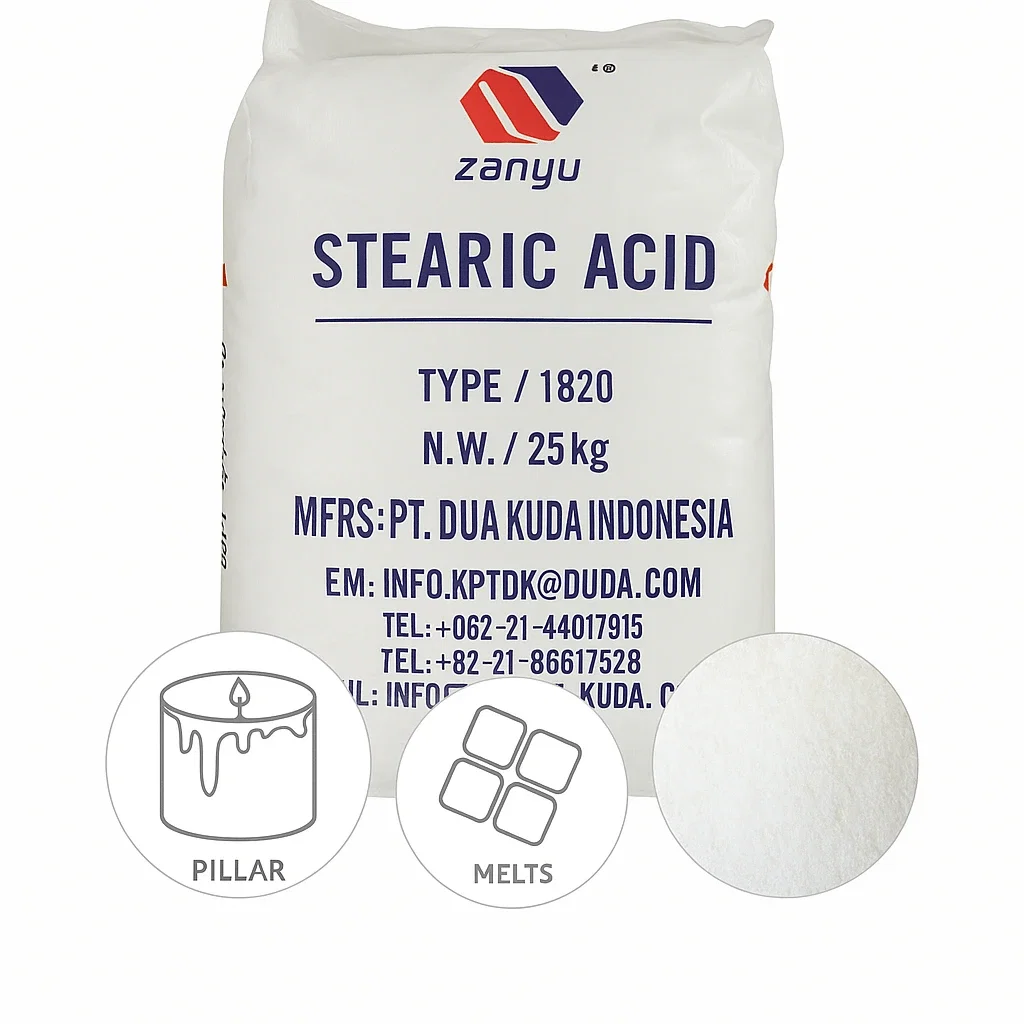
A very clear example is a blend of paraffin and stearin. Let’s say you have a recipe like this: 80% paraffin, 20% stearin.
Paraffin for pillar candles usually needs a higher temperature to melt completely. Stearin, on the other hand, melts faster, at lower temperatures.
If you put both in from the start, the stearin melts first and the paraffin stays solid. The liquid stearin ends up next to the cold paraffin and can slow down the heat transfer. The batch melts with difficulty, the melter runs for a long time and the material stays at temperature for too long.
If you put the stearin in first, it melts quickly, but then it’s forced to sit at a high temperature until the paraffin has melted completely. This is where the risk of thermal fatigue comes in: yellowing, a changed smell, a less clean appearance.
The right way is: melt the paraffin first, then add the stearin.
The paraffin builds the hot base. The stearin goes in afterwards and blends in quickly, without being put through hours at a high temperature.
If you work with pillar candles and you’re looking for stable materials for moulds,
you can see our B2B category here: Wax for moulds – Pillar Wax
How to work a blend with two or three types of wax
The same logic applies when you’re not working with paraffin and stearin but with a more complex blend: for example, when you’re testing a recipe with a main wax for structure, a harder wax or a plant-based additive for rigidity, and a softer, oilier or more sensitive component.
If you put them all in from the start, you risk having three different melting paces in the same melter. One melts quickly. One stays in pieces. One stays hot for too long. And you no longer know exactly what caused the problem: the recipe or the process.
That’s why, in tests with several types of wax, the order matters as much as the percentages:
- The component that needs the most time or the highest temperature goes in first.
- Then the components that melt more easily go in.
- The more sensitive materials go in at the end, if the formula contains them.
This lets you read the result more accurately. If the batch comes out too soft, too shiny, too blotchy or too oily, you can analyse the formula. But if you melted everything haphazardly, you no longer know whether the problem comes from the material or from the melting process.
If you work with plant-based blends and want to understand the melting, fragrance-adding and pouring temperatures better, you can continue with our technical guide: Correct temperatures for each type of wax – Servus Guide 2025
Servus diagnostic table: common wax melting mistakes
| Situation in the workshop | What happens if you put everything in at once | The safer order |
|---|---|---|
| You have waxes with different melting points | Some melt quickly, others stay solid and block the process | You start with the wax that’s hardest to melt |
| You have a wax that’s sensitive to temperature | It can stay hot for too long and change its colour or smell | You add it once the main base has already melted |
| You have a hard additive or a rigid wax | It can need more time to blend in | You add it at the stage when the bath is hot enough to disperse it |
| You have a large batch, over 30–50 kg | Heat transfer becomes slow and uneven | You work in stages, not "all at once" |
| You’re testing 2–3 new types of wax | You no longer know whether the problem comes from the recipe or from the melting | You note the order, temperature and time for each stage |
Why the melter matters when you melt wax in large batches
The right order helps enormously, but it doesn’t work on its own. The melter matters too.
In the Servus workshop, for serious batches, we work with double-walled melters with thermal oil. The thermal oil spreads the heat more evenly and reduces the risk of local overheating.
In a directly heated melter, the material close to the heat source can be damaged before the rest of the batch has melted. That means part of the wax can be too hot while another part is still solid.
The result: uneven melting, a risk of changed colour, a risk of changed smell, poor control over the batch.
When you work with small quantities, some problems can stay hidden. When you work with large batches, the melter, the order and the temperature become part of the recipe.
How to tell you’ve overheated the wax
One thing we learn quickly in the workshop is that the material talks. Not in words, but in signs.
Wax that’s been heated correctly stays clean, stable and predictable. Wax kept at a high temperature for too long starts to show you it’s been forced: its colour changes slightly, it takes on a yellowish tint, it smells heavier or more scorched, it looks less clean, it can behave differently when you pour, and it can produce blotches, uneven shine or a changed texture.
With candles for events, especially white ones, these details matter enormously. A clean white is built from good material, but it’s kept through a correct process.
You can have a good wax. You can have a good formula. But if you handle it wrongly in the melter, the end result may no longer look like the material you started from.
What to remember before your next batch of wax
Before you melt a wax blend, don’t look only at the quantities. Look at how each material behaves.
Ask yourself:
- which wax has the highest melting point;
- which material needs more time;
- which component is more sensitive to temperature;
- which material can degrade if it stays hot for too long;
- what you actually want to test: the recipe or the process.
The general rule is simple: the material that’s hardest to melt goes in first, and the more sensitive or easier-melting materials go in once the base is already liquid.
This isn’t a rule just for paraffin and stearin. It’s a rule for any workshop that works with blends, tests, mixed recipes or large batches.
If you make a blend with two or three types of wax, note down not just the percentages but also the melting order, the temperature and the time for each stage. Because sometimes the difference between a successful batch and a ruined one isn’t in the formula. It’s in the order in which you put the materials into the melter.
From the Servus workshop: don’t argue with the wax, read it
We learned these things over years of work, tests, mistakes and batches that cost us. We’ve seen what it means to put everything in the melter and wait for hours. We’ve seen how the colour changes when the material stays hot for too long. We’ve seen how a recipe that’s right on paper can give a poor result if the process is wrong.
We’ve also seen the opposite: the same recipe, worked in a different order, gave a cleaner, more stable material that was easier to pour.
That’s why, in the Servus workshop, we don’t treat wax as a dead ingredient. We read it. We look at the colour. We smell it. We follow the pace of the melt. We note how it behaves when we pour. And we adjust the process before we blame the material.
Because often, the wax isn’t bad. It was just rushed, heated wrongly or put in in the wrong order.
Conclusion: the melting order can save your batch of wax
When you work with wax, don’t rely only on the recipe. The recipe tells you how much to put in. The process tells you how to work. And in the workshop, the "how" can make the difference between a clean batch and a ruined one.
If you have to make candles that are rigid, stable, white or visually clean, don’t put all the materials in together just because it seems simpler. Correct melting starts with the correct order.
First the material that needs more temperature or more time. Then the materials that melt more easily. At the end, the more sensitive components.
That’s how you protect your time, your electricity, your raw materials and the final quality of your candles.
CTA:
If you have a batch on the go and something isn’t turning out the way it should (a changed colour, an unexpected texture, a melt that takes too long), don’t leave the question for tomorrow.
Write to us directly. We’ll answer with what we know from the workshop, not with generic answers.
WhatsApp or phone: +40 726 162 810 (we answer in English)
If you want to understand the temperature ranges for each material better (melting, fragrance-adding and pouring), you can continue with our technical guide:
Correct temperatures for each type of wax – Servus Guide 2025
And if you work with candles for events or you’re testing recipes for moulds, you can start from our B2B category:
What we know, we’ve tested. What we don’t know, we say so.
Servus!