 EN
EN  Romana
 Magyar

You poured the candle perfectly.
The mould was prepared, the wick centred, the wax poured at the right temperature. You leave it to cool and, when you take it out, it looks flawless: smooth, straight, glossy.
Then you press lightly with your finger next to the wick and… pop. The surface breaks and underneath you find an empty cavern, hidden treacherously under a perfect crust.
If this has happened to you, you didn’t do anything wrong. You’ve met one of the most common and most frustrating phenomena in candle pouring: the sinkhole.
I’m Sînziana, from the Servus workshop in Maramureș, Romania. This phenomenon is no stranger to us. We see it every season, in hundreds of candles poured in tall moulds, on our stainless steel table where every wick is centred with patience. The sinkhole isn’t a mysterious defect, nor a failure on the maker’s part. It’s the way the wax shows you it has worked naturally on the inside, even if on the surface it seemed calm.
1. The physics behind the "lying candle"
You didn’t get the wax wrong. You’ve met the physics of materials.
Wax, especially paraffin and blends with stearin, contracts strongly when it goes from liquid to solid. The process is simple, but inevitable:
- The wax cools first where it touches the walls of the mould and at the surface.
- A solid "shell" forms, which fixes the outer shape.
- The centre stays liquid for longer, insulated by this shell.
- When the centre starts to cool, its volume drops and it "pulls" the material down.
Because the surface is already hard, a void is left underneath: an air pocket which, if it isn’t dealt with, can smother the wick after the first few minutes of burning.
It isn’t magic. It isn’t a defect. It’s the natural behaviour of wax poured in moulds.
2. How the different types of wax behave (observations from the Servus workshop)
In the workshop we don’t talk from textbooks, but from what we see every day when we take the candles out of the moulds. After hundreds of pours, the pattern becomes clear:
| Type of wax | Behaviour on cooling | Sinkhole risk | Servus recommendation |
|---|---|---|---|
| Paraffin (pillar) | Strong contraction, deep cavities | High | Almost always needs a top-up |
| Paraffin + stearin | Rigid structure, controlled contraction | High, controllable | Ideal for stable event candles |
| Soy for moulds | Moderate contraction, shallow craters | Medium | Needs careful poking and levelling |
| Beeswax | Moderate contraction, can form voids; strong adhesion to moulds | Medium | Prefers silicone moulds, not rigid metal |
| Container soy | Minimal contraction, sticks to the glass | Low | Easily corrected with warm air |
These observations aren’t theory. They’re the result of real candles, taken out of the moulds in the morning and checked one by one.
3. The "gold standard" recipe for event candles
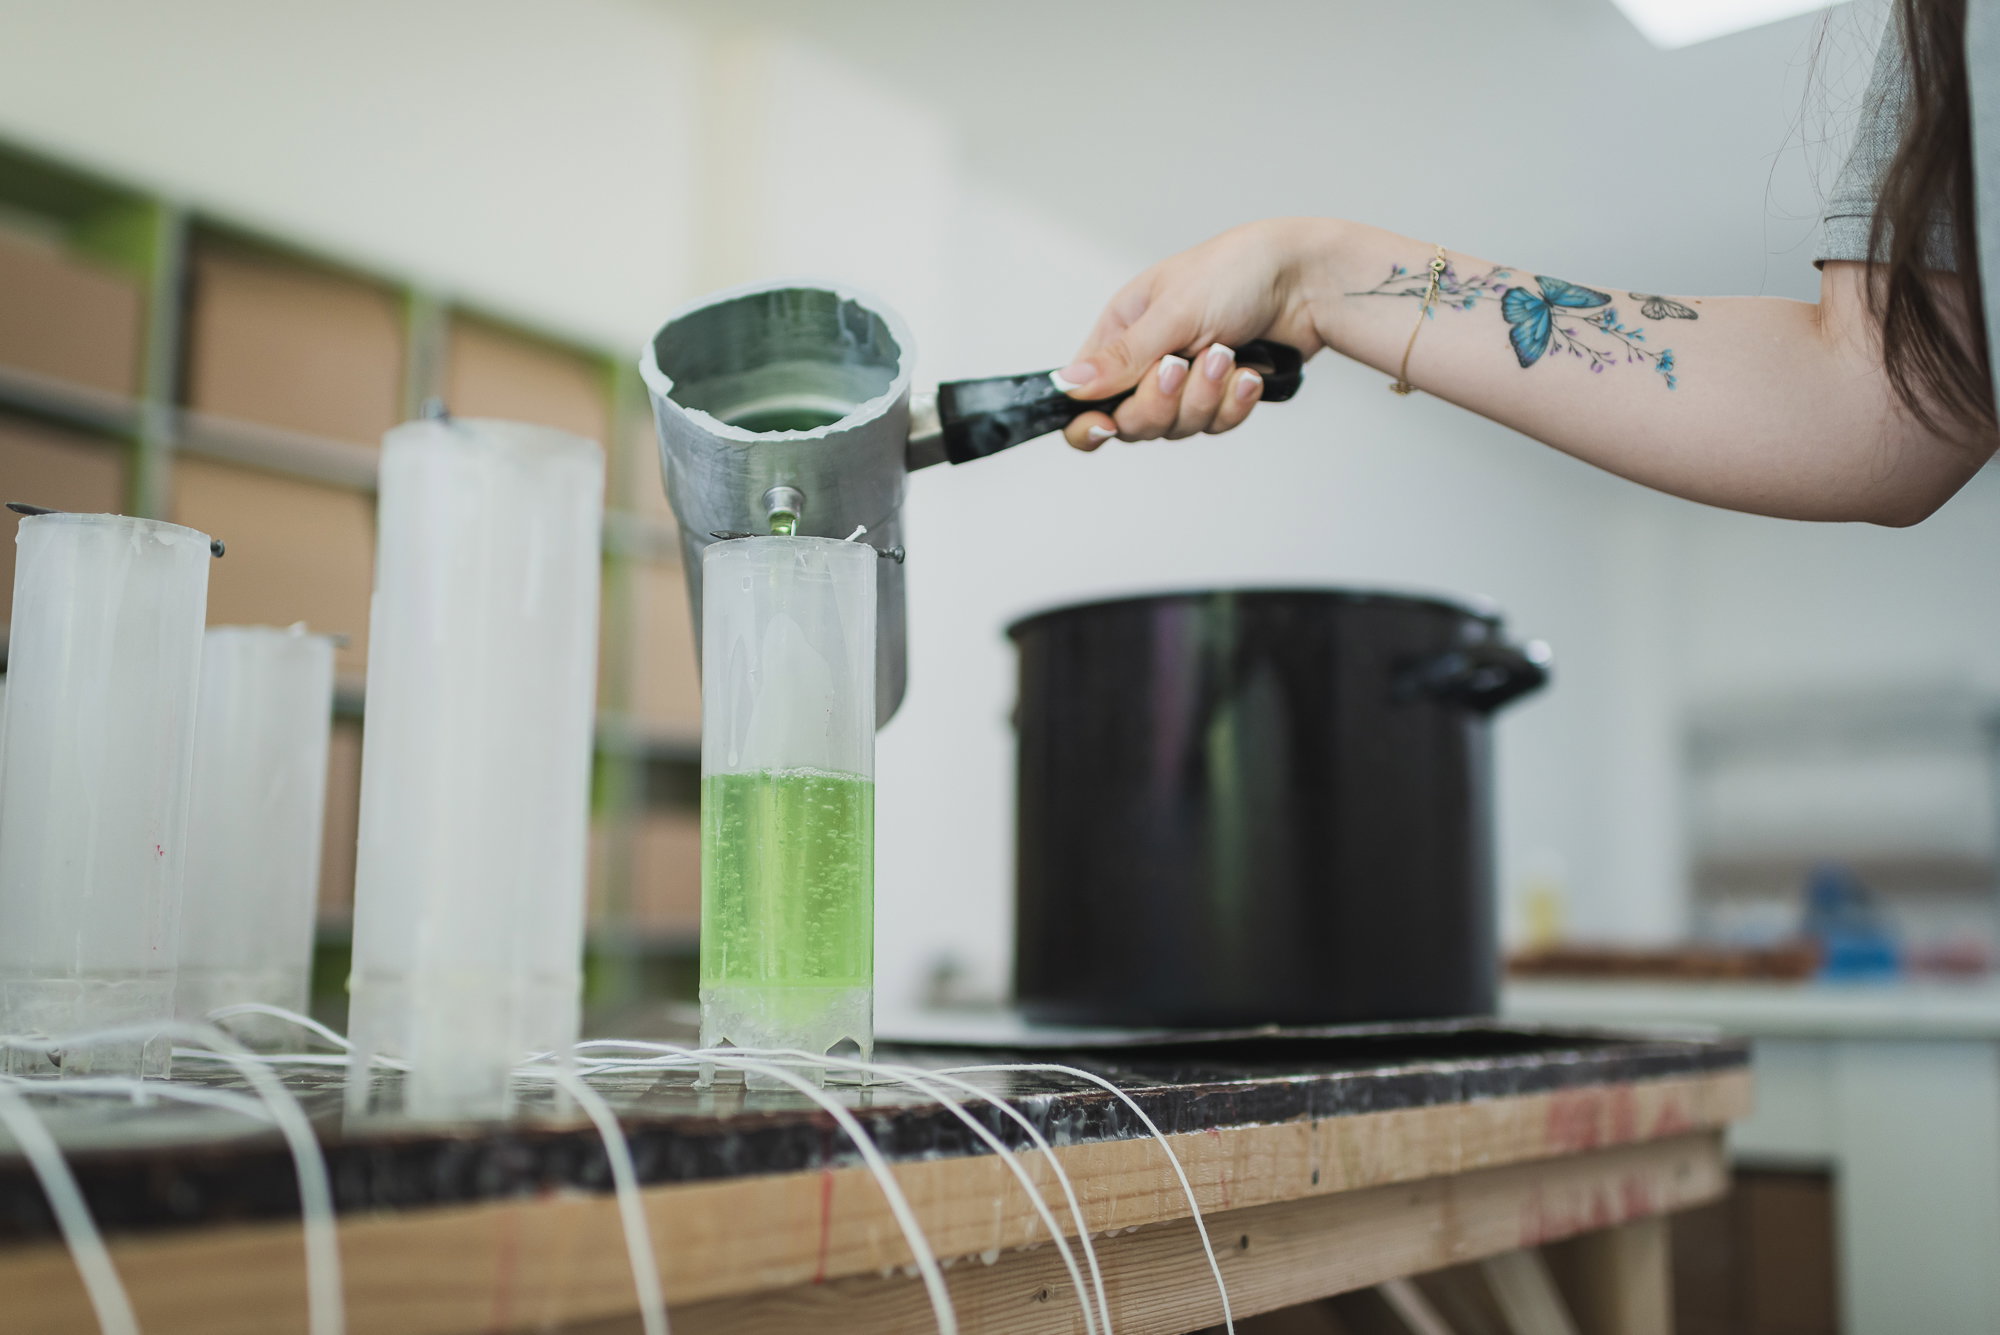 For candles that have to withstand ceremonies, handling and transport, in the workshop we use a classic blend: type 1 paraffin + vegetable stearin.
Why do we add stearin?
- It increases the hardness and the stability of the candle in the heat
- It gives that opaque, clean white typical of ceremony candles
- It helps a more controlled release from metal moulds
- It disciplines the flame and reduces drips down the sides
In short, paraffin provides the fuel and stearin provides the control. Together they make a denser, more stable candle that burns more predictably.
4. The Servus difference: the "two holes" rule
Online you’ll often read that you should "poke it with a knitting needle". In the workshop we’ve learned that improvisation doesn’t help when you work with tall wedding candles.
We use a thin metal rod with a wooden handle, made specially to reach the base of the candles. The procedure is simple and repeated every time:
- We leave the candles to cool for between 4 and 12 hours, depending on diameter and height.
- We step in while the wax is still slightly warm, not completely cold.
- We bring the tool down vertically, close against the wick, almost to the base.
The real secret is that we always make two opposite holes, next to the wick. When you pour the hot top-up wax into one hole, the air in the cavern has to have a way out. If you make a single hole, the wax blocks the exit, the air stays trapped and the sinkhole comes back.
5. The right wicking: the detail that keeps the candle straight
A sinkhole can also be made worse by a wick that’s chosen or tensioned wrongly. In our production we’ve set a simple, but tested, correlation:
- Diameter 3.5 cm → 3×8 wick
- Diameter 4.5 cm → 3×8 wick
- Diameter 5.5 cm → 3×10 wick
- Diameter 7 cm → 3×12 wick
But it isn’t only the size that matters, it’s the tension too. When the wax contracts, it puts considerable force on the wick. If it isn’t centred and pulled taut properly, the mass of wax can bend it slightly towards one wall, and the candle will burn crooked and run down one side.
For a detailed explanation of choosing the right wick for each diameter and type of wax, see our dedicated technical guide: how to choose the right candle wick
6. How to fix a sinkhole properly (workshop checklist)
 The top-up isn’t done at random, nor in a hurry. Our steps are simple, but they take patience:
- Make controlled holes using the two-holes method, next to the wick.
- Heat the top-up wax to about 5–10 °C above the initial pouring temperature, so it bonds properly to the body of the candle.
- Pour only enough to level the void, without going above the initial pouring line.
- Let the candle settle slowly, with no cold draughts or forced cooling.
The exact temperatures differ depending on the type of wax and the diameter of the candle, and they’re best learned from repeated tests, not from a single rushed pour.
Conclusion: the calm behind a stable candle
The hole next to the wick isn’t an enemy. It’s only the sign that the material worked quietly, on the inside. In the workshop we’ve learned not to be alarmed by these signs, but to understand them and to step in calmly, at the right moment.
The difference between an amateur and a professional isn’t the absence of problems, but the way they read them. A stable candle isn’t built from a single perfect pour, but from patience, observation and small gestures repeated correctly.
If you want to work with waxes suited to candles poured in moulds and to keep this phenomenon better under control, you can explore the materials made for pillar candles: wax for moulds and pillar candles
# ↑ AICI SE TERMINĂ ARTICOLUL ↑
# Mai jos NU se publică în corpul articolului — sunt câmpuri separate în Gomag, slotul EN.