 EN
EN  Romana
 Magyar
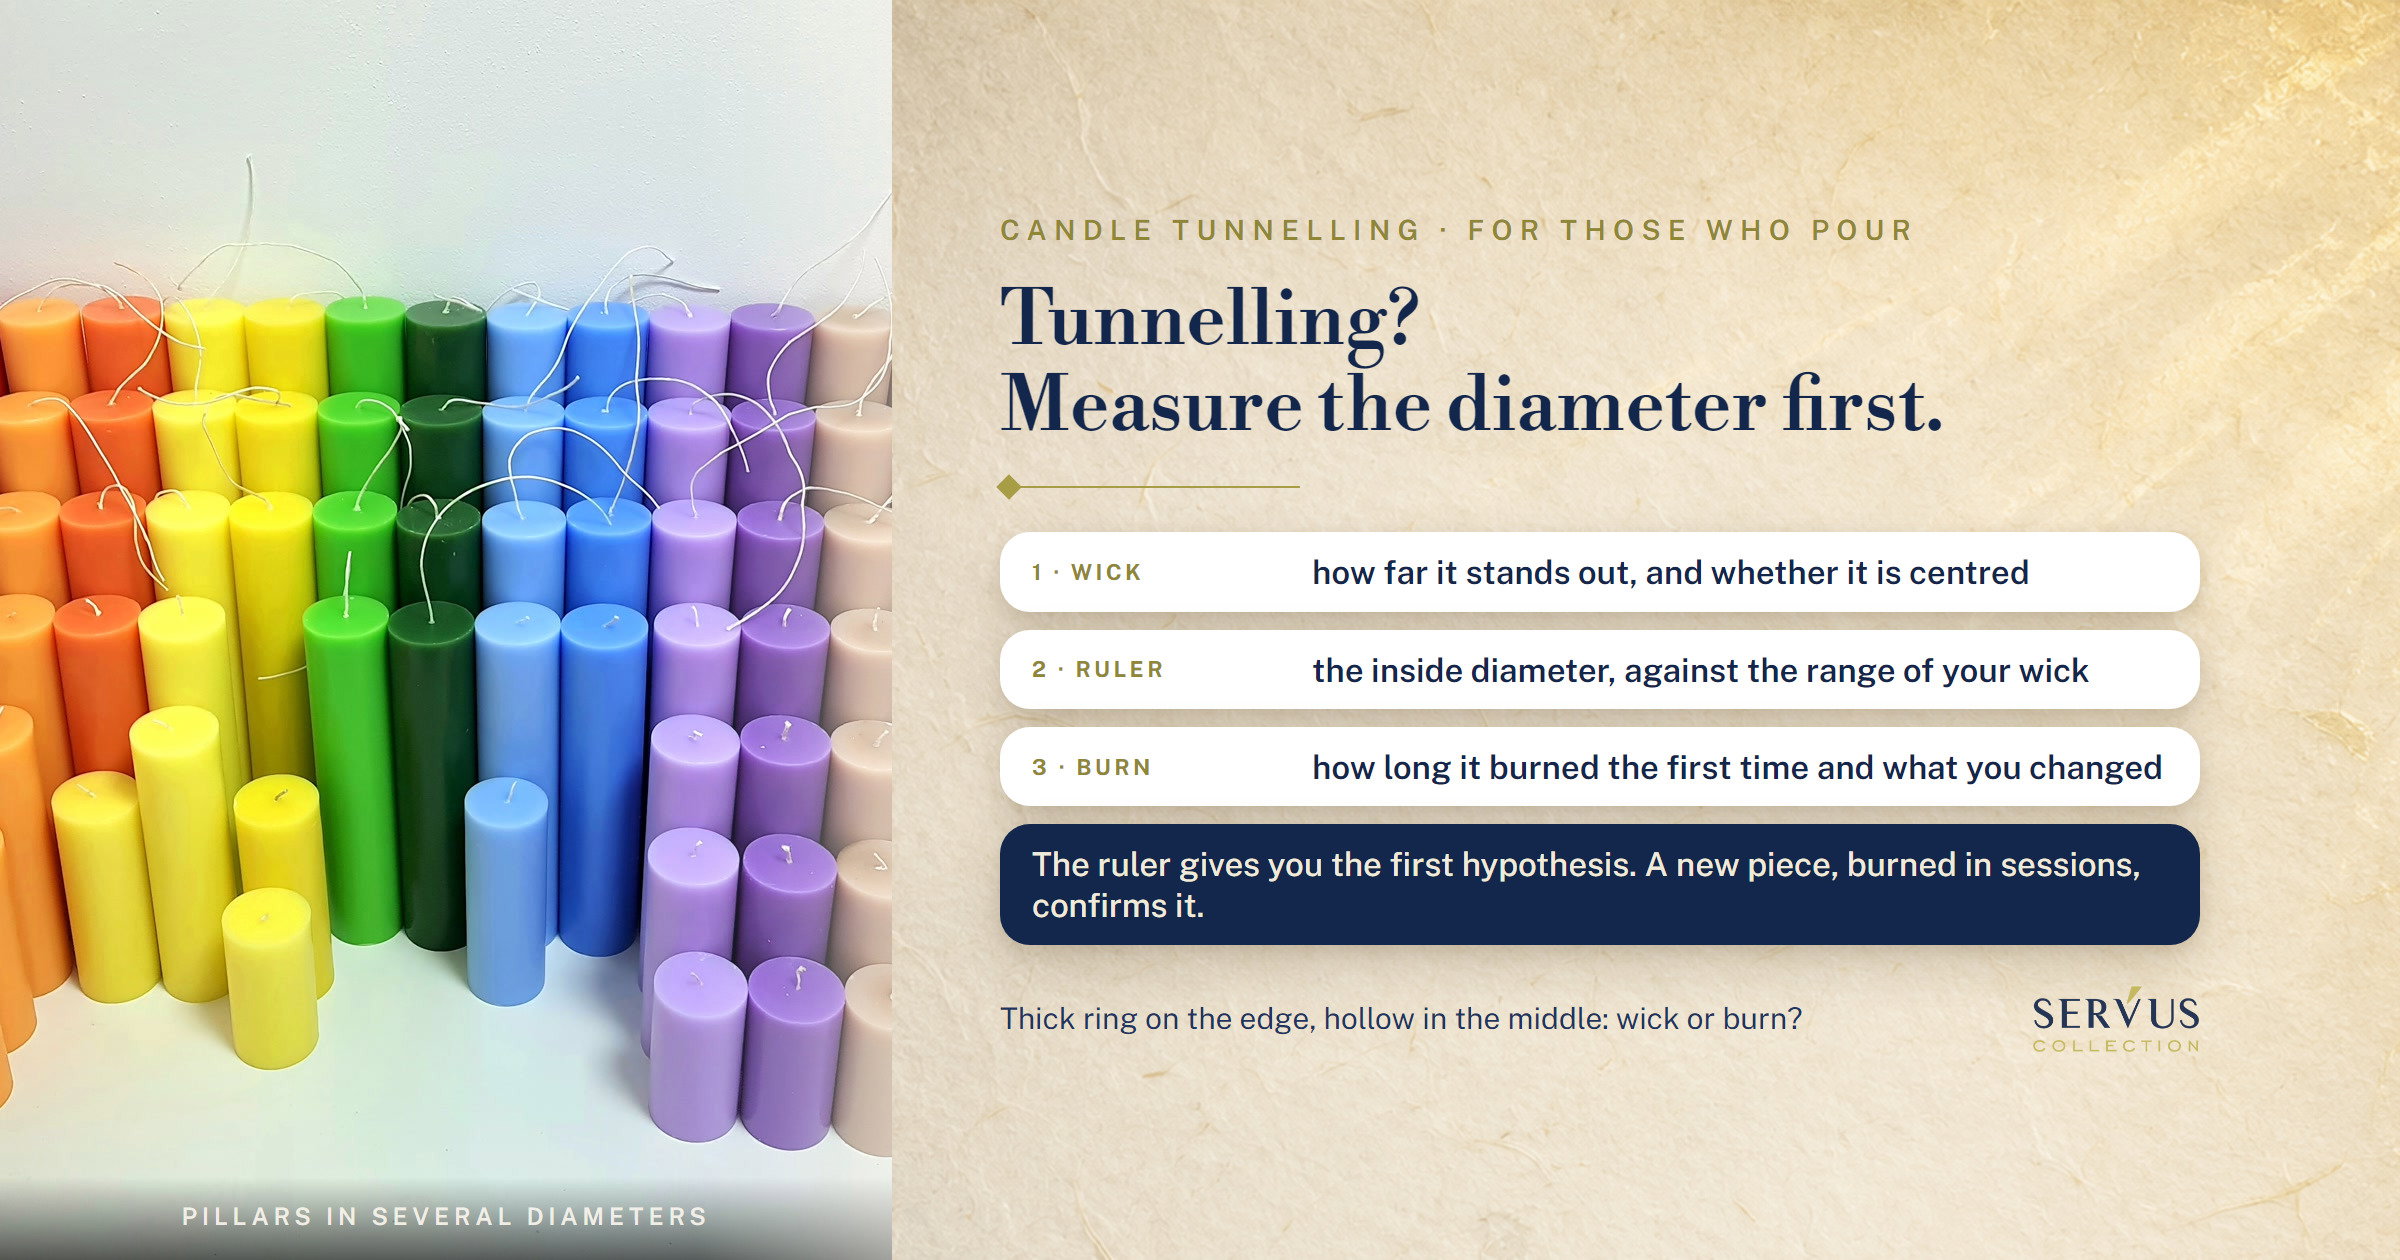
You’ve poured a test candle, lit it a few times, and now the flame sits in a hollow, with a ring of hard wax on the edge that nothing has touched. You have two suspects: the wick, or the way it burned the first time.
With candle tunnelling, you check the first suspect with a ruler, without lighting anything: measure the glass on the inside and set it against the wick’s range. If the glass is wider than the range, the first hypothesis is the wick. If it’s within the range, the wick stays under discussion, but you also look at the first burn and at the recipe. You find the cause from the test on a new piece.
Below: what a tunnel looks like and what resembles one without being one; the table with the range of every wick we sell; the signs that separate a wick that’s too small from a first burn that was too short; and what you tell the person who buys your candle. It’s written for whoever pours.
I’m Sînziana. We’ve been pouring candles in our workshop in Maramureș, Romania, since 2010, in moulds and in glasses, and we sell on the wicks we work with ourselves. The figures in the table are from the pages of our wicks: some come from the manufacturer’s data sheet, others from our own burns, and for the waxed wick the page gives them as a guide, on reference recipes.
What is candle tunnelling and where does it start?
Candle tunnelling is a burn in which the flame sinks into a hollow in the middle, while the wax next to the walls stays untouched. It starts from the melt pool, the liquid layer around the wick, which doesn’t reach the edge: either because the wick can’t widen it that far, or because the candle was put out before it could widen it.
For someone who sells, a tunnel costs twice. The customer is left with unburned wax stuck to the walls, so with a candle they haven’t used in full. And the flame in the hollow gets less and less air and more and more melted wax around it, until it can drown. In our reviews, this end of the road appears in the customer’s own words: "after a short while the candle simply doesn’t burn any more, the wick glows faintly and then goes out" (translated from Romanian). The whole road, from tunnel to the wick that goes out, we wrote up in the article on the wick that goes out.
What does a candle that tunnels look like?
A candle that tunnels has a ring of hard wax on the edge and a hollow in the middle where the flame sits, lower and lower from one lighting to the next. In a glass you can see it from above and through the glass: the liquid stays a circle around the wick and doesn’t touch the walls. On the pages of our waxed wick for glasses we wrote it exactly like that, "a shallow pool that doesn’t touch the walls".
With a candle poured in a mould, the sign is the thickness of the wall. On the page of special wick no. 7 we wrote what we see at large diameters when the wick is too small: the candle "burns down the middle and leaves thick walls of unburned wax".
An example, so you have the picture: a glass in which, after three lightings, the flame sits below the lip of a thick collar of wax, stuck to the glass all the way round. That’s a tunnel. A pool that hasn’t reached the walls after the first hour isn’t: the candle is still warming up, and in the article on the first burn we wrote why the first hour isn’t judged.
Why do the wax data sheets put tunnelling down to the wick?
Because the one sentence about tunnelling on the wax data sheets sits in the chapter on the wick. On the data sheets of three container waxes in our range, KeraSoy Container 4130, EcoCoco and EcoOlive, the same sentence appears: a wick that’s too small causes tunnelling and gives a smaller flame. The same place says that "natural waxes" tend to need larger wicks than paraffin, and that the fragrance, the colour and the shape of the candle weigh heavily in the choice of wick.
About a candle’s first burn the data sheets say nothing. What they ask of you is a test burn 48 hours after pouring, at which you look at the diameter of the melt pool.
The mistake is to read the sentence on the data sheet as a verdict. The data sheet tells you what a wick that’s too small does. It doesn’t tell you that the tunnel in your glass comes from the wick. The ruler below tells you whether the wick was chosen within its range; the test confirms the cause.
What isn’t a tunnel, though it looks like one
Three things look like tunnelling and have other causes, so other remedies:
- The hollow next to the wick after cooling. It appears before you light the candle: the wax shrinks as it sets, and the inside pulls the material down. It’s a pouring problem, which we explained in the article on the hole next to the wick, not a burning one.
- The thin wall of a poured candle. On a candle without a glass you want it: the pool widens almost to the edge, and the thin wall that’s left holds the liquid inside. A tunnel is the thick wall, not the thin one.
- A pool that widens on one side only. Either the wick isn’t in the centre, or the candle is standing in a draught. On the page of the waxed wick we write that the metal tab keeps the wick upright but not centred, and that, stuck off centre, the burn migrates towards the wall.
Before you move on to the ruler, see which of them it is. For a cooling hole you don’t look for a bigger wick: you work on the pour and the top-up afterwards, and check that the wick is centred and taut. For a lopsided pool, a bigger wick doesn’t move the centre: you move the candle out of the draught and, in the next batch, stick the wick in the centre of the glass.
How do you find out whether the wick is too small for your glass?
Measure the glass on the inside and look for the diameter in the range of the wick you used. If the glass is wider than the range, the wick is working outside the span it’s given for, and you have your first hypothesis before you look at the first burn. It doesn’t work the other way round: a wick within its range can still be too small for your recipe, because the range is measured on a reference recipe.
The range is the span of diameters over which a wick widens the pool out to the edge. Below it, the wick burns too strongly: on the page of wick no. 7 we write that, below its range, it gives a large flame, smoke and fast consumption. Above it, the wick falls behind: on the page of the wick for moulds we write that, put on too large a diameter, the melt pool lags behind and the wax doesn’t reach the edges.
How wide is the glass, measured on the inside?
The diameter that matters is the inside one, that is, the width of the wax, not of the glass including its walls. With the waxed wick for glasses, the choice starts from it: the wick’s burn diameter is taken as roughly equal to the inside diameter of the container, and the wick’s height from the depth. Lay the ruler across the mouth of the glass, from one wall to the other, on the inside.
With a thick-walled glass, the difference between outside and inside can move the candle into another range, so you don’t measure on the outside. If the glass widens towards the middle, measure there too: the candle goes down as it burns, and the pool has to reach the wall at the widest point as well. With a candle poured in a mould, you measure the candle itself, across its diameter.
Write the figure next to the name of the wick, on your pouring sheet. A month later, when a customer writes to say the candle tunnels, the first thing you look for is this pair: the diameter and the wick.
The range of every wick we stock, in a single table
The table puts each wick we sell on its own row, with the diameter it covers and the source of the figure. All the ranges are starting points, not guarantees: the wax, fragrance and dye shift them, and the confirmation comes from the burn on your recipe.
| Wick | Where you use it | Range: diameter of the candle or glass | Where the figure comes from | What you test above the range |
|---|---|---|---|---|
| braided cotton SKS: 3x6 · 3x8 · 3x10 · 3x12 | candles poured in a mould, with stearin or paraffin with stearin | 2–3 · 3–5 · 5–7 · 7–9 cm | our tests, on recipes with stearin | the next size up |
| waxed with tab SHW: codes 30 · 40 · 50 · 60 · 70 · 80 · 100 | candles in glasses | about 3 · 4 · 5 · 6 · 7 · 8 · 10 cm | a guide, on reference recipes | the next code up |
| special no. 5 | poured candles of beeswax, paraffin or blends with stearin | 2–4 cm | the manufacturer’s data sheet | above 4 cm it tunnels; move to no. 7 |
| special no. 7 | the same, large diameters | 5–8 cm | the manufacturer’s data sheet | on its page: above 8 cm, a single wick is no longer enough |
| wooden, straight 10 mm | candles in glasses | soy 5–5.5 · granules 5.5–6 · paraffin 4.5–5 cm | our tests, one wick | two wicks or the 14 mm width |
| wooden, straight 14 mm | candles in glasses | soy 5.5–6 · granules 6–6.5 · paraffin 5–5.5 cm | our tests, one wick | two wicks |
| wooden, cross | candles in glasses | soy 6–6.5 · granules 7–8 · paraffin 5.5–6 cm | our tests, one wick | two wicks |
| wooden, wave | candles in glasses | soy 5.5–6 · granules 6–7 · paraffin 5–5.5 cm | our tests, one wick | two wicks |
| wooden, round | candles in glasses | we don’t yet have a measured range | we don’t give a figure we haven’t measured | your test |
You read it like this: find the row for your wick, then see where your glass falls. A glass 8 cm across on the inside, with a code 60 waxed wick, is above its range of about 6 cm, so you have a good hypothesis, and you do the next test on code 80. A 6 cm soy glass with a 10 mm straight wooden wick is above its 5–5.5 cm range: there you test two wicks or the 14 mm width. "Granules" means granular or sand-type wax, and for rolled candles the ranges are different, written on the pages of wicks no. 5 and no. 7. The wick calculator does the same reading: enter the inside diameter, the wax and the height, and it shows you the wick you start from and its range.
What do you do when the glass is at the edge of the range?
Start from the end of the range closest to your glass and burn a test piece. At the edge of the range the test decides, not the table; on the page of wick no. 7 we wrote this for the 4–5 cm diameters between it and no. 5, and on the pages of the others we say the same thing in other words: the figure in the table is a starting point, not a guarantee.
Plant wax pushes you one size up only where our pages say so: with the wick for moulds, on 100% soy or coconut wax, the wick chosen for stearin can turn out too small, and with the waxed one, soft plant waxes narrow the melt pool compared with paraffin. With wood you don’t add this step: the ranges are measured on each wax, and with the 10 mm straight wick soy even goes wider than paraffin, 5–5.5 cm against 4.5–5. Read the row for your wax and nothing else. A lot of fragrance or dye makes the burn harder for any wick. Where you go up, go up a single size and test. Don’t jump several sizes to be safe: the same wax data sheets say that a wick that’s too big can cause soot, can speed up the burn and can make the candle drip.
If the glass is wider than the largest range of a wick type, a single wick of that kind no longer covers it. With wood, the pages of the measured wicks say what you test above the range: two wicks, equally spaced from the centre. It’s the set-up you start from, not a result: on the pages we don’t give a measured range for two wicks, nor the distance from the walls, so you confirm it by testing, as with any new wick. With the waxed wick, the largest range is around 10 cm, and for two cotton wicks in the same glass we haven’t written a rule of our own.
You do the test as with any wick: let the candle stand for 48 hours after pouring, then burn it for two hours without a break, where you can see it, and look through the side. Extend it long enough to see the pool, but not beyond 4 hours, the ceiling we write on our candles. Our benchmark for a glass is a pool that touches the walls without going deeper than half a centimetre. The full protocol, including the part about the wick that’s too big, is in the guide to wicks for container candles.
How do you recognise a tunnel left by the first burn?
A tunnel left by the first burn appears on a candle whose wick is within its range but which was put out before the pool reached the edge. From then on, each lighting starts from the hollow left by the one before, and the ring on the edge ends up further and further from the flame.
It isn’t the wax’s memory, it’s geometry: a flame sitting lower than the edge heats the wax around it, not the ring above. Here it matters to you for another reason: a tunnel left by putting the candle out early looks the same as one left by a wick that’s too small, and if you misread it, you change the wick for nothing.
How long did the test candle burn the first time?
If it didn’t burn for at least two hours without a break, you only have a partial observation, too little to judge the wick. The two hours are our benchmark for candles in glasses, not a figure from the manufacturer’s data sheet: the first hour is the warm-up, and the pool is judged from the second. And they’re the minimum, not the confirmation: some recipes reach the edge gradually, over several burns, as we wrote in the article on the first burn.
Say the test candle is lit in the evening for half an hour, then once more the next day, again in a hurry. By the third lighting it has a tunnel, and the conclusion comes quickly: wick too small. If you move to a bigger size after this test, you risk ending up with a wick too strong for that glass, and from there come the pool that’s too deep and the overheated glass.
With the wooden wick, on its pages we write that you read the pool at 2–3 hours. For a candle poured in a mould we don’t have a measured duration for the first burn. What you have there is the sign: the pool widens almost to the edge and leaves the wall thin and intact.
The signs that tell the two apart
You don’t look at a single sign, but at several at once. The table puts side by side what you see when the wick is too small and what you see when the first burn was too short:
| What you check | Points to a wick that’s too small | Points to a first burn that was too short |
|---|---|---|
| the glass, against the wick’s range | it’s above the range | nothing on its own: a wick within its range can still be too small for your recipe |
| a long first burn, of at least two hours, in a glass | the pool didn’t reach the walls after it, nor on the long burns that followed | there wasn’t one: the candle was put out early |
| the flame | small from the first lighting; the wax data sheets link a wick that’s too small to a smaller flame | the wick’s usual flame; the hollow comes from putting it out, not from the flame |
| when the ring appeared | even after a long burn | after a few short lightings |
| a long burn now, on a small tunnel | the pool still doesn’t reach the ring | the pool reaches the ring and melts it |
The second row, the long burn, weighs most; the first only tells you where to start, and the flame alone decides nothing. The last row only works on a small tunnel: a deep tunnel recovers with difficulty or not at all through burning alone, even with the right wick, so a pool that doesn’t reach the ring in a deep tunnel doesn’t prove the wick is small. And it can be both at once, a wick at the bottom end of its range and a short first burn; that’s why the test below is done on a new piece.
Can a test candle with a tunnel still be saved?
As a test, no: a candle with a tunnel has lost the level surface the wick test starts from. As a candle to use, a small tunnel can sometimes be recovered with a long burn, within the 4-hour limit, if the wick suits the glass, and a deep one with difficulty or not at all.
What you do to find the answer: pour a new, identical piece, with the same wick, the same wax, the same fragrance and the same dose, and give it a proper first burn of at least two hours. If the pool reaches the walls, the early-put-out hypothesis gains weight, but a single test doesn’t close the discussion: you confirm the wick on the whole candle, burned in sessions down towards the end, as we wrote in the article on the wick that goes out. If the pool doesn’t reach the walls even now, the too-small-wick hypothesis moves to first place; you also look at the burns that follow, because some recipes reach the edge gradually, and only then go up one size.
On the candle with the tunnel you can try a long burn only to learn something more, not to confirm.
Where to start
With the wick and the ruler, before any new wick. The first two checks need no lighting at all, and you choose a new wick only once you know what made the tunnel.
The order in which you check
- The wick: how much stands out of the wax and where it sits. Take the length from your own product, not from here: on the pages of the wooden wicks we write 0.5 cm, the KeraSoy Container 4130 data sheet asks for ¼ inch, about 6 mm, and on the boxes of our candles the pictogram sets the ceiling, one centimetre at most. A wick trimmed much shorter tells you nothing about the size: redo the test on a new piece, with the wick at its proper length. A lopsided pool means an off-centre wick or a draught, not a small wick.
- The inside diameter, against the range in the table. Above the range, you have your first hypothesis. Within the range, the wick still stays under discussion.
- How the test candle burned. How long it burned the first time and how many times it was lit in a hurry. Under two hours at the first lighting, you only have a partial observation.
- What you changed in the recipe. The wax, the fragrance, the dye or the batch can push a wick out of its range even if the table says it’s right. Each change, with what to test first, is in the article on the wick that goes out.
- The test on a new piece. Identical, with a proper first burn, watched on the later burns too. It supports or weakens the hypothesis; the confirmation comes from the candle burned down towards the end.
The list goes from what you check without lighting anything to what needs a new test piece. You can check the first two points on a candle you’ve sold too, from the photo the customer sends you: one from above, one from the side, with a ruler next to the glass.
What you tell the person who buys your candle
Tell them how long to let it burn the first time: until the melted wax reaches the edge of the glass. It can go on the card in the box, on the label under the glass or in the delivery message, wherever they’ll read it before lighting.
The pictograms on the candle don’t tell them. They come from the European standard EN 15494 and say how not to start a fire: not left unattended, away from children, away from anything that can catch fire. About the first burn they say nothing, as we wrote in the article on the first burn. On the pages of our candles we also write not to let it burn for more than 4 hours; the first burn stretches it out, and the ceiling stops it.
The figure on the card is yours, from your test, not ours: if your candle reaches the walls in three hours, you write three hours. And when a customer writes to say the candle tunnels, the question about the first burn is the first one you ask, alongside the photo from above.
When a candle tunnels, you don’t start from a new wick. You start from the ruler, the clock and your pouring notes. If you’ve been through all three and still can’t tell, send us the inside diameter of the glass, the wick with its series and size, the wax and the fragrance dose, how long it burned the first time and two photos, one from above and one from the side. Write to us on WhatsApp or call us on +40 726 162 810 (we answer in English), Monday to Friday, between 8:00 and 16:30 (Romanian time).