 EN
EN  Romana
 Magyar
You looked at the price of a pair of wedding ceremony candles, closed the page and opened another, where someone explains in three steps how to make wedding candles in your kitchen. It looks simple. Wax, a wick, a mould. You have two hands and a few months until the wedding.
It can be done, and I’ll tell you exactly what you need. Wax that holds its shape at height, a wick chosen by the diameter of the candle, a mould, a thermometer, a scale and a test batch that you burn all the way down. The part that surprises people isn’t the pouring. It’s the sum, because it looks completely different for two pairs than for twenty pieces.
I’m Sînziana. We’ve been pouring for sixteen years, and for just as long I’ve been ruining batches, so I know where someone trying for the first time gets stuck. Below is the whole list, the technical part you don’t see in one-minute clips, and the calculation that lets you find out for yourself whether it works out for you. If at the end it turns out that it doesn’t, that’s a good result too.
How do you make wedding candles without losing the first batch?
First you decide what candle you want: how tall and how thick, which means the mould you pour into. Only then do you choose the wax, by that height, not by the price per kilogram. A wedding ceremony candle stands upright on its own, sometimes in a heated church, sometimes outside in the sun, and the wax is the only thing that keeps it that way.
The wick comes last, in a chain: it’s chosen by the diameter and by the wax you’ve chosen, and the diameter has already been fixed by the mould. That’s why the order matters: if you choose the mould by what you find cheaper, and not by what the candle has to do on the day, the whole rest of the chain sits on a wrong choice.
The most expensive mistake with the first batch isn’t in the pouring. It’s buying everything at once, before you know what diameter you have.
When is soy too soft for a tall candle?
Soy is softer than paraffin, and in the heat it shows. With a tall candle that stands upright, soft means it softens and leans when a summer day sets about warming the table you’ve put it on. It doesn’t break spectacularly, it just sags a little, and a little is enough to show in the photographs.
One of the customers we talked to this year put it more briefly than I do: "soy is softer, they break if I don’t combine it with paraffin" (translated from Romanian).
For a tall pair we poured this year, 1.2 metres tall and seven centimetres in diameter, the base was ultra-refined paraffin with stearin and natural palm wax. It isn’t a choice of looks, it’s one of strength: the paraffin gives the even appearance, the stearin strengthens the structure, and the palm adds the hardness that holds the shape in the heat. At 1.2 metres, that isn’t a nuance. It’s the difference between straight and crooked.
Paraffin isn’t the only road, though, and it isn’t the road we chose for soy wax for moulds. In the workshop we arrived at a vegetable additive in flakes, palm lipids, put into a blend with the soy: 15 to 20 per cent additive, the rest wax. It hardens the piece in the heat and makes it come out of the mould more easily, without taking it out of the vegetable family. What I don’t promise you is that a vegetable blend holds at 1.2 metres. We made that pair on paraffin with stearin and palm, and at the usual heights for wedding ceremony candles, vegetable wax with the additive is checked on the test batch, not on the pair for the wedding. I’m not telling you that any wax does anything.
How do you choose the wick when the candle is thick?
You start from the diameter and adjust for the wax. At the diameter of a wedding ceremony candle you’re in pillar territory, meaning a candle that burns in the open, not in a glass. There the heat dissipates sideways, so the wick is chosen by the diameter, not calibrated by the depth of the melt pool, as it is with containers.
The rule that gets forgotten most often: when you change the wax family, you don’t automatically keep the wick. With the vegetable waxes we work with, we usually end up with a bigger wick than for paraffin, at the same diameter, but the size is confirmed by testing, not from a table. You can’t take a wick table, change the wax and expect the same result.
The sign that you got it wrong always comes in the same words, and I’ve been reading them in reviews for years: "it simply stops burning, the wick stays glowing a little and then goes out" (translated from Romanian). It’s the classic sign of a wick too small for the diameter, if the rest of the recipe hasn’t been changed in the meantime; a colour or an additive that clogs the wick gives the same picture. The other way round, a wick too big, you get a flame that runs and wax that drips down the side, right in the minutes when the photos are being taken.
A size table is the starting point, not the answer. Any change, a different wax, a different diameter, a different colour, means a new test. It isn’t pedantry. It’s the only way you find out beforehand, not in church.
The list, in the order you buy it
The order matters more than the list itself, because every line depends on the one before it.
- The mould or the form. It fixes the diameter and the height. Everything else is chosen by it.
- The wax. Chosen by the height and by how warm it will be on the day.
- The wick. Chosen by the diameter and by the wax, bought on a reel or by the metre, not by the piece.
- The thermometer. A kitchen one is enough, but you have to have one.
- The scale. To the gram. The recipe is written in grams, otherwise it can’t be repeated.
- The melting pot. In a water bath, never directly on the flame.
- The decoration and the personalisation. Last, because they go on a candle that already exists.
What’s missing from the list and isn’t shown anywhere: the test batch. It isn’t an object, it’s an amount of wax that you melt, pour and burn without anyone using it. If you don’t put it on the list now, you pay for it anyway. Only you pay for it with the pair for the wedding.
I’m not giving you the pouring temperature here, and not out of reticence. It’s taken from the data sheet of the wax you buy, because it differs from one product to another more than it differs between the general tables on the internet.
What goes wrong with handmade wedding candles
Three things go wrong, in this order: the shape, the burn and the calendar. None of them shows on the day you pour. They all show afterwards.
I list them in the order they reach me, through the orders that come after an attempt at home. It almost never sounds like "I couldn’t pour". It sounds like "it looked fine when I took it out of the mould".
Why does a tall candle go crooked?
It goes crooked because the wax keeps working after it has cooled to the touch. Through the middle it stays warm long after the surface feels cold, and if you take it out of the mould or stand it upright then, it leans over the following days without anyone touching it again.
Cooling can’t be hurried. It’s counted in hours, not minutes, and a tall candle needs more of them than a short one, for the simple reason that it has more warm mass in it. The second reason for going crooked is wax that’s too soft, which I wrote about above.
If you want to know before the wedding, you make one a few weeks in advance and leave it standing upright, on its own, in an ordinary room. A candle that leans does it over days, not hours, and it does it just as well in your kitchen as in church.
How much time do you actually need, from the sack to the candle?
You need more than an afternoon, and not because of the pouring. The pouring is the short part. The long parts are the cooling, the burn test and the second batch, the one you make after the first has taught you something.
An order of magnitude, so you have something to hold on to. For the pair seven centimetres in diameter I told you about, the estimated burn is about fifteen hours for five centimetres burned down. To find this out about your candle, someone has to sit next to it and watch. It isn’t a figure you read. It’s one you obtain.
Add it up: a day of melting and pouring, a few days of cooling and settling, an evening of test burning, plus another whole round if the wick was wrong. Only then the decoration, if you want names and a date on them.
The week before the wedding is the one in which you have the least time of the whole year. If the test batch falls in it, it’s no longer a test batch. It’s the wedding batch.
The mistake that only shows in church
The most expensive mistake isn’t an ugly candle. It’s one that doesn’t stay lit as long as the service lasts, or that goes out at the first gust of air when you step out onto the church steps. The wedding ceremony candle is held in the hand and has to burn without interruption for a length of time you don’t decide. An undersized wick, which in the kitchen just looks well-behaved, goes out in church.
The second mistake from the same family: two candles from the same batch that burn differently. It happens when you didn’t weigh, when you poured at different temperatures or when the wick wasn’t centred the same way. It shows straight away, because the candles stand next to each other, in every photo.
That’s why the recipe gets written down. In grams, on paper, while you pour. What isn’t written down isn’t repeated, and what you need is exactly two identical candles, not two beautiful candles.
How much does it cost to make your own wedding candles?
It costs less on materials and more on everything else. The wax and the wick in a pair are the small part. The mould, the thermometer, the reel of wick, the sack of wax of which you use a fraction and the test batch are the big part, and you pay for that once, however many pairs you make.
I’m not giving you prices, because they change and because mine aren’t yours. I’m giving you the sum, the same one we give anyone who asks us how to work out their price.
The six costs, four of which you don’t see
A real cost has six parts. Whoever counts only the first concludes that it’s cheap, then wonders where the money went.
| The cost | What goes into it | Is it divided by the number of pieces? |
|---|---|---|
| Raw material | wax, wick, colour, decoration | yes |
| Shipping the materials | delivery of the sack and the reel | yes, but badly in small quantities |
| Technical losses | the test batch, the remelts, the rejects | 10 to 15% of the materials |
| Labour | your hours, at a rate you set yourself | yes |
| Tools and fixed costs | the mould, the thermometer, the scale, the pot | no, they’re paid once |
| Taxes | only if a sale comes out of it | on sale |
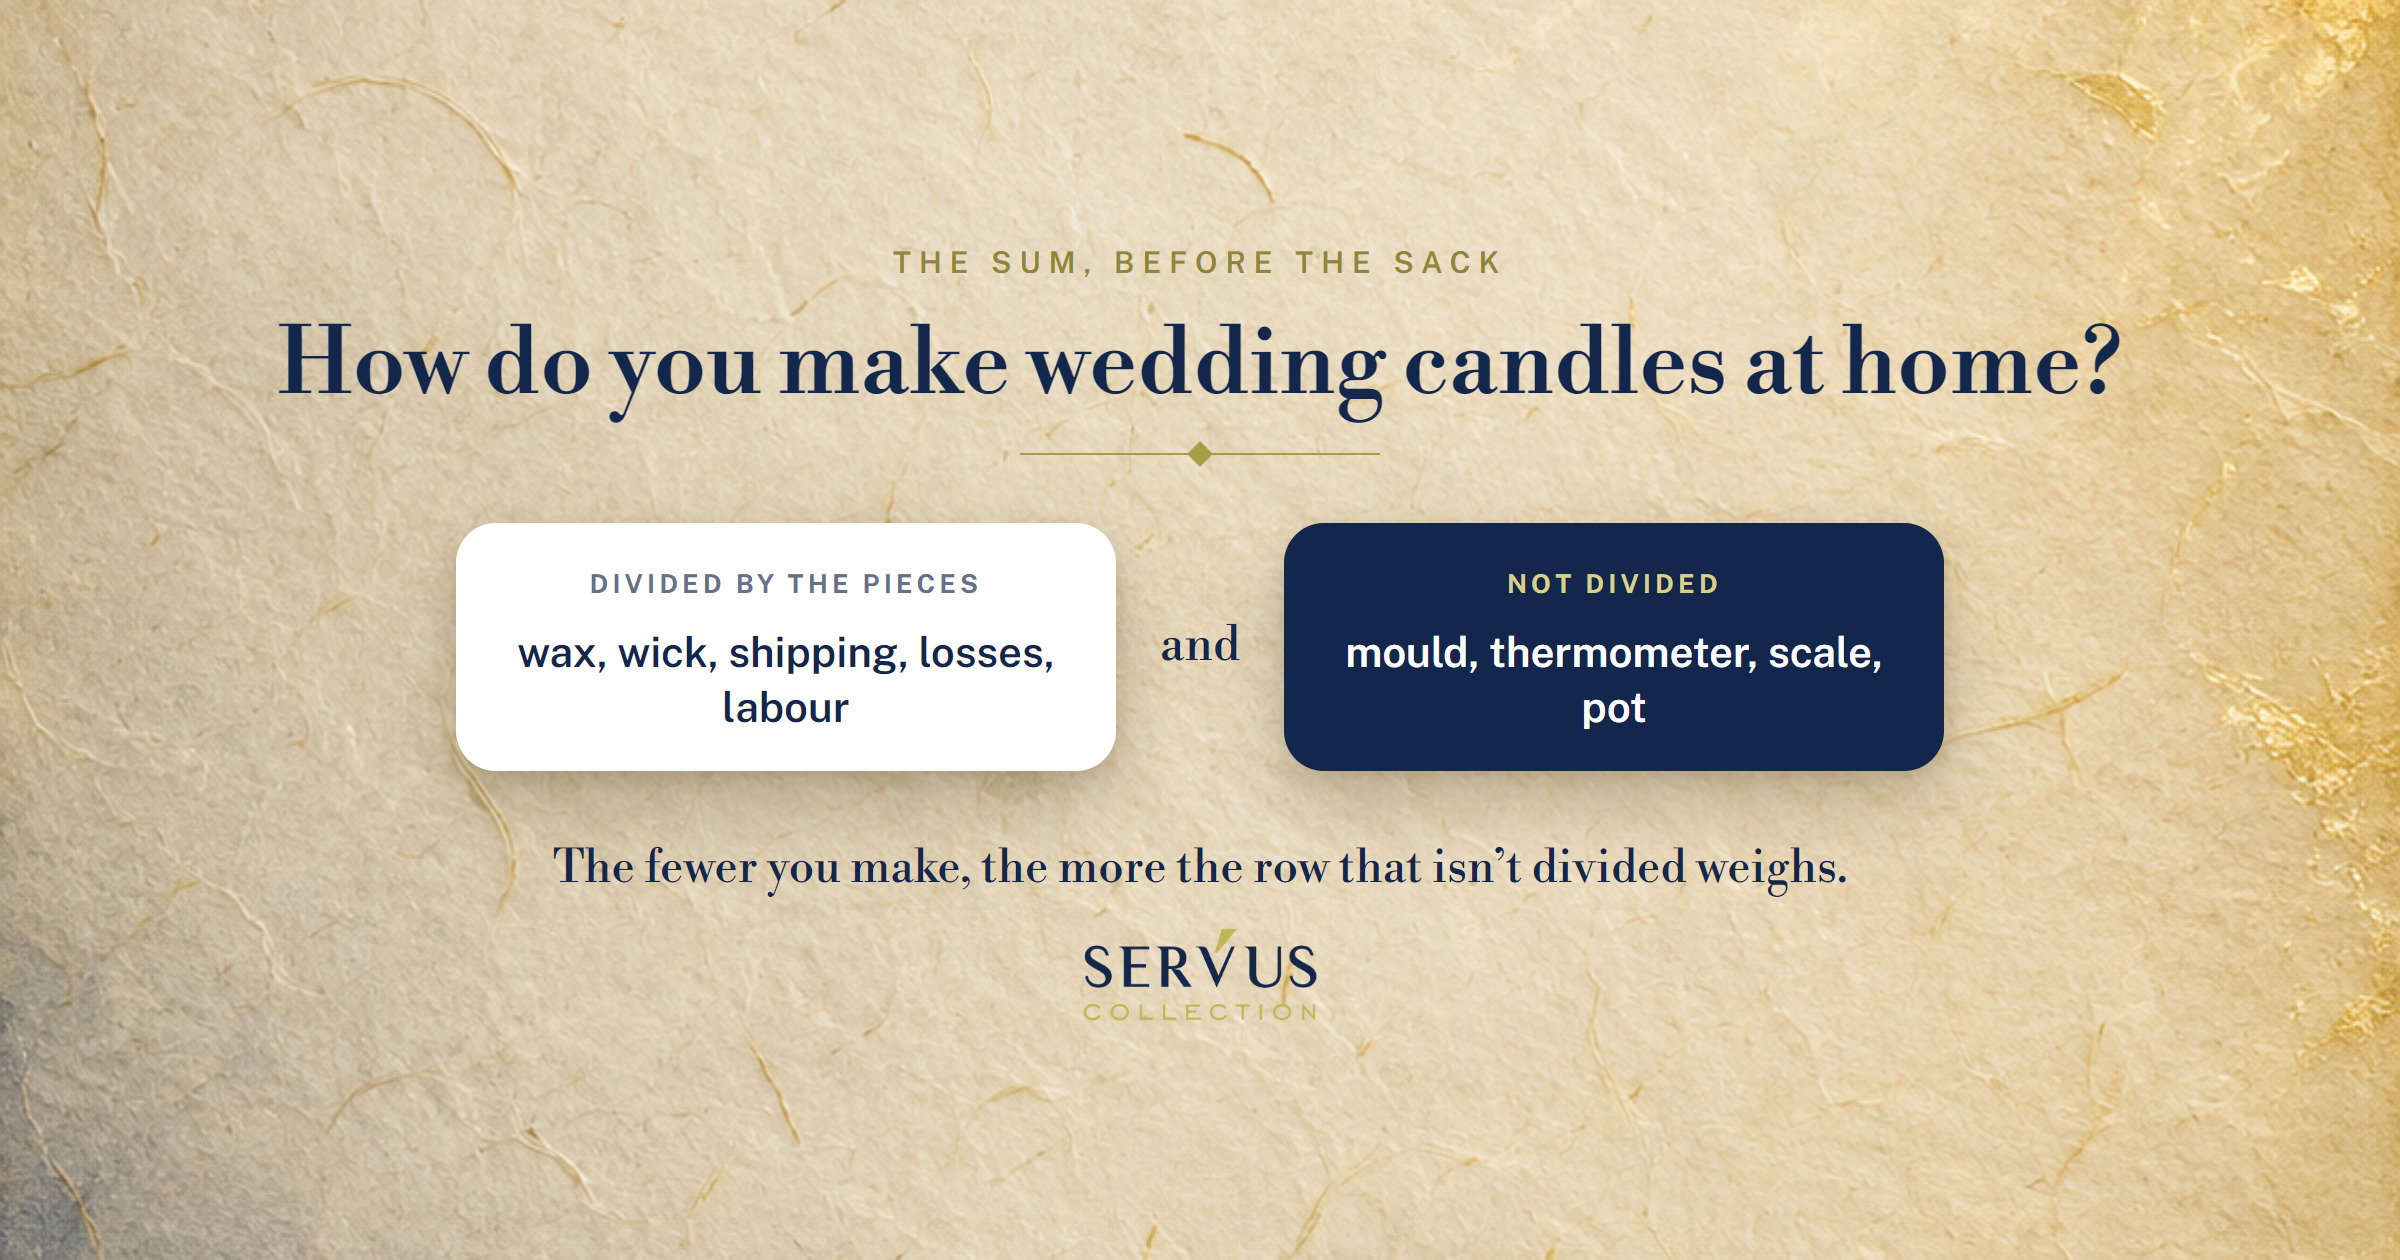
The third column is the one that decides everything. Four costs are divided by the number of pieces, one isn’t divided at all. The fewer you make, the more the row that isn’t divided weighs in the price.
The row with the technical losses is worth reading twice. Ten to fifteen per cent is the buffer we count with on a production batch, the same one I wrote about in the article on working out the price. With a batch of two candles, ten per cent doesn’t exist as a notion: the smallest possible loss is a whole candle, which is half the batch.
From how many pairs does it start to be worth it?
I’m not giving you a number, because the number depends on what you already have in your kitchen and on what you’d pay for what you don’t have. I’m giving you the formula. You fill it in in five minutes and you get your own threshold, which is the only one that counts.
- Start-up costs. Everything you buy once and that stays with you: the mould, the thermometer, the scale, the pot, plus what’s left over from the reel of wick and the sack of wax.
- Materials per pair. The wax, the wick and the decoration actually used by two candles, not bought.
- The buffer. You multiply the materials by 1.15.
- Your time. The hours, at a rate you set yourself. You can put it at zero, but then admit that you did.
You put them on the same line: cost per pair = (start-up costs divided by the number of pairs) + (materials per pair multiplied by 1.15) + your time. You compare the result with the price of a ready-made pair, opened on the page, on the day you do the sum. Where the two meet is your threshold, and it moves with every thing you already have at home.
One thing shows straight away, whatever your figures. The first term is divided by the number of pairs, the second isn’t. With one pair, the start-up costs are divided by one. With twenty pieces, they’re divided by twenty. That’s the whole mechanism, and it doesn’t change whatever prices you put into it.
If it turns out that it isn’t worth it and you make them anyway, that’s fine. But then you make them because you want to have made them yourself, not to save money. They’re two different reasons, and only one of them breaks when the batch comes out badly.
Do home-made wedding favours go into the same calculation?
They go into the same formula, but they come out with a different result, usually in your favour. With favours you have tens or hundreds of pieces, so the start-up costs divide much better than with a single pair.
The technical part changes too, also for the better. A favour is small and usually sits in a container, so it doesn’t have to hold a tall shape on its own. The problem that ruins a wedding ceremony candle, the large mass that cools unevenly and leans, doesn’t appear in a glass a few centimetres tall.
What appears instead is a different kind of effort: the same operation a hundred times, in a month in which you have other things to do as well. And with containers the wick is no longer chosen by the diameter, it’s calibrated by how deep the melt pool becomes during the burn. It’s a different rule, not the same one with the sign flipped.
So the honest answer is split: the ceremony pair is where the sum rarely works out for you, the favours are where it often does. Nothing forces you to choose the same road for both.
What you do in the next hour
You don’t order anything. You take a sheet of paper, write down the diameter and the height you want, then count how many pieces you’re making. With those two things written down, half the decisions above make themselves.
What do you check before you order wax?
You check four things, all in a few minutes, all before you spend money on anything.
- The diameter. It’s decided by the mould or form you have. Without it, the wick can’t be chosen.
- How many pieces. Two pairs and eighty favours are two different projects, not the same project at different scales.
- The date by which you need the test batch, not the date of the wedding. You count backwards and leave room for a second round.
- What you already have at home. Thermometer, scale, pot. Every thing you don’t have to buy moves the threshold in your favour.
Only once you have the four answers do you open the pillar wax and the wicks, in that order. If you want to start with a small quantity and a single test, a kit is one way to find out whether you enjoy doing this, without buying a whole sack.
If you choose to buy them ready-made
It’s a choice, not giving up. And if you make it halfway along the road, after you’ve done the sum, you make it better informed than if you’d never started.
What you get on top isn’t just the object. It’s someone who has already poured the batch, matched the wick to that diameter, calls you first to agree the text and sends you photos with your names before the parcel leaves, while a wrong letter still costs nothing. How long this road takes, confirmations included, I wrote in the article on when to order wedding candles. And if something breaks in transit or in handling, the "Nu-i Bai" guarantee covers exactly that: shipping and handling, not the result of a recipe.
You can look at the ready-made wedding candles while you’re doing the sum, and if you want everything about choosing them, from size to personalisation, it’s in the complete wedding and baptism guide. It isn’t a contradiction. The price on the page is exactly the point of comparison you need to find out whether it’s worth making them.
Whether you make them or buy them, the good decision is the same: the one taken with the sum in front of you. Not the one taken three weeks before the wedding, in a rush. Those candles are lit only once.