 EN
 Romana
 Magyar
You’ve poured your first candles, left them overnight, and in the morning you look at them. One has a hole next to the wick. The glass of the second has white patches on it. The third looks fine, but when you lit it in the evening, you could barely smell it. And the question is the one we read at support, in the person’s own words: why is it “not working out” (translated from Romanian)?
The five beginner candle-making mistakes in this article are decided before the pour and may only show up after it: wax chosen for a different shape from the one you pour into, a wick bought without measuring the diameter, a temperature set by eye, fragrance added in drops and too many new things in the same first pour. The candle shows you a sign. Where to look is told by what you decided beforehand, and the confirmation comes from a test in which you change a single thing.
Below, in order: the table that puts each sign next to its decision; what you see when the wax or the wick doesn’t match the shape; what you see when you pour by eye; what you note down before the pour and what you change at the second. It’s written for anyone who is starting out and has their first test candles on the table.
I’m Sînziana. In our workshop in Maramureș, Romania, we’ve been pouring candles since 2010, and we sell on the waxes, wicks and fragrances we work with. At support, before we recommend anything, we ask questions: what the person wants to make, what shape they pour into, what they’ve used. The article is built in that same order, and each fix points to the place where we’ve written it up in full.
Which beginner candle-making mistakes only show after the pour?
The five here are all decisions taken before the pour, and each one can leave a sign on the candle that shows you where to look first: the wax comes away from the glass or doesn’t hold its shape, the melt pool stays narrow around the wick, a hole appears next to the wick, the fragrance can’t be smelt, or you see a defect and don’t know where it comes from. You take them below in the order in which you decide them: first the shape, then the wax and the wick, then the temperature and what you put into the wax.
The signs appear at different moments: the wax on the first day, the temperature after cooling, the wick and the fragrance only at the first test burn. That’s why it pays to read the candle backwards, from the sign to the decision, and to change one thing at a time.
The mistake that follows the mistake is changing the wax before checking the rest. You see the hole or the patches, blame the bag and order a different wax; if the culprit was the unmeasured temperature, the problem moves with you to the next bag.
What do beginners get wrong before they melt the wax?
The mistake at the start is deciding the wax, the wick and the fragrance by what you see on the shop page, and the temperature by how it looks in the pot. Four decisions with no measurement behind them, plus a fifth: putting them all into the same first pour.
An example, from the messages at support. Someone wrote to us that “it’s the first time” (translated from Romanian) and asked which wax to use so they could put plants in a container. There are already two decisions in that question. The first is the wax, and it’s chosen by the shape: a container needs container wax. The second is the plants, which have no place where the melt pool or the flame reaches. Before we recommend a wax, we ask what the person wants to make, and we tell them about the risk.
The four measurements missing at the start are simple and need nothing from a laboratory: the diameter of the shape, with a ruler; the temperature, with a kitchen thermometer with a probe; the fragrance, on a scale; and what you changed since last time, in a notebook. We don’t sell the thermometer; you’ll find one in any kitchenware shop.
The decision, the sign and the fix, in a single table
The table below puts on the same row the decision to check, what you can see on the candle, the first check and the place where we’ve written up the fix in full. A sign is a clue: the same sign can have other causes too.
| The decision to check | What you can see | The first check | Where the fix is |
|---|---|---|---|
| mould wax poured into a glass | the wax pulls away from the sides; through the glass you see light coming in between the wax and the glass | the category and the page of the wax: is it mould wax? | the article on mould wax or container wax |
| container wax poured into a mould | the piece doesn’t hold its edges and marks when touched | the penetration on the data sheet: 60 dmm for our container wax, 32 for our mould wax | the same article |
| wick bought without measuring the diameter | at the first burn, a narrow pool and a flame that dies down; or soot and wax running down the side | the inside diameter measured with a ruler, set next to the range on the wick’s page, which is our benchmark, measured on our recipes | the wick guides and the article on the wick that goes out |
| temperature set by eye | a hole next to the wick; in a glass, white patches on the glass the next day | did you note the pouring temperature and that of the glass? compare them with the wax data sheet | the article on pouring safety and the one on wax pulling away from the glass |
| fragrance counted in drops | weak scent when burning; an oily film on the surface | the dose in grams, from the weight of the wax, below the ceiling on the data sheet | the guide to fragrance oil |
| fragrance, colour and plants in the same pour | a defect with too many possible causes | how many new things went into this batch | the list for your first order |
You read the table from the second column to the first. You start from what you see on your candle, find the row and do the check in the third column: it tells you whether it’s worth looking there, and the confirmation comes from the test pour in which you change only that one thing. If you see two signs on the candle, you take them one at a time, each with its own test pour.
What do you see when the wax or the wick doesn’t match the shape?
The wrong wax shows on the first day, either in the glass or when you take it out of the mould. The wrong wick shows only at the first test burn, in the melt pool around it. Both come from the same skipped decision: you didn’t start from the shape you pour into.
Mould wax in a glass and container wax in a mould
Mould wax poured into a glass comes away from the sides, and container wax poured into a mould doesn’t hold its shape when you take it out. They are two waxes made for two opposite jobs, and each does what it should only in the shape it was made for.
Our soy wax for moulds is KeraSoy 4120, and it shrinks slightly as it cools. On its page we write that this helps it release from the mould on its own, and there we also write that it isn’t suitable for containers, because the same shrinkage pulls it away from the sides. In a glass, the sign appears after cooling: you look through the glass and see light coming in between the wax and the side, and sometimes, when you lift the glass, the block of wax moves inside it.
The other way round, its counterpart for containers, KeraSoy 4130, is a soft wax. On the manufacturer’s data sheet, its typical penetration is 60 tenths of a millimetre, against 32 for the mould wax, and the higher the figure, the deeper the needle goes in, so the softer the wax. On its page we write that it isn’t self-supporting. Taken out of a mould, the piece marks when touched, and a tall shape can lean. Penetration is measured at 25 degrees, that is at room temperature, so it doesn’t become mould wax if you leave it another day.
The check comes before the basket: in our shop, the waxes for glasses are in the container category, and the ones you take out of a shape are in the mould category. The difference in full, with everything that happens when you mix them up, is in the article on mould wax or container wax, and the whole picture, from soy to palm, in the guide to choosing a wax.
What does a wick chosen without measuring the diameter look like?
A wick that’s too small makes a narrow melt pool around it, digs a tunnel, and the flame dies down until it can go out. One that’s too big makes soot, burns fast and lets the wax run down the side. On the data sheet of our soy wax for containers, KeraSoy 4130, both ends are written down.
The wick is chosen by the diameter of the candle and by the wax it burns in, and the same data sheet also says that natural waxes tend to need larger wicks than paraffin. So a wick that suits a paraffin candle can be too small in soy, even if the diameter is the same. On the wick page we write the four things you choose it by: the type of wax, the diameter, the shape and whether there’s fragrance and dye in it, and the diameter ranges on each wick are measured by us, on our recipes.
An example of a small trap: the wick left over from another project. On the page of special wick no. 5 we write that the manufacturer’s documentation covers beeswax, paraffin, stearin up to 15% and rapeseed, not soy or coconut. If you put it in a soy glass, you’ve changed two things at once without knowing it.
In practice, you measure the inside diameter with a ruler, where the wax will sit, not the mouth of the jar, and you go shopping with that figure. If the shape widens or narrows, send us a photo of it and its dimensions. Choosing by type is in the guide to the wick for container candles, and what you read when the flame dies down and goes out is in the article on the wick that goes out.
What do you see when you pour by eye?
The hole next to the wick and, in a glass, the white patches on the glass can come from the pouring temperature, and if you didn’t measure it, you have no way to check. Fragrance counted in drops is hard to control and to repeat, and the weak scent only shows when burning. And if you put everything in at once, you see a defect without knowing where to start.
It isn’t only a beginner’s mistake. In the interviews this summer, with eight customers who had ordered from us between 10 and 31 times, the pouring temperature itself came up among the things that don’t work out for them, with the shrinkage hole after it.
Where does the hole next to the wick come from?
The hole next to the wick comes from shrinkage: the surface hardens first, the middle stays liquid longer, and when it hardens too, it shrinks in volume and pulls the wax down, towards the wick. How much it pulls depends on the wax and on the temperature at which you poured it.
The customers in the interviews put it in their own words: “I can’t get the temperature right” and “a hole from shrinkage” (translated from Romanian). The two come together. If you didn’t measure the temperature, you can neither repeat it nor correct it, and you don’t find out whether the defect came from the material or from the way you poured.
The data sheets of the waxes give a pouring range for each one: 45–55°C for our soy wax for containers, KeraSoy 4130, and 55–65°C for the one for moulds, KeraSoy 4120. The data sheets also say you can take them temporarily up to 90°C, and above that the wax may discolour. In a glass there’s one more sign: on the page of the 4130 wax we write that, poured too hot or into a cold container, the wax shrinks and comes away from the glass, leaving white areas. Its data sheet says the glass should be at least at room temperature and that preheating it to 45–50°C can help.
The thermometer doesn’t have to be a laboratory one. A kitchen one, with a probe, is enough, and the 4130 data sheet says digital probes are a safer choice than the classic glass mercury thermometer. The table of temperatures for each wax is in the article on candle pouring safety at home, and the patches on the glass, in full, in the one on wax pulling away from the glass.
Why can’t you smell fragrance added in drops?
Counted in drops, fragrance can be neither controlled nor repeated, because drops don’t weigh the same from one scent to another. Fragrance is dosed in grams, from the weight of the wax: for 500 grams of wax, 5% means 25 grams of fragrance. A weak scent has other causes too, from the scent to the wick, but without the grams written down you can’t take them one at a time.
The ceiling is given by your wax’s data sheet: up to 10–12% for KeraSoy 4130, between 5 and 10% for KeraSoy 4120. In our formulas we stay below it; with our soy wax for containers, we start the first scented candle from 5%, and for another wax you read its data sheet first. Above what the wax can hold, the fragrance no longer fits in it and comes out on the surface as an oily film. When you add it matters too: in our tests, at 80 degrees we lost the fine notes of the scents we work with, and with Ginger Cookie, below 58 degrees, we saw oil on the surface.
There’s also a mistake of patience. A candle judged the next day hasn’t had time to settle its scent: our minimum protocol for scent is 48–72 hours from pouring, and here the same candle smelt stronger after a week than at twelve hours. A weak scent on the first evening can push you to add more to the next batch, above what the wax can hold. The dose, the moment and the scent test are taken one at a time in the guide to fragrance oil for candles.
Fragrance, colour and plants in the same first pour
Three additions in the same first pour add three more suspects to the ones you have anyway: the wax, the wick, the temperature, the container and the cooling. From that candle it’s hard to tell what to change in the next batch.
- Fragrance changes the way the wax burns and may need a different wick; for us, any new fragrance means a new burn test.
- Dye is dosed per kilogram, with the scale, and at the first pour you don’t yet have a white candle to judge the shade against.
- Dried plants are fuel the moment the melt pool or the flame reaches them, and they don’t become safe with experience. They don’t go into a candle you give to someone; their place is on the lid or on the packaging, where neither the melted wax nor the flame reaches; you take the lid and the packaging off before you light it.
At the first pour you leave the wax on its own, or with one fragrance at most, weighed. If the candle turns out well, you have a recipe to start from; if it turns out badly, you look among fewer causes: the wax, the wick, the container and the way you poured. The limits for plants are in the article on pouring safety, and what can wait for the second order, in the list for your first order.
Where do you start
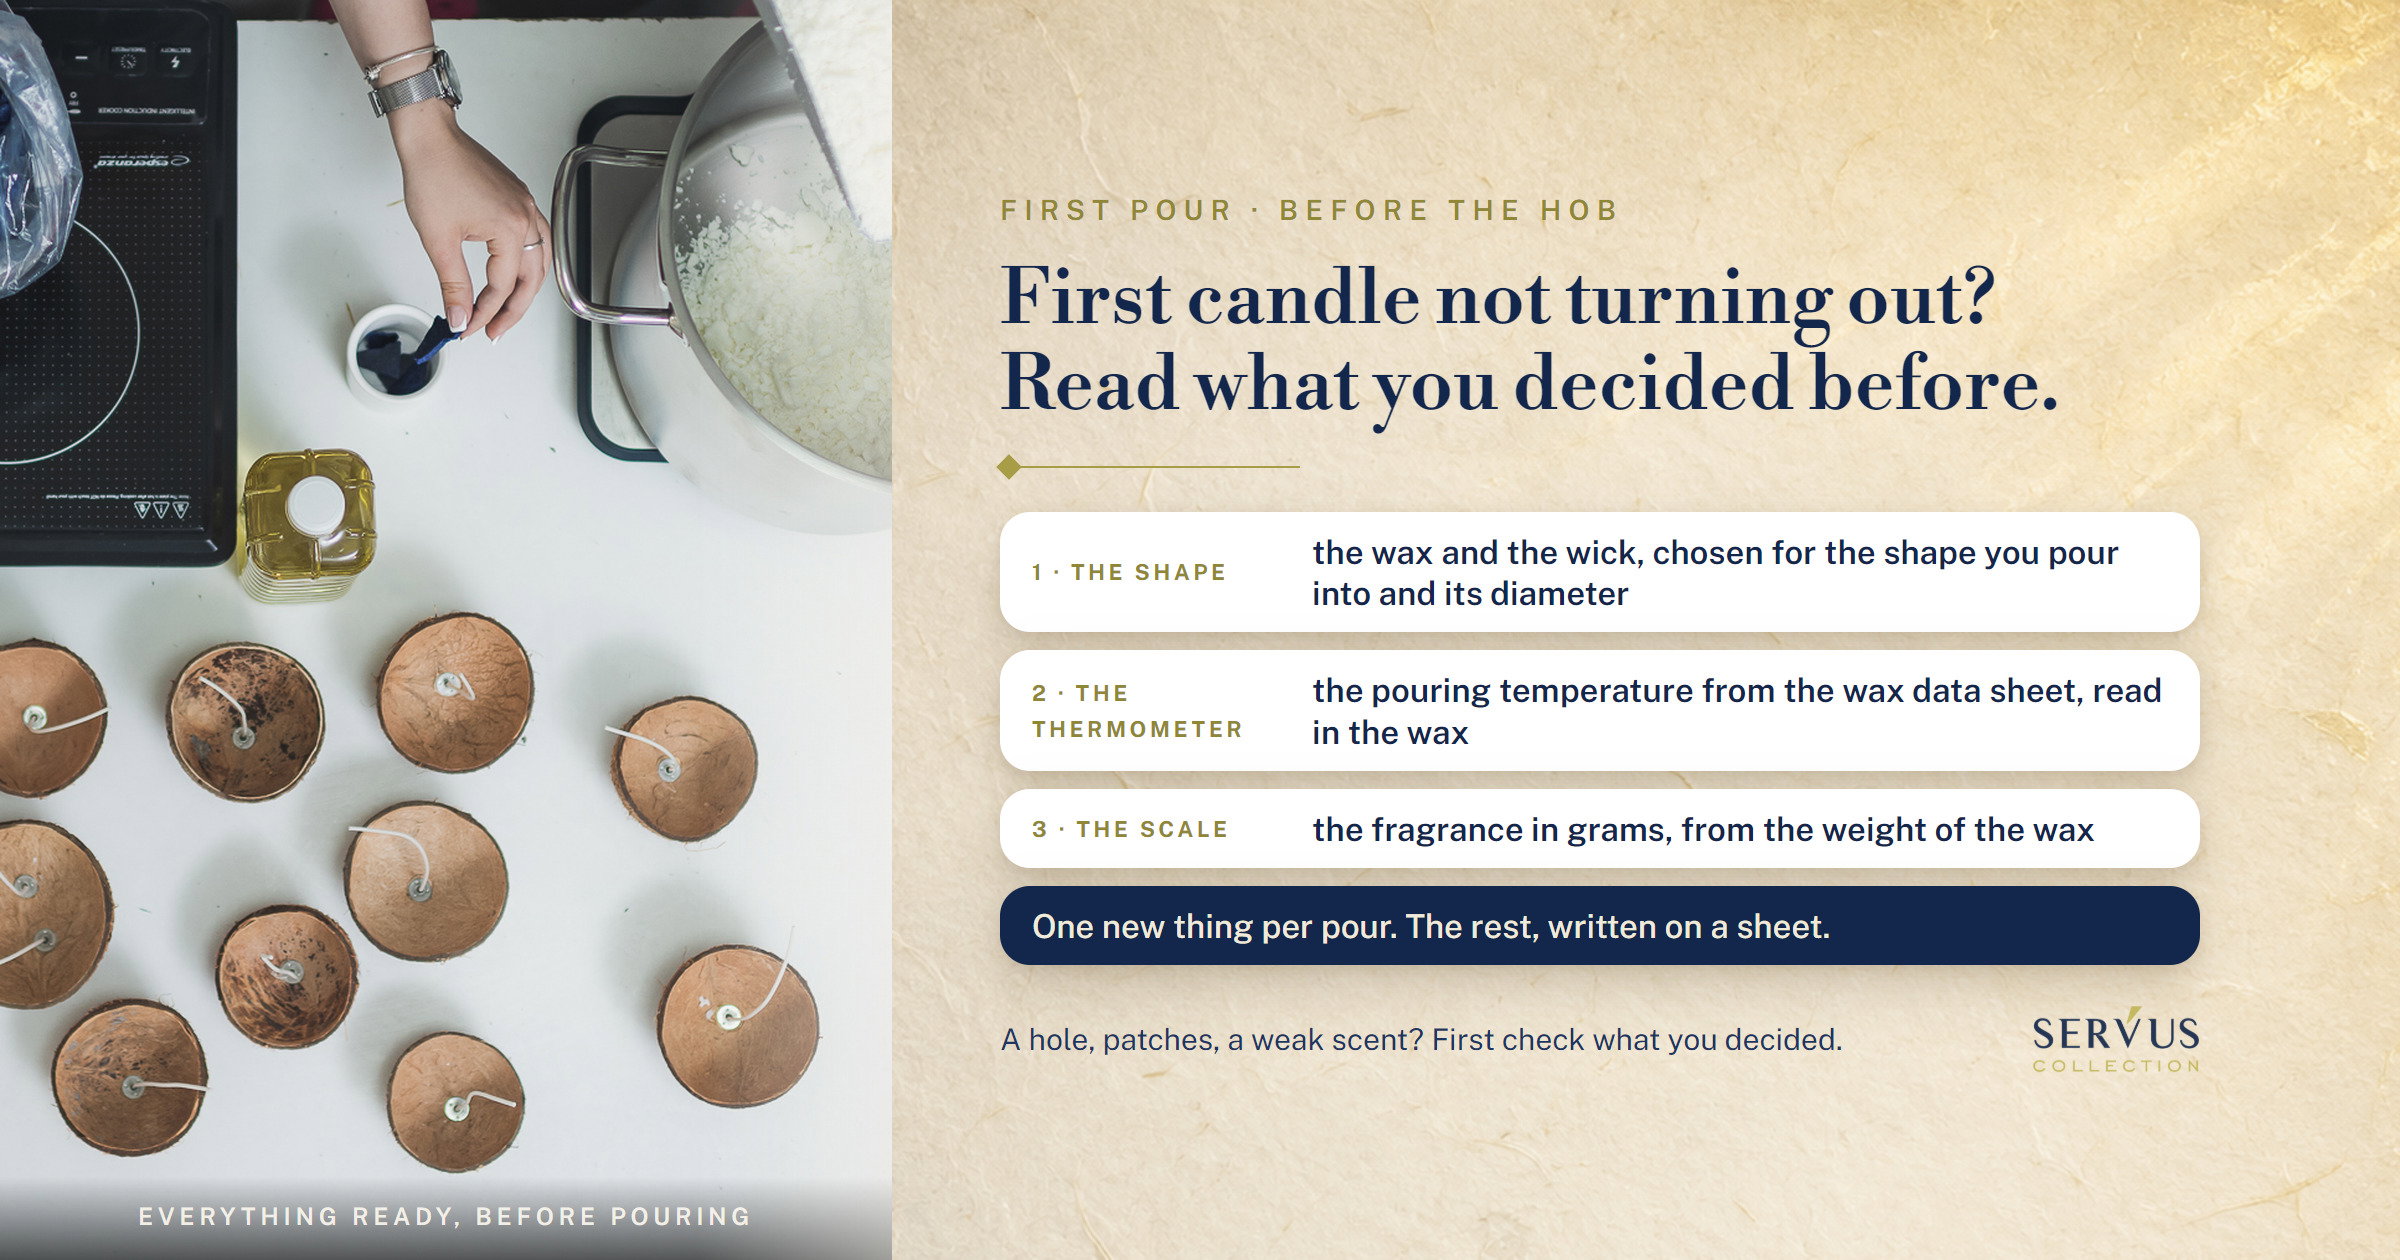
You start with a notebook page, before the hob: the diameter of the shape, the wax and the wick chosen for it, the temperature from the data sheet and the dose of fragrance in grams. If the candle turns out badly, the page tells you what you decided. If it turns out well, it tells you what to repeat.
What do you note down before and during the test?
Before the hob you note down the decisions, and during the test what you measured, so you can read them back when you look at the candle.
- before: the shape and its inside diameter, measured with a ruler;
- before: the wax, with the name on the bag and the batch, and the wick, with the series and the size;
- before: the pouring temperature from the wax data sheet and the doses of fragrance and dye, in grams;
- during the test: the temperature at which you poured, read on the thermometer, and that of the glass, if you warmed it;
- during the test: the day and time of the pour, so you know when 48 hours have passed.
With this page in front of you, the table above takes a few minutes: the sign on the candle sends you to a row, and the row, to a figure on the page. If you still can’t work it out, send us the page and two photos, one from above and one from the side, on WhatsApp or by phone at +40 726 162 810 (we answer in English), and we’ll look at it together.
What do you change at the second pour?
At the second pour you change a single thing, chosen after you’ve read the first candle. If the first one came out white and whole, it becomes the control you judge everything you add afterwards against.
- You read the sign on the first candle and look for its row in the table.
- You choose a single decision to change: the wick, the temperature or the dose of fragrance. If you change the wax, you choose the wick again too, for that wax, and treat the pour as a new recipe.
- You pour into the same shape, with the rest of the page unchanged.
- You let the candle rest before you light it: the data sheets of our soy waxes ask for 48 hours, and for your wax you read its data sheet.
- You do the first burn where you can watch it. For our container candles, the benchmark is a pool that reaches the sides evenly in about two hours, no deeper than half a centimetre. On your candle, the two hours are a first observation: a pool that didn’t reach the sides is a clue that the wick may be small, and you confirm the size on the whole candle, burned in sessions almost to the end. If the glass gets hot or the flame rises and smokes, you put it out straight away.
The steps are made for a kilogram of wax, as much as we recommend for a first order: about four 250-gram candles, that is two pours of two each, with a single change between them. How long the first burn lasts and why it matters is written in our article on the first burn of a candle.
The candle that didn’t turn out shows you where to look, on one condition: that you know what you decided before you poured it.