 EN
EN  Romana
 Magyar
You’ve opened the raw materials page, seen several kinds of wax, wicks in every thickness, fragrances, colourants, dried plants, and closed it again. Not because you don’t want to make candles. Because you don’t know where to start and you’re afraid of buying the wrong thing.
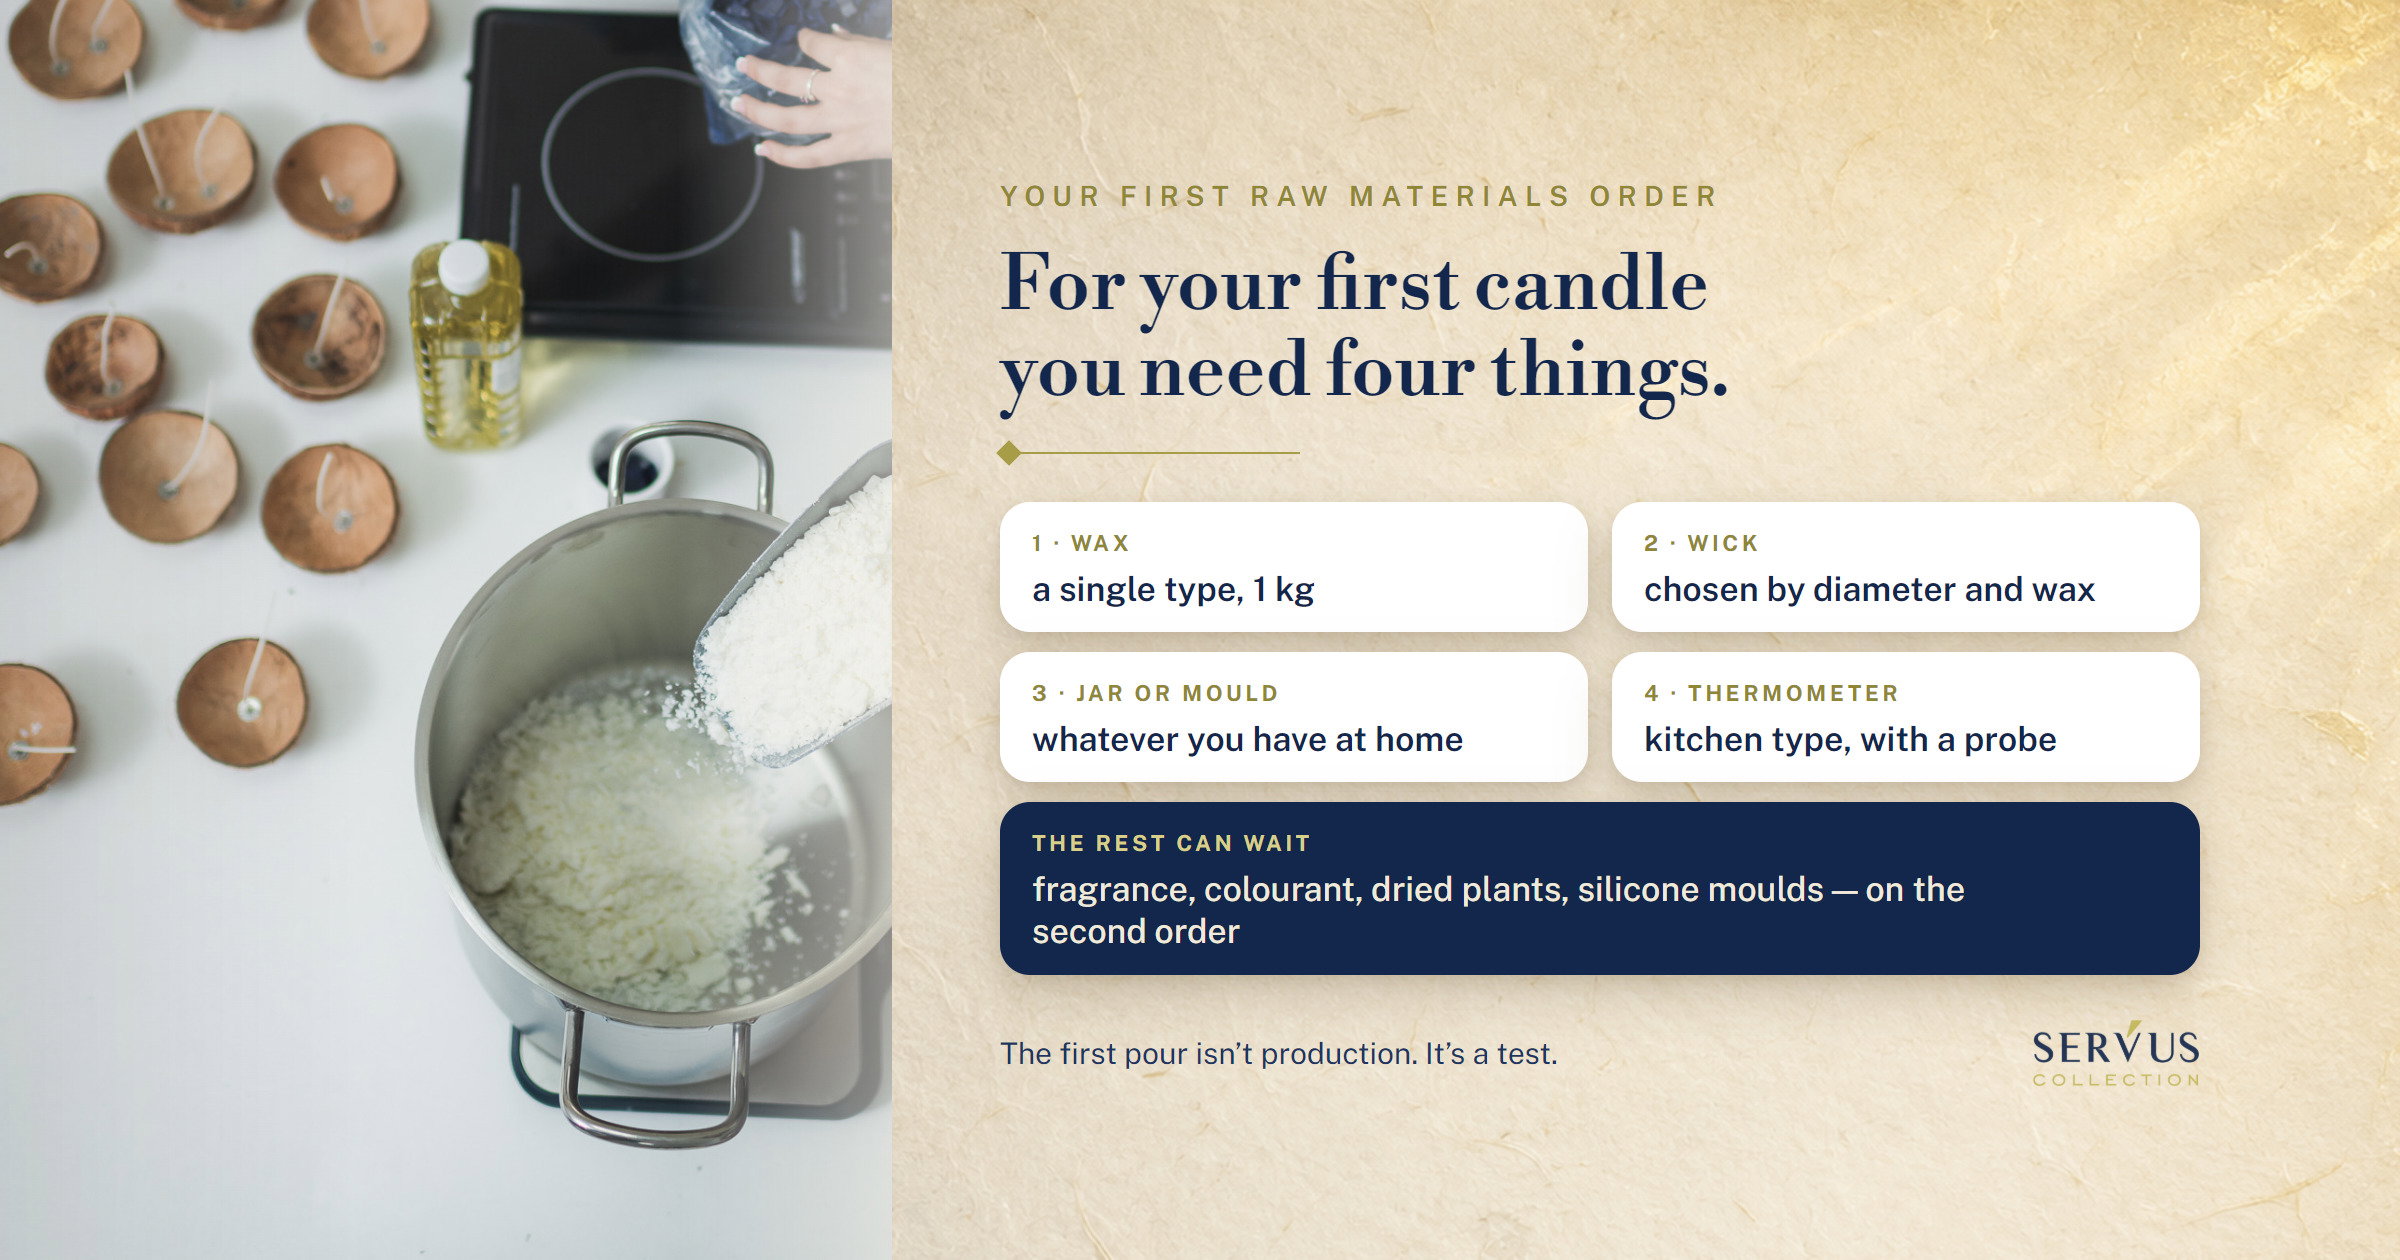
For your first poured candle you need four things: a wax, a wick that matches it, something to pour into and a thermometer. That’s it. Fragrance, colourants, dried plants and silicone moulds are all sold by us, and all of them can wait for the second order, because each one adds a variable on top of the one you’re only just learning.
Below is the list of the four, why each one is on it, what exactly can wait and why, how much to buy on your first order and what it costs you beyond the invoice. At the end, the even shorter version, for anyone who chooses to roll rather than pour.
I’m Sînziana. “It’s the first time” (translated from Romanian) is one of the sentences support messages start with, and the question that follows is usually the same: where do I start and what do I buy. The answer I give on the phone is shorter than people expect, which is why I’m writing it out in full here. I’ll also tell you what you don’t need yet, even though we sell it.
What do you actually need for candle making on your first order?
A wax, a wick chosen for it and for the diameter you pour into, a container or a mould, and a thermometer. Four things, each with its own job, and none of them stands in for another.
The list is short because the first pour isn’t production. It’s a test: you want to see how that wax behaves in your hands, at the temperature of your kitchen, in your glass. Everything you add on top of it spoils the measurement, because you no longer know where the fault came from, the wax or what you added.
Of the four, two are bought from a raw materials shop: the wax and the wick. The other two you probably already have at home, or you get them elsewhere. We don’t sell jars and we don’t sell thermometers, and I’m saying so from the start so you don’t look for them on our site.
For “something to pour into” there’s only one rule: if you already have a mould, you start with it; if you don’t, the first test is done in a thick jar from home. A new mould, bought specially for the first pour, is a decision you make better after you’ve seen once how the wax behaves.
Which wax, if you take just one?
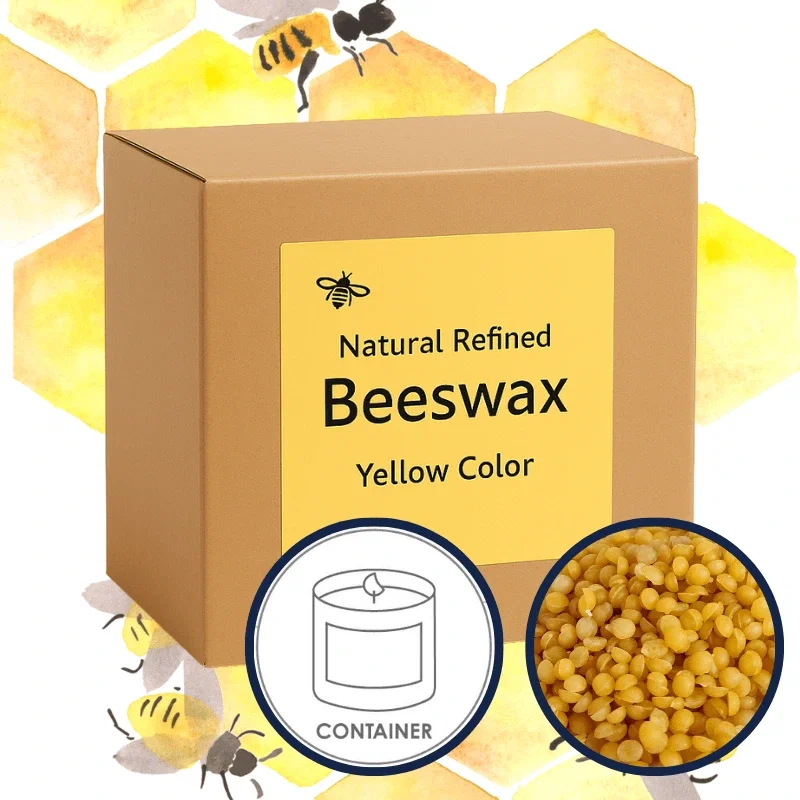
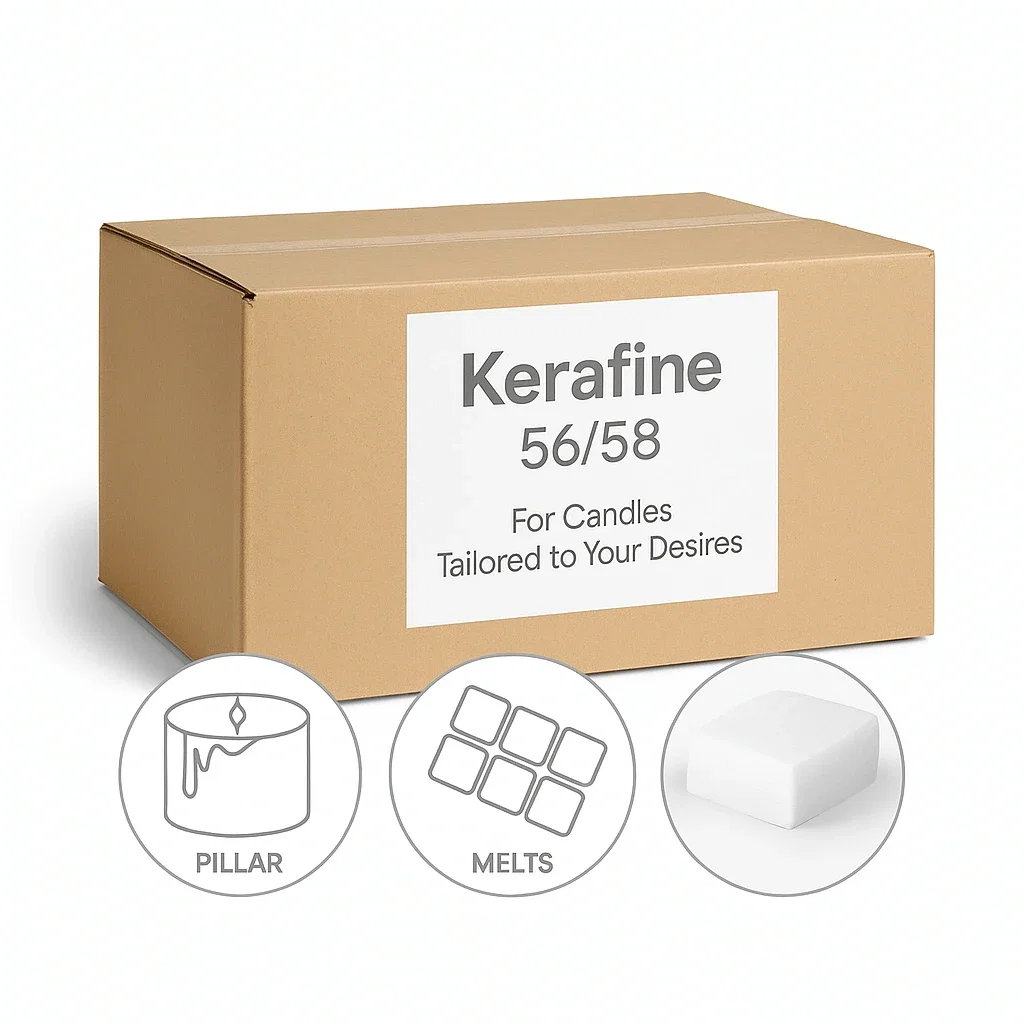
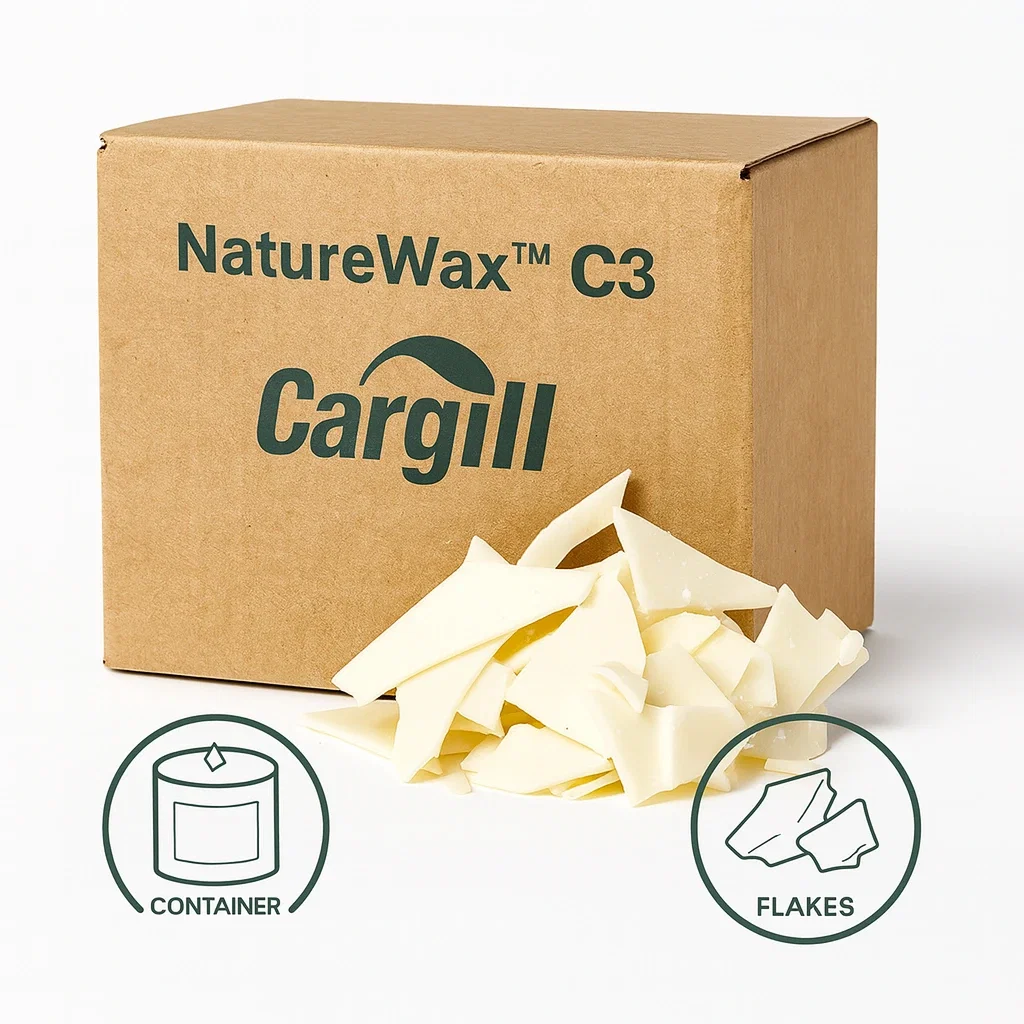
The one that suits the technique you choose, not the one you’ve read is “the best”. Mould wax has to stand up on its own once it comes out of the mould. Container wax has to stick to the sides of the glass and not pull away from them as it cools. They’re two different technical problems, and that’s why there are two waxes.
So before the wax you decide one thing: are you pouring into a glass, or into a mould you take the candle out of. If you have a thick jar at home, you choose container wax. If you have a mould, you choose mould wax. The difference between the two, and what happens when you mix them up, is in our article on mould wax or container wax, and if you want the whole picture, from soy to palm, you have it in our guide to choosing a wax.
One wax type on the first order. Not two “to compare”. Comparison comes after you know how one behaves on its own; otherwise you’re comparing two things you don’t understand either of.
Why isn’t the wick chosen separately from the wax?
Because the wick is sized to the diameter of the candle and to the wax it burns in, and the same wick thickness burns differently in soy than in paraffin. A wick chosen “by eye” is the first suspect when a candle goes out on its own.
We read the complaint in reviews, word for word: “it simply doesn’t burn any more” (translated from Romanian). The candle looks good, lights, burns for a quarter of an hour and the wick is left as a red dot that goes out. Before you blame the wax, look at the wick: one too thin for that diameter and that wax makes a melt pool that’s too small, doesn’t manage to melt the surface out to the sides and can end up drowned in its own pool. It isn’t the only possible cause, but it’s the first one we check.
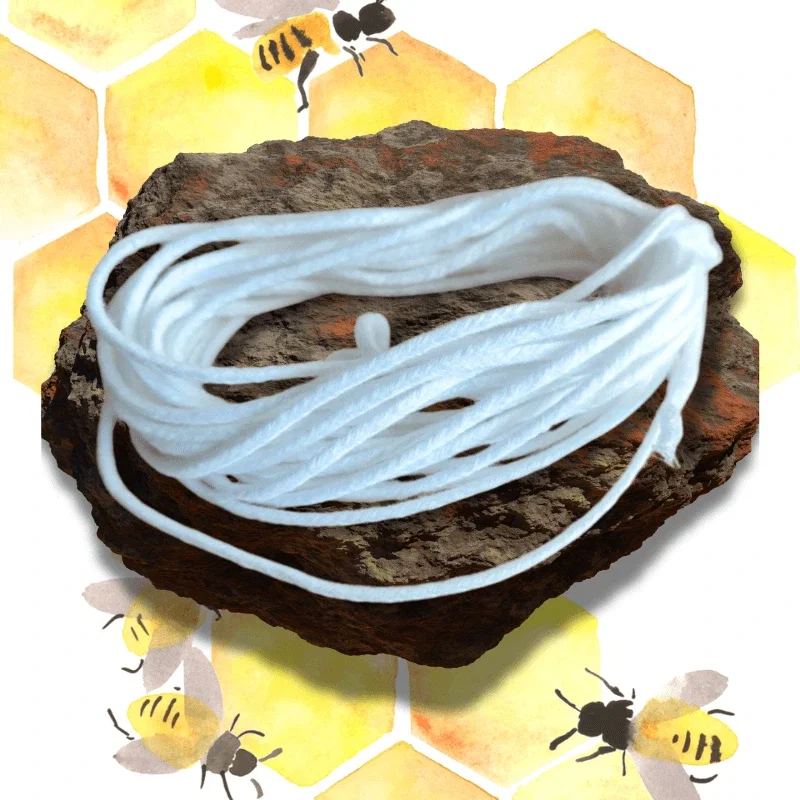
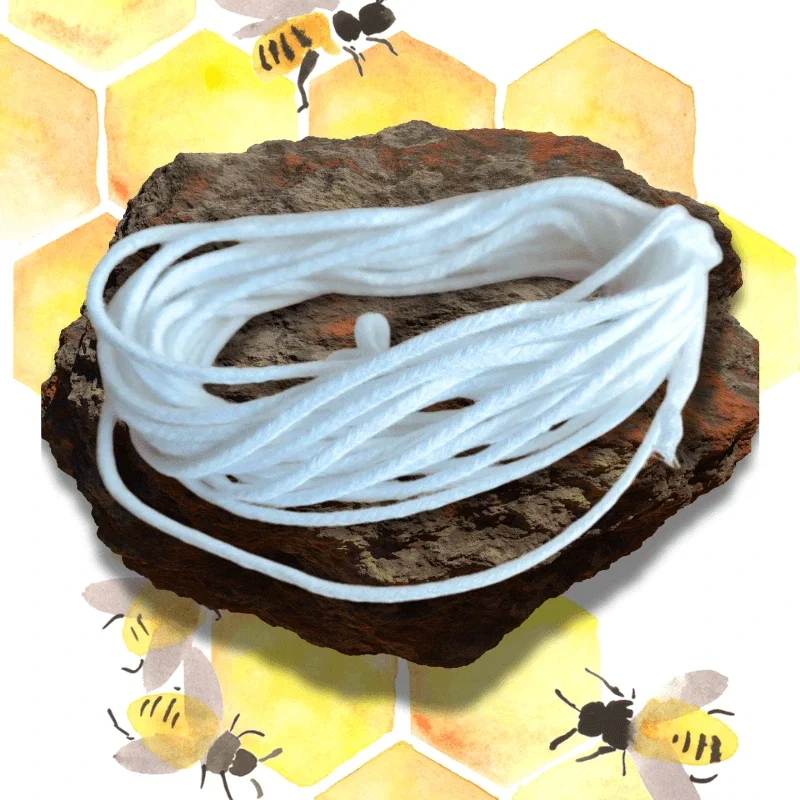
In practice, on your first order you take the wick together with the wax, for the diameter you already have at home. You measure the opening of the glass or the mould with a ruler and go shopping with that number. On the wicks page the thicknesses are given by diameter and by wax type, so you have one match to make, not a riddle.
Why is the thermometer on the list, and not under optional?
Because every wax has on its data sheet a temperature range it’s poured at, and without a thermometer that range doesn’t exist for you. You pour “when it feels right”, and that’s where two sentences come from that we heard, in this summer’s interviews, from customers who have been producing for years: “I can’t get the temperature right” and “a hole from shrinkage” (translated from Romanian).
The two come together. The hole next to the wick is shrinkage: the crust on the surface hardens first, the middle stays liquid longer, and when it hardens too it loses volume and pulls the wax down. How much it pulls depends on the wax and on the temperature you poured at, and it’s exactly that temperature you can neither repeat nor correct if you didn’t measure it. People blame the wax and switch to another type, but as long as the pouring temperature stays unmeasured, the problem moves with them to the next type. The wax matters too, some shrink more than others, only without a thermometer you have no way of finding out which of the two was to blame.
You don’t need a laboratory instrument. A kitchen thermometer with a probe, from any kitchenware shop, does the job. How you use it, what you look for on the wax’s data sheet and what else in the kitchen matters when pouring is written in our article on candle pouring safety at home.
What can wait for the second order?
Fragrance, colourants, dried plants, silicone moulds and labels. We sell all of them, all of them are useful, and none of them teaches you anything about the wax on the first pour. You add them once you know what the wax does on its own.
The reason is simple and a little unpleasant: something about your first candle won’t turn out right. That’s normal, and it’s actually the point of the test. But if you’ve also put fragrance, colourant and petals in that wax, you have four suspects for a single fault, and you can’t learn anything from it any more.
Fragrance: one, or none
Fragrance is the first variable worth adding, but not at the first pour, or, if you can’t wait, just one. In our article on your first soy wax candle the recipe has exactly one fragrance, at a written dose, and that’s why it works: one extra unknown, not five.
What you don’t do on your first order is take three or four fragrances “to see which one you like”. Fragrance changes the way the wax burns and may call for a different wick, and in our workshop every new fragrance means a new burn test, so each extra bottle is one more test candle, not a scent option. On the first order, if you want scent, you take one. If you can wait, you take it the second time, when you already know what the wax does without it.
Why don’t dried plants go into the first pour?
Because dried plants are fuel, not decoration, the moment the melted wax or the flame reaches them. The risk is real, we’ve seen it in the workshop ourselves when we tried, and it’s what we answer in writing every time someone asks us about lavender or petals in wax.
The typical scenario goes like this: first candle, a jar, rose petals pressed against the edge, for the photo. They look safe, stuck to the side. Except that the melt pool widens out to the sides as the candle burns, so “at the edge” doesn’t mean “outside it”. When the hot wax reaches a petal, the petal catches fire, and the flame is no longer one centimetre high, it’s five. In a glass jar that means hot glass, soot on the sides and, in the bad case, a cracked jar.
The rule we keep and pass on: dried plant material has no business where the melt pool or the flame reaches. If you want plants on a candle, their place is on the outside of the container, on the lid or on the packaging. If you still want to try inside, you do it as a test batch you burn yourself, all the way down, not as a candle given to someone. Neither option is a job for the first pour. You’ll find plants under dried flowers and herbs, and their full limits are in the pouring safety article linked above.
Colourants, silicone moulds and labels
Colourants bring a dosing variable, silicone moulds a release variable, and labels bring nothing until you have something to stick them on. All three can wait.
Colourant is the most tempting, because a white candle looks “unfinished”. But the colour in wax doesn’t come out the way it looks in the bottle, and it’s dosed per kilogram, with the scales, not by eye. At the first pour you don’t yet have a white reference candle to compare the coloured one with, so you can’t tell whether the shade is wrong or whether that’s just how your wax looks. Silicone moulds have the same story: a candle that breaks as it comes out of the mould can be down to the wax, the temperature or the mould, and at the first pour you have no way of knowing which. When you place your second order, you’ll do it with a white, whole candle on the table, as a control. That tells you what to add.
How much do you buy and what does the first order cost?
As a guide, a kilogram of wax and a pack of wick for your diameter. With that you make a few test candles, not a series, and that’s exactly what you need to make the second decision with your eyes open.
The temptation is to buy more, because per kilogram it works out cheaper in large quantities. That’s true in large quantities. On the first order it’s a saving on a material you don’t yet know is the right one for you, and five kilograms of a wax that doesn’t suit you aren’t a saving, they’re five kilograms on a shelf.
How many candles do you get from a kilogram of wax?
About four, in our example with a 250-gram candle. With smaller candles you get more, with tall pillars fewer, but that order of magnitude helps you order neither too little nor enough for a shop.
The figure comes from simple arithmetic on the weight used in our article on working out the price of a candle, where the public example is also a 250-gram candle. Work it out from there: if you pour twice, two 250-gram candles each time, so you change a single thing between pours, a kilogram is the right quantity. If you want three pours, you pour into smaller jars, you don’t buy more wax.
And bear in mind that not all thousand grams of the kilogram end up in candles. Wax stays on the sides of the pot, on the thermometer, on the spoon, and the odd test comes out that you melt down again. That’s normal, and it’s why the calculation is never done “to the gram”.
What isn’t on the invoice and still costs you
Shipping and losses. Shipping is divided over the kilograms ordered, so on a small order it visibly raises the real price per kilogram. In the example from the pricing article, on a five-kilogram order sent to a parcel locker, shipping raised the cost of a kilogram by almost four lei over the price on the label. On a single kilogram, all the shipping sits on it.
This isn’t an argument for ordering more to “spread” the shipping. It’s an argument for knowing in advance what you pay, so you aren’t surprised at the second order, when you’ll order for real and the shipping will be spread over more kilograms.
The second expense is the one nobody counts at the start: technical losses. In our costing method, the one from the pricing article, we put a buffer of 10–15% of the raw material cost for tests, rejects and remelts, and on the first order that percentage is high rather than low. The first candle that doesn’t turn out isn’t a failure, it’s the cheapest lesson of everything that follows. But it’s a lesson with a price, and you write it down from the start.
The candle-making supplies list: what you take now and what you put off
| What | On the first order | Second order | Where from |
|---|---|---|---|
| Wax, a single type, 1 kg | yes | the same one, if it worked | raw materials |
| Wick for your diameter | yes | a different thickness, if it burned badly | raw materials |
| Thick jar or mould | yes, whatever you have at home | more of the same | from home or a homeware shop |
| Kitchen thermometer | yes | the same one | kitchenware shop |
| Fragrance | one at most | yes, a single fragrance per test | raw materials |
| Colourant | no | yes, after the white control | raw materials |
| Dried plants | no | only on the outside, lid or packaging; inside only as a test batch you burn yourself | raw materials |
| New silicone mould | no, if you can test in what you already have | after you’ve poured once in what you have | separately |
| Labels, packaging | no | when you have something to stick them on | separately |
The table is the short answer to the question “what do I need for candle making”: read it down the second column, where there are four “yes”, one “one at most” and four “no”. The third column is the plan for the second order, and it’s made from what you learn at the first pour, not from what you think now you’ll want. The fourth column says honestly that two of the four things aren’t bought from us. Of eight loyal customers we talked to this summer, four buy their jars and containers elsewhere, so you’re not the only one looking for them in two places.
Where you start
You start with the shape you pour into, not with the wax. You measure the diameter of what you already have at home, decide whether it’s a container or a mould, and only then open the raw materials page, with two things to take and one number in your head.
- Measure the opening of the jar or the mould, in centimetres.
- Decide the technique: does the candle stay in the glass, or do you take it out of the mould.
- Take one wax for that technique, one kilogram, a single type.
- Take the wick for the diameter you measured and the wax you chose.
- Check whether you have a thermometer; if not, you pick one up on the way, you don’t put it off.
The five steps take an afternoon and don’t ask for any decision of taste, just two measurements and a choice of technique. For candle making you need, at the start, less than the shop page makes it seem. Everything to do with taste, the scent, the colour, the shape, comes with the second order, with a white, whole candle on the table next to you.
What do you need if you choose rolling instead of pouring?
Two things: honeycomb wax sheets of beeswax, and wick. No thermometer, no melting pot, no jar, because you don’t melt anything. Rolling is the shortest road to a first candle, and that’s why it’s also the one we recommend to people who want to see first whether they like working with wax.
We timed it once: the first candle from a honeycomb wax sheet takes 98 seconds. And for this version we also have a kit, with the sheets and wicks already matched to each other, precisely so you don’t even have those two choices to make.
If you’ve read this far and still don’t know what you have at home, that’s fine. Open the cupboard, find a thick jar, measure its opening and send us the diameter on WhatsApp at +40 726 162 810 (we answer in English), Monday to Friday, between 8:00 and 16:30 (Romanian time). We’ll tell you which wax and which wick go with it. Two things, not a list.