 EN
EN  Romana
 Magyar
You left it overnight, opened the silicone and it came out missing a corner. Or you pulled on the tube and it broke in two, with a crack that started at the wick. Or it didn’t come out at all: it went soft at the edge and stayed stuck to the side. In our July interviews with loyal customers, people with more than ten orders each, two sentences ended up next to each other on our list: "the candles break when I take them out of the mould" and "soy is softer, they break if I don’t mix it with paraffin" (translated from Romanian). The first is an observation. The second is a solution that works for that person; the question of this article is whether your piece needs it too.
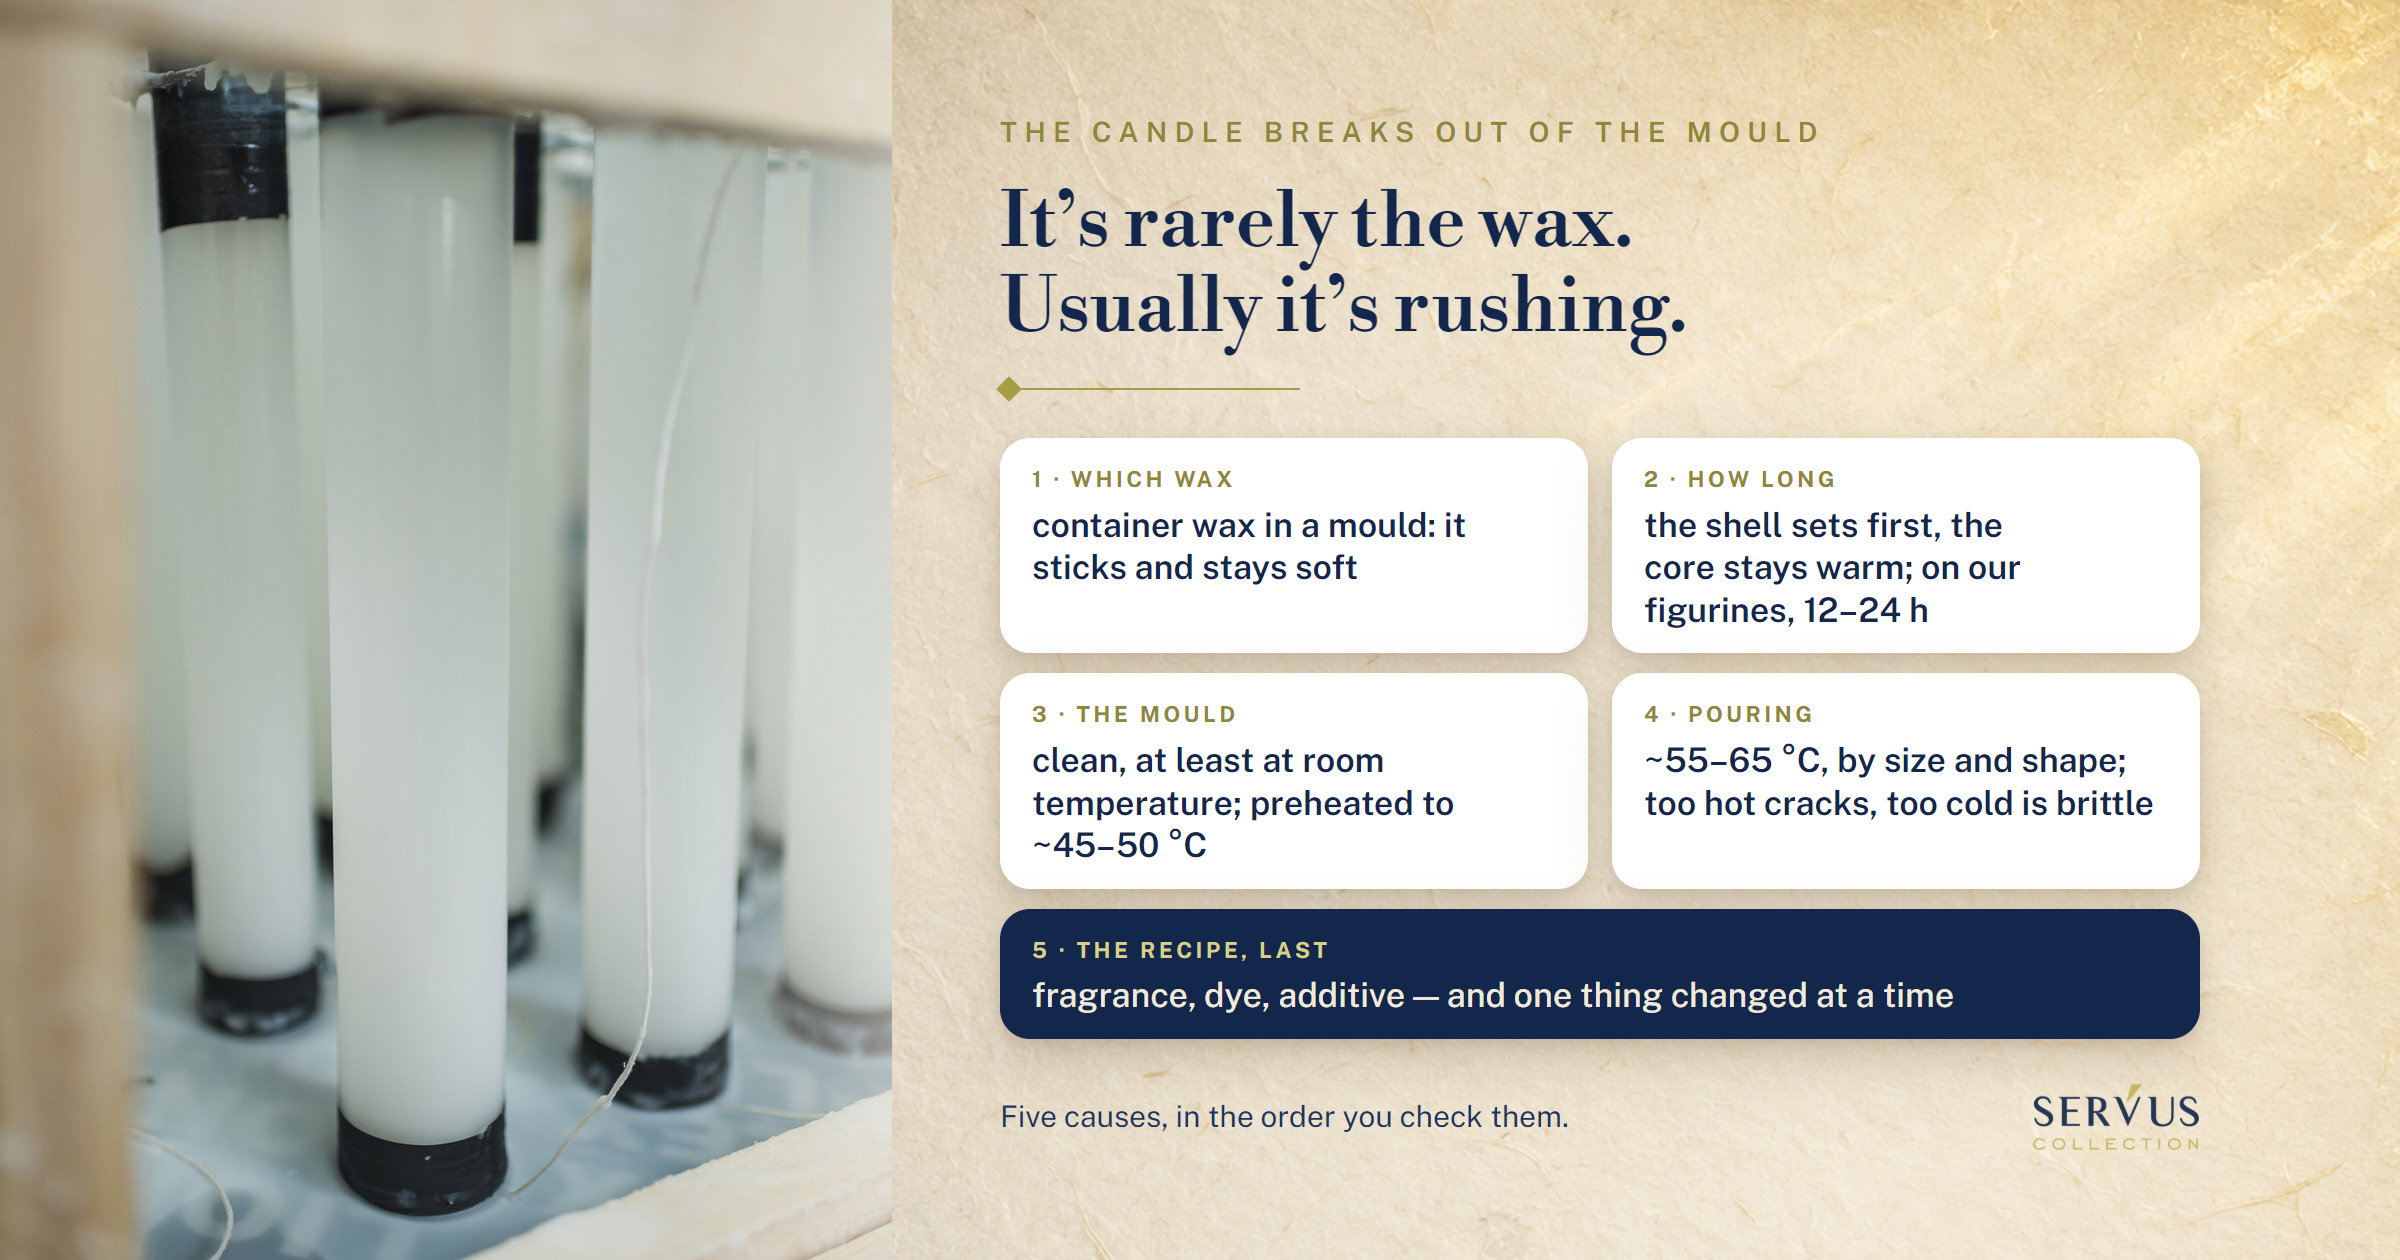
A candle breaks when it comes out of the mould for five reasons, which you check in order, from the cheapest to change to the most expensive: which wax you poured, how long it stayed in the mould, how warm the mould was and how you opened it, what temperature you poured at, and only at the end the recipe, meaning the fragrance, the dye or an additive. From our tests on figurines, rushing the release is the number one cause of rejected pieces with our moulding soy wax; that’s what its page says too. The wax appears on the list twice: first as the wrong wax for a mould, last as a wax too soft for your shape. Between them are three things that cost nothing.
Below: the five causes, with what you see on the piece for each; why the same contraction that releases the candle from the mould also breaks it; what you can choose from the shelf when it really is the wax; and what you note down at the first test, so you don’t have to guess a second time.
I’m Sînziana. In our workshop in Maramureș, Romania, we’ve been pouring candles since 2010, in mould tubes and in silicone moulds, and we broke plenty by taking them out too early before we learned to wait. What follows is the order in which I look at a broken piece, with the data sheets from our shelf next to me.
Why does a candle break when you take it out of the mould? Five causes, in the order you check them
For five reasons that you check one at a time: the wax, the time, the mould, the pouring temperature, the recipe. Rushing is the first one we look for, because on our figurines it was the most common, but it isn’t the only one, and what you see on the piece is different for each. The table below is my order of checking: what you see, what’s likely, what you change first. One change at a time, otherwise you don’t find out what it was.
| What you see on the piece | What’s likely | What you change first |
|---|---|---|
| It comes out soft, deforms when touched, stays stuck to the side | container wax poured into a mould | the wax, for a moulding wax; time won’t fix it |
| A corner, a tip, a wing stays in the mould, the rest of the piece is fine | taken out too early or pulled out by force; the mould was cold at pouring | the hours of waiting, then the way you open it |
| A crack through the whole piece, starting from the centre or from the wick | poured too hot; cooled too fast, in a draught or in the fridge | the pouring temperature, within the data sheet’s range; undisturbed cooling |
| The top surface broken, with a scar around the wick | the top-up done too early, over a layer not yet set | when you top up |
| The piece is brittle and matt, breaks at any touch, not just at the tips | poured too cold; heavy fragrance above the percentage; dark dye at high concentration | the pouring temperature, then the fragrance percentage |
| It comes out whole, but softens in summer, bends or leaves marks on release | wax too soft for the size of the shape or for your workshop | an additive in the blend, or a firmer moulding wax |
Rows two to five are checked without buying anything. The first calls for a moulding wax, if you don’t already have one; the last is the only one where the answer may be an extra product, and it’s the third chapter.
Did you pour container wax into a mould?
If the candle came out soft and stuck to the side, this question comes before all the others, because time won’t fix it. A container wax is built to hold on to the glass. For KeraSoy Container 4130, our container soy wax, the data sheet says to pour close to the congealing point, at around 45–55 °C, so it adheres better to the side, and its penetration at 25 °C is 60, against 32 for its sister wax for moulds. In a mould it does exactly what it was built to do: it sticks and stays soft. It isn’t a broken candle, it’s a wax that did its job in the wrong place.
On the page for KeraSoy Pillar 4120 we write the opposite, and again as a limitation, not a defect: contraction as it cools pulls the wax away from the sides of the glass, so don’t pour it into containers. The same property, two verdicts, depending on the form you pour into. The difference between the two families, with the penetration side by side, is in mould wax or container wax, and I won’t repeat it here. If your bag says "container", "for containers" or "for glasses", that’s the first hypothesis to check, before the table: pour the same shape with a moulding wax and compare.
How long did it stay in the mould before you took it out?
If a corner or a tip stayed in the mould and the rest of the piece is fine, you most likely took it out before it was completely cold. A poured candle cools from the outside in: the shell sets first, the core stays warm long after the surface looks done. Pulled at that moment, the shell holds, the core doesn’t, and the piece breaks exactly where it’s thinnest, at a tip, at an edge, at a wing.
On silicone figurines with fine detail, what worked for us was this: slow cooling at room temperature, with no draught, and at least 12–24 hours before taking it out; that’s what the 4120 page says too. The figure is ours, on our shapes; for a thicker piece it’s longer, for a large pillar it can be more than a day. The manufacturer’s data sheet doesn’t give a demoulding time. It gives cooling without moving it, at room temperature, and 48 hours before you light it for the burn test, which is something else. The sign I look for: the piece is at room temperature all the way through, not just on the surface; if the base is still lukewarm, it’s too early.
Our batches of 4120 with a batch certificate, made in 2025 two weeks apart, came out at 49 and 50 °C, with 47 as typical on the data sheet. One degree doesn’t change how long you wait, but it changes how the edge sets, and it’s one of the reasons the same recipe doesn’t work with a new batch.
Was the mould cold, rigid or opened too abruptly?
If the piece was completely cold and still broke on release, the next question is the mould: what it was like when you poured and how you opened it. The 4120 data sheet says three things about moulds, in two lines: they should be clean, at least at room temperature, and preheating to about 45–50 °C "can be beneficial". In the pouring section it adds that a preheated mould gives better release. We turned "can be" into a workshop rule for figurines: without preheating, the sudden cooling on contact with the cold wall leaves streaks on the surface and a piece with tension in it.
Then the opening. With silicone, in our article on figurines we wrote what we do: we open slowly at the edges and let air in between the wax and the wall, instead of pulling at the piece. The air does most of the work; pulling breaks the tips. With a mould tube there’s nothing to open: contraction releases the candle from the wall on its own. With our tubes, the ones in the article’s photo, when a candle won’t come out we leave it on the rack: for us, so far, it has been too early, not stuck. That’s our experience on our tubes, not a rule for every shape. And the fridge, which we’ve put under limitations, not under tips. Thermal shock cracks the piece, turns it white in patches and takes away its matt finish. A candle taken out of the fridge comes out fast and breaks just as fast.
Contraction: the same property releases the candle from the mould and also breaks it
Wax shrinks as it cools, and that’s why it comes away from the wall. It isn’t a defect: it’s the mechanism every candle poured into a form that doesn’t open relies on. The same shrinking also makes the hole next to the wick in thick pieces, the sinkhole, and, when it’s uneven, it puts tension into the piece: the outside has set and can’t move any more, the inside is still shrinking. When the tension exceeds what the wax can hold, the crack appears, usually from the centre towards the edge. The rest of the chapter is about what makes the shrinking uneven: the wax you chose, the temperature you poured at, what you put in the wax.
What do penetration and congealing point tell you about how a wax comes out of the mould?
Penetration tells you how firm the wax is at room temperature, the congealing point tells you at what temperature it sets; neither tells you on its own whether the piece will break, but together they tell you what you’re dealing with. We’ve taken them from the data sheets of the moulding waxes on our shelf, with the figures as they’re written on paper:
| The wax | Penetration at 25 °C | Congealing point | What it means when you take it out of the mould |
|---|---|---|---|
| KeraSoy Pillar 4120, soy for moulds | 32 dmm (spec 25–40), ASTM D1321 | 47 °C (spec 43–52); our batches 49–50 | shrinks slightly and comes out on its own; on detailed figurines, 12–24 h for us |
| EcoSoya Pillar, soy for moulds | 18 dmm, ASTM D1321 | 51 °C | firmer than 4120 at room temperature; for us it comes out clean with no additives |
| EcoCoco Pillar, coconut for moulds | 32 dmm, ASTM D1321 | 52 °C | on paper as firm as 4120, sets five degrees higher |
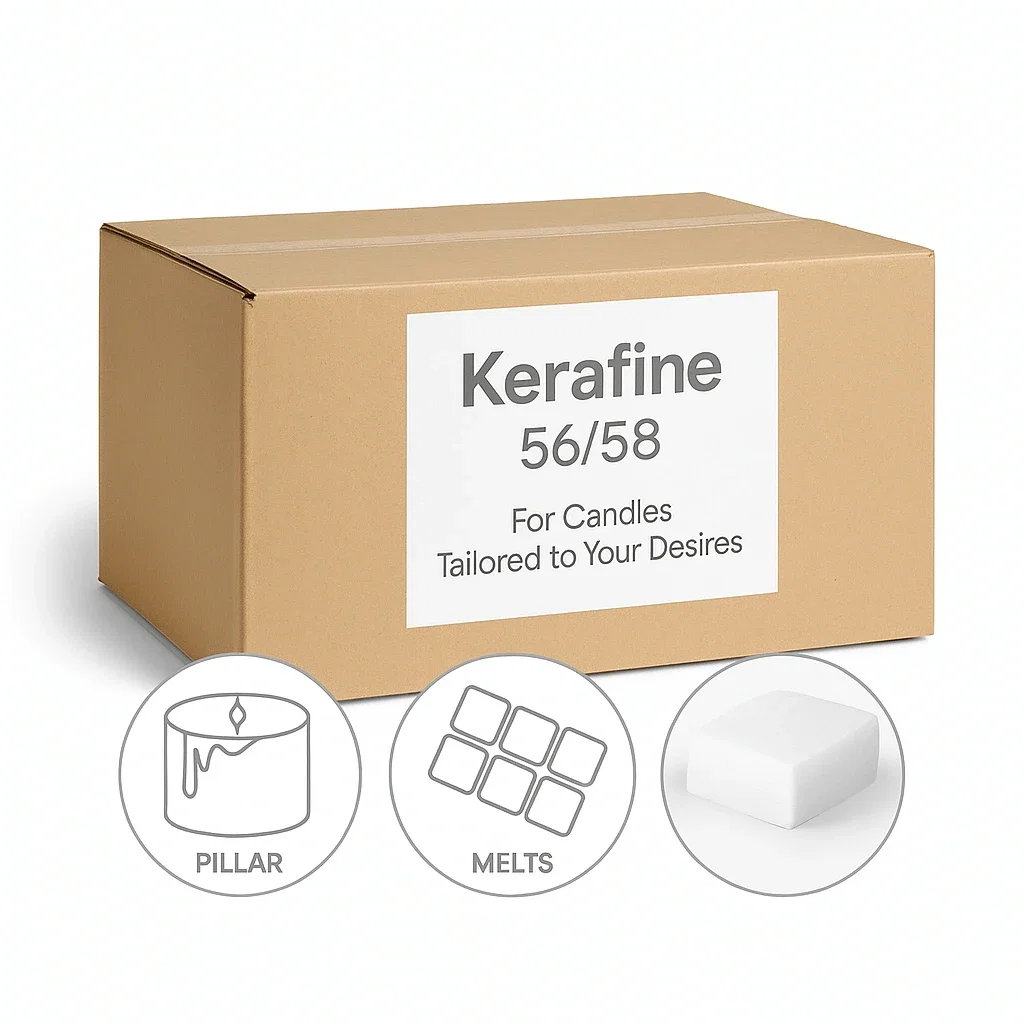
| Kerafine 58/60 paraffin | 19 dmm, GB/T 4985 | melting 58.7 °C, GB/T 2539, a different test | firm at room temperature; its figures are on different methods from the soy’s |
| KeraSoy Container 4130, soy for containers, not for moulds | 60 dmm (spec 40–80) | 39 °C (spec 34–42) | built to hold on to the wall; in a mould it does exactly that |
Two things to read in the table. First: a low penetration figure means a firmer wax, not a less brittle one; a firm wax breaks too if you pull it out warm, it just breaks more cleanly. Second: the paraffin’s figures are on Chinese standards, with a test related to the soy’s, not identical, so 19 and 18 can’t be compared like for like; how to read a data sheet together with its method is in how to read a wax technical data sheet. What isn’t in the table is how fast the piece comes out. That depends on your shape and how long you waited, and the manufacturer’s data sheets say the same thing on every page: users should carry out their own tests.
Did you pour too hot or too cold? How it shows on the piece
Poured too hot, the piece tends to crack as it cools; poured too cold, it usually comes out brittle and matt, with the details lost. Where the defect is confirms the hypothesis: a crack that starts from the centre says "too hot", tips that break at a touch say "too cold". The 4120 data sheet links pouring at 55–65 °C to better release from the mould, adds that it depends on the size and shape of the piece, and gives a piece of advice I apply to every new shape: if it doesn’t work, try higher or lower, in steps of 5–10 degrees. Not a figure; a range and a method.
Too hot shows like this: the outside, against the wall of the mould, cools fast, the inside stays warm and keeps shrinking after the shell has set. The crack starts from the centre. That’s the candle in the article on cracking, poured at 68 degrees in paraffin. Too cold shows at the tips: in the article on figurines we wrote that below 55 degrees our moulding soy came out brittle at the wings, and above 63 it lost the details. Those figures are ours, on small figurines, with a particular recipe; the data sheet’s range is wider, and your shape tells you where you sit in it.
Can fragrance and dye make the tips more fragile?
Yes, at percentages above what the data sheet calls for, and it shows first at the thinnest part of the piece. The 4120 data sheet gives fragrance between 5 and 10%, and we’ve seen what happens above 10: oil separating on the surface. With figurines, in the article above, we stopped at 4–6% for the fragrances we call heavy, the sweet, dense ones, like vanilla, cinnamon or gourmands, because the wings came out more fragile with them. Dye: the data sheet says almost any dye works with this wax; we noticed that black at high concentration gave us tips that break, and since then we shade with a little, not a lot.
The rule is the same as with temperature: you change the recipe one thing at a time. If you changed the fragrance and the wax in the same week and the piece broke, you don’t know which it was. On the 4120 page and on the additive pages this is written under "what do I do if my recipe doesn’t work", and it isn’t a formula. It’s how we work.
"Soy is softer, it breaks if I don’t mix it with paraffin": what can you choose from the shelf?
Three things, and none of them is compulsory: a firmer soy wax, a vegetable additive in flakes, or stearin. The sentence in the heading is from a customer with more than ten orders, from the July interviews, and it describes a solution that works for that customer: mixing soy with paraffin. It works, and paraffin is on our shelf; it just takes the piece out of the vegetable category, and the 4120 data sheet says in black and white that the wax "requires no additives" apart from fragrance and colour. So first the question: what exactly isn’t working for you.
When do you change the wax and when do you add something to it?
If the piece breaks on release even though you waited and the mould was warm, the problem is one of shape and recipe; if the piece comes out whole but softens in summer, bends in a tall pillar or leaves marks on release, the problem is firmness, and that’s where the additive or a firmer wax comes in. They’re two different questions, and the customer in the interview had put both into one.
On the page for the Kerawax 1150 vegetable flakes we write exactly what we use them for: in pillar recipes and large shapes, where 4120 on its own becomes too soft at high workshop temperatures. And when we raise the proportion: if the candle softens in summer or if taking it out leaves marks. It doesn’t say "if it breaks on release", and that’s not missing by accident: a piece pulled out warm breaks with any percentage of additive in it. The other route is to change the soy: EcoSoya Pillar has a penetration of 18 against 32 and sets at 51 instead of 47, and for us it comes out of the mould clean with nothing added. The price is its melting point, 55 °C, lower than the paraffin or palm wax on our shelf: in summer it wants cool storage and transport kept away from heat, otherwise the heat can affect the batch.
Vegetable flakes or stearin: what each one does and doesn’t do
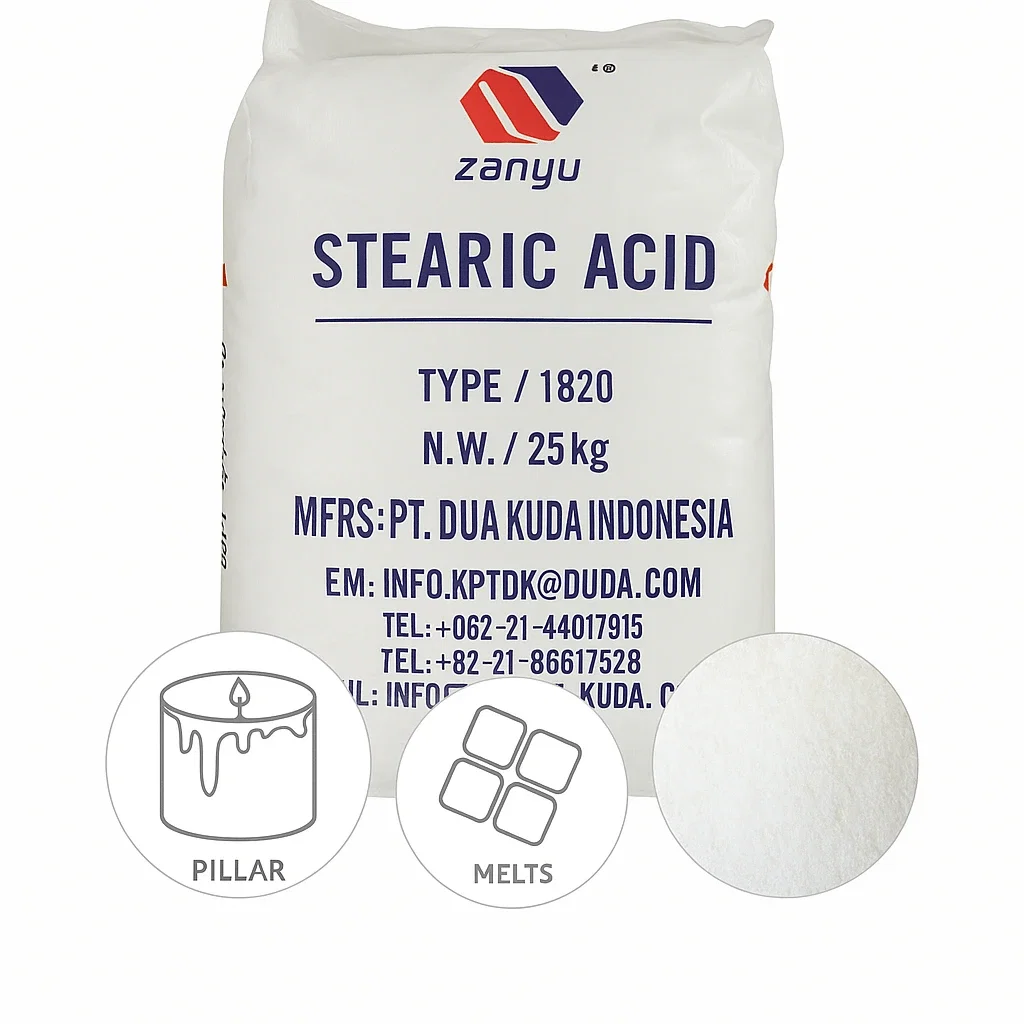
Both are vegetable, from palm: the flakes are lipids, a fat that melts at ~37 °C according to the safety data sheet; stearin is stearic acid in powder, which sets at 55.3–57.5 °C according to the distributor’s data sheet. Both go into a blend, neither is poured on its own, and the difference is what they bring to the piece and what they do to the colour. In short, with the figures from the data sheets and from their pages:
| Kerawax 1150, vegetable flakes | POFAC palm stearin | |
|---|---|---|
| What it brings to the blend | stiffens a vegetable wax that softens in summer, dries the surface, helps release from the mould | hardness, opacity, easier release from the mould, less cracking on sudden cooling |
| How much we use | 80–85% 4120 with 15–20% flakes for large pillars and complex shapes; 10–15% for small shapes; the effect shows from 15% up | the percentage is set by testing, per recipe |
| What it does to the colour | nothing noted on its page | visibly whitens and makes it opaque; the more you use, the whiter |
| Where it stops | above 25–30% the risk of brittleness and cracks rises | above 20%, sudden cooling leaves fine cracks on the surface |
The flakes on their own are a soft fat: their data sheet gives 20–30% solid fat at 20 degrees and only 2–5% at 35. They’re not what holds the candle; the blend holds it, and that’s why we call them an additive, not a wax. Stearin is at the other end: it raises the congealing point of the blend, which in soy you feel when taking it out of silicone; in our poured wedding sets, with ultra-refined paraffin and palm wax, it’s the reason the candle holds its shape in the heat.
Why an additive isn’t put in "just in case"
Because every extra percent moves the piece towards the other defect. Flakes above 25–30% bring brittleness, stearin above 20% brings cracks on sudden cooling, neither is poured on its own, and both, in a container, pull the wax away from the wall. An additive put in as a precaution into a recipe that had nothing takes you from "it breaks on release" to "it cracks as it cools", and you don’t find out why, because you changed two things.
The order we keep: first the time and the mould, then the pouring temperature, then the fragrance, and only if the piece comes out whole but soft, the additive, starting low, 10–15% for small shapes, with a test piece before the batch. On the flakes page it says "don’t change the additive proportion and the base wax at the same time"; on the stearin page, "the small test saves the big batch". They’re not slogans. They’re batches we lost so we could write them.
Where you start
With a single piece, with a notebook next to it. The manufacturer’s data sheet says it on every page, in small print: users should carry out their own tests. The rest of the chapter is what you note down so the test counts, and what you send us if it still doesn’t work.
The eight lines you note down at the first test
The wax and the batch on the bag; the mould, what it’s made of and what diameter it has; the temperature of the mould at pouring; the pouring temperature; the recipe, with the percentages; how many hours it stood; how you opened it; and where it broke, with a photo. Eight lines, two minutes, and next time you change just one thing among them.
- The wax and the batch number on the bag. Our two batches of 4120 differ by one degree in congealing point.
- The mould: silicone or tube, the shape, the largest diameter and the smallest thickness of the piece.
- The temperature of the mould at pouring: cold, at room temperature or preheated, and to what.
- The pouring temperature, read on the thermometer, not guessed.
- The recipe: the fragrance and its percentage, the dye and how much you put in, the additive and how much, if you have one.
- How many hours it stayed in the mould, and whether there was a draught, sun or a fridge during that time.
- How you took it out: opened at the edges, with air; pulled by the wick; knocked on the table.
- Where it broke, with a photo of the break and one of the mould.
If line 6 is under 12 hours for a shape with detail, or line 7 says "pulled", the next test is free: the same recipe, more time, a different way of opening. If line 5 has fragrance above the data sheet’s range, the next test is free too: less fragrance. Only if lines 1–7 are in order and the piece still comes out soft do you move on to the chapter on additives.
What you send us if it still breaks
The eight lines and the photo. On WhatsApp at +40 726 162 810 (we answer in English), with the batch number, and we’ll look together at what changed; if it’s the batch, we’ll send you its batch certificate. We won’t sell you an additive before we know whether the piece stayed in the mould long enough.
A broken piece doesn’t tell you on its own why it broke; it tells you where to start. The wax, the time, the mould, the temperature, the recipe, in that order, one at a time. For us, most often, the answer was in the first four, and it cost nothing. Waiting isn’t wasted time. It’s the part of the recipe nobody writes on the bag.