 EN
EN  Romana
 Magyar
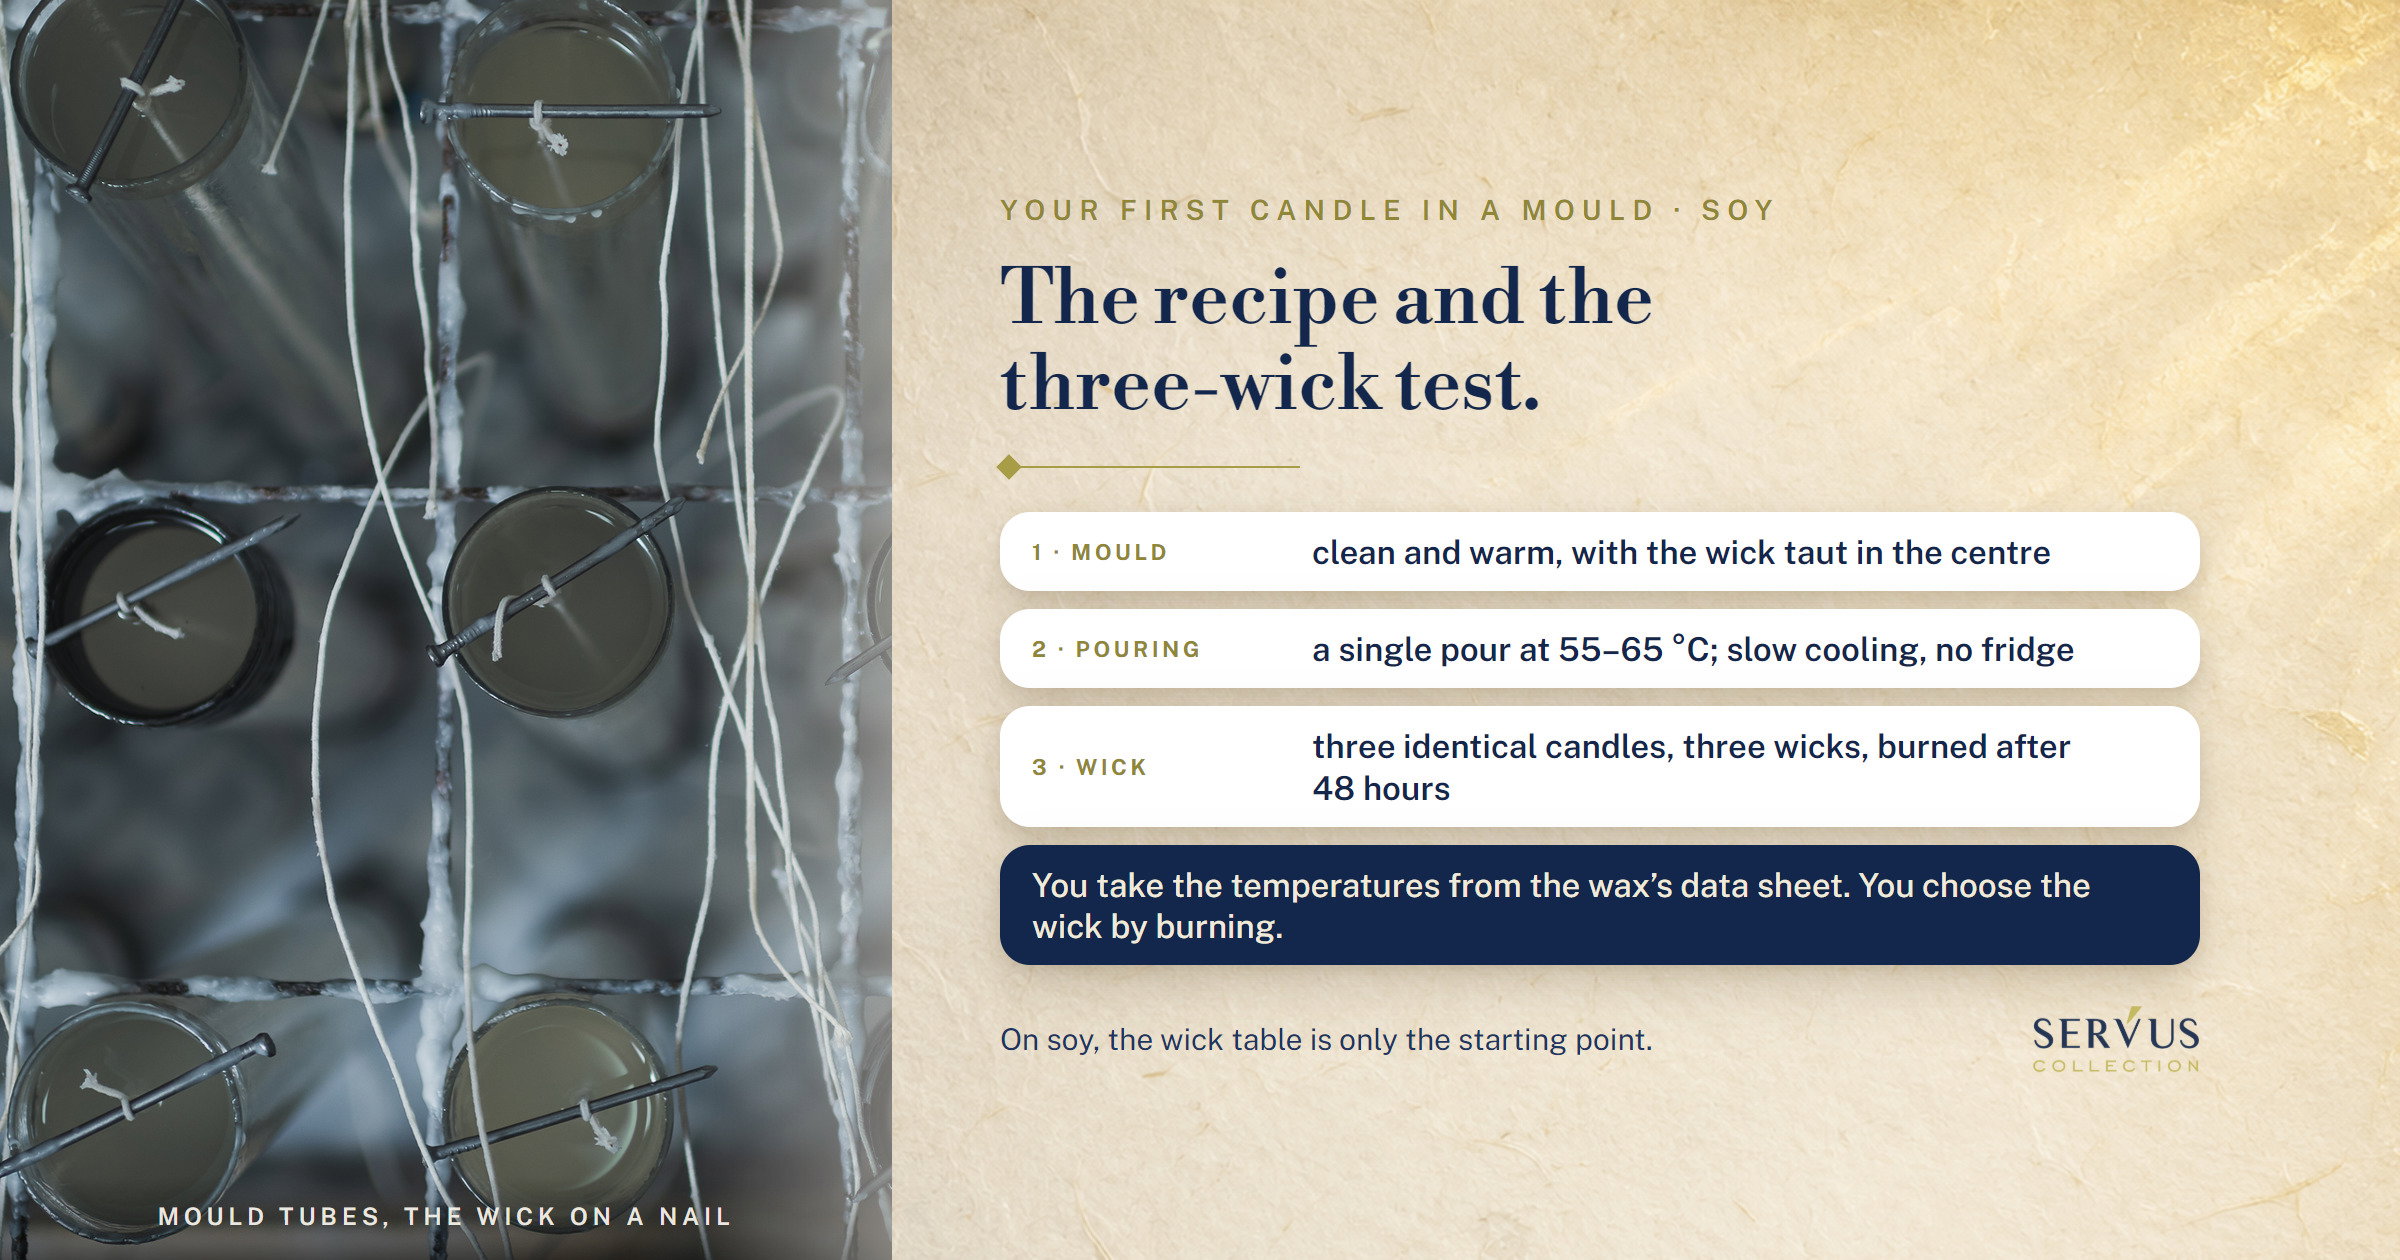
You have a mould on the table, a bag of soy wax and a wick chosen from a table, and you don’t know if it’s the right one. You have two more worries, the same ones customers with more than ten orders with us have. In our interviews in July, they put them in their own words: "I can’t get the temperature right" and "the candles break when I take them out of the mould" (translated from Romanian).
You pour your first candle in a mould in one go, into a warm mould, and let it cool without hurrying; you top it up only if the wax sinks next to the wick. You take the temperatures from the wax’s data sheet. The wick is the part you can’t learn from a table: on soy, the wick table is only the starting point. That’s why your first candle is actually three: identical, each with a different wick, poured into the same mould one after another or into three identical moulds. The wick of the one that burns cleanest is the one you carry forward, on the same mould and the same recipe.
Below: what you need and what we don’t sell; the simple recipe, step by step, on KeraSoy Pillar 4120 wax; the three-wick test and what you read after it; the recipe with fragrance and colour; the three mistakes that spoil a first candle; and where to get the materials. For a candle in a glass, the recipe is in our article on your first soy wax candle.
I’m Sînziana. We’ve been pouring candles in our workshop in Maramureș, Romania, since 2010, in mould tubes and in silicone moulds. The temperature figures below are from the wax manufacturer’s data sheet, and where it says "with us", it’s what we’ve seen in the workshop. I won’t give you a fixed wick size for soy: we don’t yet have a written test of our own with this wick on this wax, so I’ll give you the method for choosing it.
What you need for your first candle in a mould, and what we don’t sell
For your first candle in a mould you need wax for moulds, a wick for poured candles, a mould with a hole in the bottom, mould sealer, a thermometer and a stainless steel pot. We sell the wax and the wick. We don’t have moulds, mould sealer or thermometers on our shelf, so those you bring yourself.
What do you get from us and what do you bring?
The list, with what each thing is for:
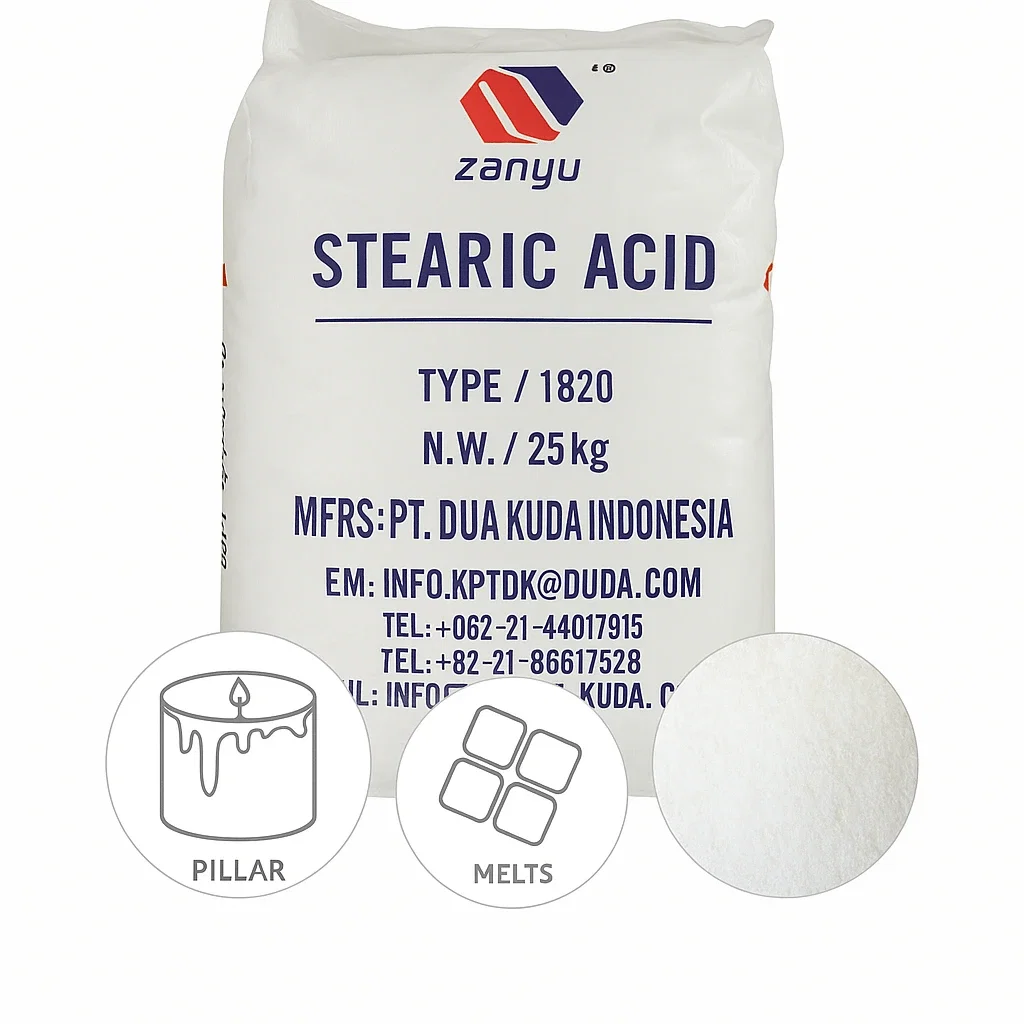
- The wax: KeraSoy Pillar 4120, from Kerax, in the UK. It’s a soy wax made for candles poured in moulds, and its data sheet says it needs no additives apart from fragrance and colour. For your first candle you pour it on its own.
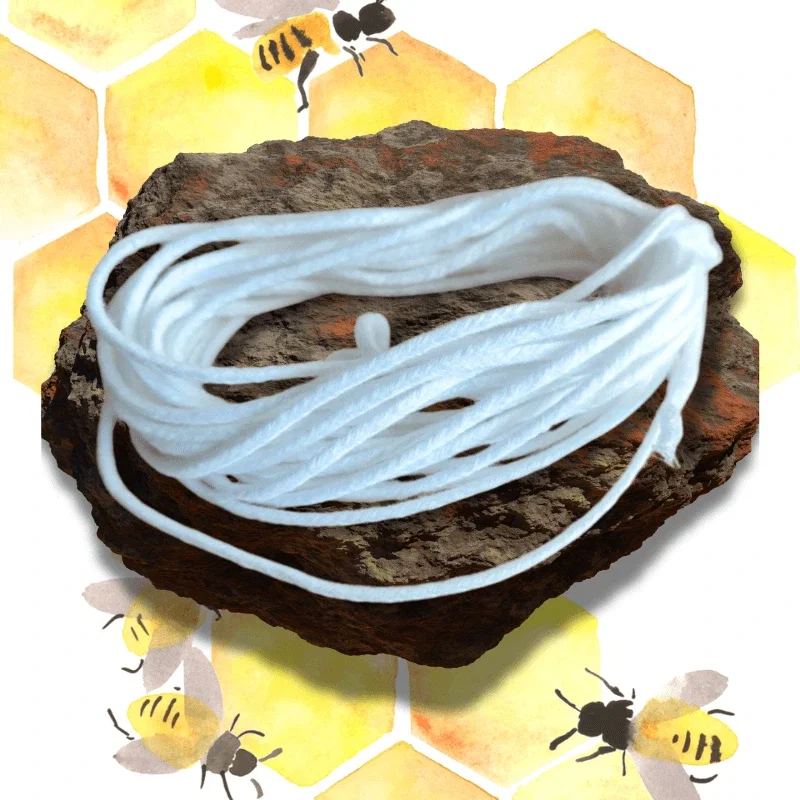
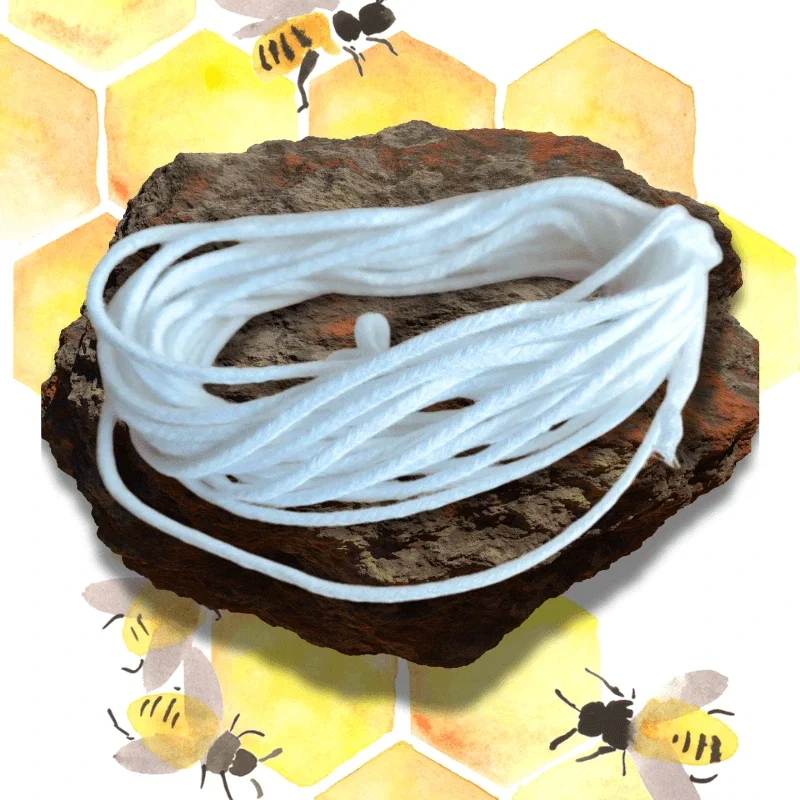
- The wick: Schreiber SKS braided cotton wick, in three sizes. Why three, you’ll find out in the test below.
- The mould: a straight shape, with a hole in the bottom for the wick to go through. You bring it yourself.
- The mould sealer: it closes the wick hole from underneath, so the wax doesn’t leak through it.
- The thermometer: the whole recipe rests on temperatures, so without one you’re guessing. The wax’s data sheet says a digital one with a probe is a safer choice than a mercury one.
- The melting pot: stainless steel. The data sheet says to avoid copper and zinc, which can speed up the discolouring of the wax.
- Something to hold the wick taut above the mould. In the workshop we tie it to a nail laid across the mouth of the tube, as in the photo at the top.
Which mould do you choose for your first candle?
A straight shape, with no fine pattern, between 5 and 7 cm in diameter and not very tall, about 8 cm. Each choice has its reason:
- Straight, because on our figurines, when something broke on removal, it was the tips and the wings, that is, the fine details.
- Between 5 and 7 cm, because on these diameters the three wicks in the test below cover the size in the table, one size smaller and one size larger.
- Low, because the wax’s data sheet says that some large candles need a top-up, and for your first candle you want as few steps as possible.
In the workshop we pour both in tubes and in silicone, and we use 4120 for the silicone figurines. You feel the difference between them when you take the candle out. The tube doesn’t open: the candle comes out because the wax shrinks as it cools and comes away from the wall. Silicone you peel back slowly at the edges, letting the air get in between the wax and the wall; pulled out by force, the piece breaks.
How much wax do you melt?
For a candle 6 cm in diameter and 8 cm high, about 200 g. The sum: the volume of the mould in cubic centimetres, multiplied by 0.9, which is what a cubic centimetre of this wax weighs according to its safety data sheet, between 0.89 and 0.92. For a round mould, the volume is 3.14 × radius × radius × height: 3.14 × 3 × 3 × 8 = 226 cm³, so around 200 g.
Melt more than that. Some stays on the sides of the pot, and with a mould you may need wax for the top-up as well. With three identical moulds, for the three-wick test you melt for all three at once. With just one, you melt from the same bag each time and pour at the same temperature.
Recipe 1: the plain candle, without fragrance or colour. This is where you learn the mould
You make the first pour with wax and wick only. You see how 4120 behaves in your mould when nothing else is involved, and the wick test keeps a single variable: the wick.
The steps, from the warm mould to the first lighting
- Clean the mould and warm it. The 4120 data sheet says moulds must be clean and at least at room temperature, and about preheating to approximately 45–50 °C it says that it "can be beneficial" and helps with removal. With us it’s a rule: on the silicone figurines, preheating removed the cooling lines from the surface.
- Pull the wick through the hole in the bottom and close the hole with mould sealer. Above the mould you pull it taut and centre it. A wick left slack can be pulled towards one wall as the wax shrinks, and the candle then burns crooked.
- Melt the wax in a water bath and stir it while it melts. The stainless steel pot stands in hot water, not directly on the heat. For our figurines we melt at 70–75 °C. The ceiling is on the data sheet: up to 90 °C the wax comes to no harm if you cool it quickly afterwards; above that, it can discolour.
- Pour at 55–65 °C, in one go. That’s the range the data sheet links to easier removal from the mould, noting that it depends on the size and shape of the candle. If it doesn’t work out, the data sheet says to try higher or lower, in steps of 5–10 degrees. Pour slowly, next to the wick, without stopping halfway.
- Top up, if the wax has sunk next to the wick. The data sheet says 4120 is made for a single pour, but that some large candles need a top-up: a little wax, slightly hotter than at pouring, added before the candle has cooled completely. On fully cold wax, the top-up bonds less well. How we top up our tall candles, with two holes next to the wick, we wrote in our article on the hole next to the wick.
- Let it cool undisturbed, at room temperature. The data sheet gives around 25 °C. Not in the fridge and not in a draught.
- Take it out when it’s cold all the way through, not just on the surface. The data sheet doesn’t give a removal time. For our silicone figurines we wait at least 12–24 hours, and for a thick candle it’s longer. If the base is still slightly warm, it’s too early. It doesn’t work the other way round: a cold base doesn’t tell you on its own that the core has cooled too, so you take the time into account as well.
- Wait 48 hours before you light it. That’s what the data sheet asks for before the burn test.
What might you see on your first candle that is normal?
Three things that can worry you on your first candle and aren’t your fault:
- It comes out of the mould easily. Shrinkage as it cools pulls it away from the walls of the mould. It would pull it away from the walls of a glass in the same way, and that’s why it isn’t poured into containers.
- The surface is matt. That’s the natural finish of the wax; we list it as such on its page.
- A small dip next to the wick. In the table in our article on the hole next to the wick, soy for moulds is at medium risk, with shallow craters, which level out. You fix it at the pouring stage, in step 5.
Why three wicks, not one?
Because the wick table was made on a different wax. We tested the ranges of the SKS wick on recipes with stearin, and on its page we write that with 100% soy wax the wick for stearin may come out too small, and that you then test one size up. The 4120 data sheet says the same thing from the wax’s side: natural waxes tend to need larger wicks than paraffin. How large your candle needs depends on your mould, and the data sheet says it plainly: every combination of size, wax, dye, fragrance and wick has to be tested.
Which wicks do you compare, by the diameter of the mould?
You start from the size in the table and put it next to the size above:
| Diameter of the candle | On stearin, from the wick table | On 4120, you compare |
|---|---|---|
| 3–5 cm | 3x8 | 3x8 and 3x10 |
| 5–7 cm | 3x10 | 3x10 and 3x12 |
| 7–9 cm | 3x12 | 3x12; we don’t have a larger one in the SKS series, so the test tells you whether it’s enough |
The diameters are a guide, as it also says on the wick’s page. Don’t jump two sizes to be safe: the wax’s data sheet says that a wick that’s too large can produce soot, can speed up the burn and can make the melted wax run down one side of the candle.
How do you do the test with three candles?
You pour three identical candles: the same shape, the same wax, the same temperature. Only the wick differs. You can pour them in two ways:
- With three identical moulds, you pour all three in the same session, from the same pot.
- With a single mould, you pour them one after another: you take the candle out once it has cooled completely, then pour the next one, from the same bag, at the same temperatures, and note down each pour. It takes longer, but the test is the same.
For a 6 cm mould, for example, you use 3x10, the size in the table, 3x8, one size smaller, and 3x12, one size larger. You don’t know in advance which one will work: the table was made on stearin, and we don’t have a written test on 4120. If 3x8 burns well, that’s your answer, even if it isn’t the size you expected. Mark on each one which wick it has.
Each candle rests for 48 hours from its own pouring. With three moulds, you light all three at once; with a single one, you light each candle 48 hours after its pouring, in the same place, so they burn in the same conditions. Before that, trim the wicks to the same length, about 6 mm, as the data sheet says: a quarter of an inch. Set them apart from each other, on a surface that won’t catch fire and that catches the wax if it runs, out of any draught, and stay next to them. Leave them for at least two hours, the benchmark we also give in the test kit, but no more than four, the limit we write on our own candles. A candle that makes a tall flame or smoke, or lets the wax run down the side, you put out straight away and note as a wick that’s too large: you don’t wait the two hours to learn what you can already see. For a candle poured in a mould we don’t have a measured duration of our own for the first burn, so at the end you don’t look at the clock, you look at the signs.
What do you read after two hours?
The data sheet tells you what to look at: how wide the pool of melted wax is, and the "mushroom" on the tip of the wick, the carbon build-up that spoils the burn and can produce soot. Alongside them, you read the flame and the wall:
- The right wick: the flame stays calm, the pool widens towards the edge and leaves a thin, unbroken wall. On a candle without a glass you want that wall: it keeps the melted wax inside.
- A wick that’s too small: the pool stays a narrow circle around the wick, with thick walls of unburnt wax, and the flame sinks into a hollow. That’s tunnelling, which the data sheet puts down to a wick that’s too small, alongside a smaller flame. Its signs, in detail, are in our article on candle tunnelling.
- A wick that’s too large: the flame is big and smokes, and the melted wax breaks through the wall and runs down one side.
You keep the wick that gives a steady flame and an even melt pool, with no tunnelling and no wax running down the side. Two hours give you a good hypothesis, not the confirmation. You confirm the chosen wick on a whole candle, burned in sessions almost to the end, as we wrote in our article on the wick that goes out. If two of them look good after the first burn, you keep burning both and see which one holds out to the bottom.
Recipe 2: with fragrance and colour, after you’ve chosen the wick
The same framework, with two additions. You start from the wick chosen on the plain wax, and once you’ve added the fragrance and the dye you repeat the test, because both make the burn harder.
How much fragrance do you add, and when?
Between 5 and 10% of the weight of the wax: that’s what 4120 is made for, according to its data sheet. You start with 5%, that is 5 g for every 100 g of melted wax. You burn the candle after 48 hours, see how strongly it comes through in the room and how it burns, and only then try a different percentage in the next batch, still between 5 and 10%. The data sheet says the size and depth of the melt pool weigh heavily on how strongly the fragrance comes through, so a weak scent can come from the wick, not from the percentage. Weigh the fragrance, don’t count it in drops. Above 10% we’ve seen oil separate on the surface.
The data sheet recommends fragrances made for natural waxes and warns that some react badly with the wax: the fragrance comes out on the surface, the surface is spoiled or the flame burns badly, especially with fragrances designed for paraffin. Dosage and safety are covered in detail in our article on fragrance oil for candles.
The moment: the data sheet says to let the wax come down towards the pouring temperature, add the fragrance and stir well, just before pouring. For our figurines we add it at 65–68 °C. With sweet, dense fragrances, like vanilla, cinnamon or gourmand scents, we stopped there at 4–6%, because the tips of the figurines were coming out more fragile.
When do you add the dye?
Before the fragrance, into fully melted wax. The data sheet gives 70 °C for liquid dye and approximately 75 °C for powder, stirred until it has all dissolved. Our standard is liquid dye, dosed in counted drops; why, we wrote in our article on liquid or solid dye. So you can repeat the colour, note down the dye, how many drops you added and into how much wax, and work from the same bottle. For your first coloured candle, add a little: dye that’s gone in can’t be taken out. You can only lighten a colour that’s too dark with uncoloured wax, and then you change both the quantity and the fragrance percentage.
Why do you repeat the test after fragrance and colour?
Because the wick chosen on plain wax may no longer be enough. On the wick’s page we write that fragrance and dye make the burn harder and that the test on the final recipe stays compulsory, and the 4120 data sheet says that the fragrance, the colour and the shape of the candle weigh heavily in choosing the wick. You repeat the test on two candles, with the chosen wick and with the size above, and wait 48 hours again from pouring to the first burn. If the chosen wick is already 3x12, the largest SKS size we have, there’s no size above it: try first with less fragrance or dye, and if it’s still not enough, write to us and we’ll look at the combination together. Don’t assume there’s a size above 3x12.
The 3 mistakes that spoil your first candle in a mould
All three come down to temperature and time, and you can fix all three without buying anything.
The cold mould
You pour into a cold mould, in a hurry or because you didn’t know about this step. The wax grips the wall suddenly, and on our silicone figurines that left cooling lines on the surface. The data sheet only says that preheating to 45–50 °C can help with removal; in this recipe we recommend it ourselves, after seeing the lines on the figurines.
The fridge
You put the mould somewhere cold so the candle comes out sooner. On the page for our wax, the fridge is listed under limitations: the thermal shock cracks the candle, leaves white marks on it and takes away its matt finish. Slow cooling, at room temperature, is part of the recipe.
Taking it out too early
The candle cools from the outside in: the shell sets first, and the core stays warm long after the surface looks done. Pulled out then, it breaks where it’s thinnest. The data sheet doesn’t give a removal time. You have our time from the figurines, 12–24 hours and longer for a thick candle, and one sign: if the base is still slightly warm, it’s too early. A cold base doesn’t prove on its own that the core has cooled too; the size and shape of the candle matter. What to check, in order, when it has broken anyway is in our article on the candle that breaks when you take it out of the mould.
Where to get the materials
We sell the wax and the wicks separately, and for the three-wick test we’ve also put them together in a kit.
The test kit: one wax and three wicks
The soy wax pillar candle test kit has 1 kg of KeraSoy Pillar 4120 and Schreiber SKS wick in 3x8, 3x10 and 3x12, 5 m of each. The kilogram is enough for about 4–5 candles of 6 × 8 cm: the three-wick test and one or two more. It has no mould, mould sealer or thermometer. Fragrance and dye are left out on purpose, so the test has a single variable.
The production kit, once you’ve chosen the wick
The natural next step after the test is more KeraSoy Pillar 4120 and the wick you’ve chosen, bought separately. The production kit is for a specific need: it has 5 kg of 4120, 1 kg of Kerawax 1150 vegetable flakes and the three wicks again, because the blend calls for a new test. The flakes don’t go into your first candle: the 4120 data sheet says the wax needs no additives. We put them into large candles and complex shapes in soy, where, in our production, they kept the candle firmer in the warmth; it’s an observation from the workshop, not a comparative measurement. The kit has one kilogram of flakes to five of wax: about 17% of the blend, that is 20% of the base wax. When you need them and when you don’t is in our article on additives. The blend is a different recipe, so the wick chosen on plain 4120 goes through the test again, on the blend. The 6 kg make about 30 candles of 6 × 8 cm.
If you’ve been through the steps and it still doesn’t work out, send us the wax and the batch number on the bag, the diameter and height of the mould, the wick, the recipe with the doses (fragrance, dye, flakes, if you added them), the pouring temperature, how long the candle stayed in the mould and, if the problem shows up when it burns, how long it burned each time it was lit. Plus two photos, one from above and one from the side. Message us on WhatsApp or call us on +40 726 162 810 (we answer in English), Monday to Friday, between 8:00 and 16:30 (Romanian time).
Your first candle in a mould isn’t the one you keep. It’s the one that tells you which wick to put in the next ones, on the same mould and the same recipe.