 EN
EN  Romana
 Magyar
Your test candle burned nicely on the first evening. After two hours the melted wax had reached the glass all the way round, the flame stood straight and the glass was only warm. You poured the batch. A week later someone writes to tell you that, after a few evenings, the flame sank into a hollow, the wick glowed faintly and went out.
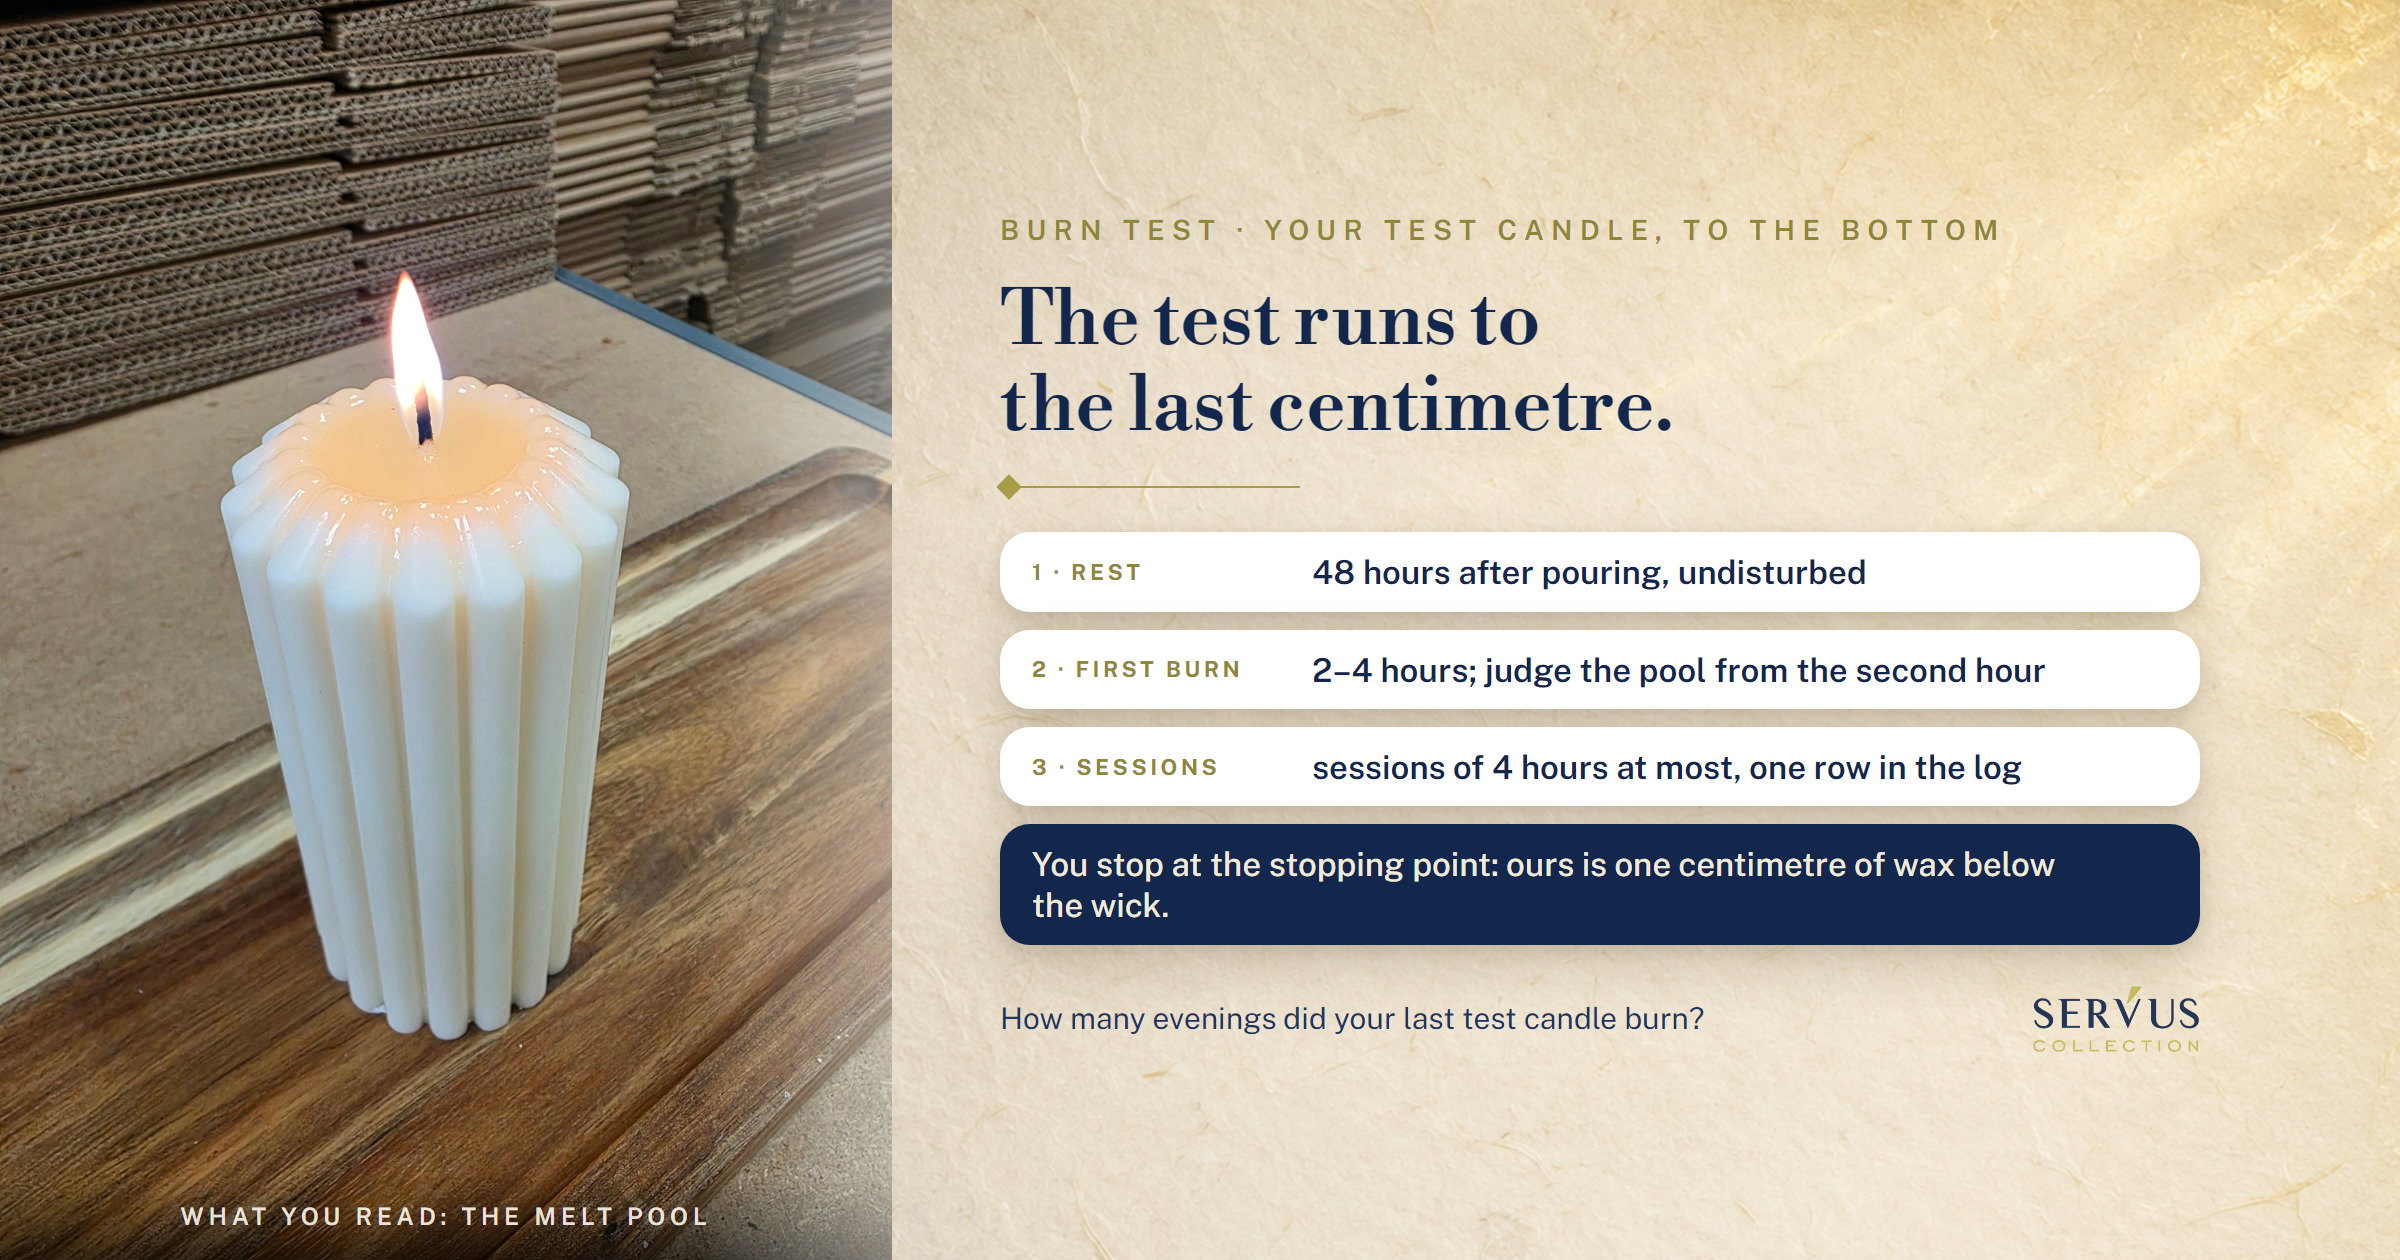
The candle burn test runs from pouring to the last centimetre of wax: 48 hours of rest, a first burn of at least two hours, then sessions of no more than four hours, all the way down. Each time you light it you write down the same few observations, and you pour the batch only once the test candle has come through every evening.
Below you’ll find what the data sheets ask for and what we add, what the short test misses, how many days to put in the calendar, what to watch evening after evening, the log to fill in and the signs by which you say the test has passed. It’s written for whoever pours: starting out, already selling or producing at volume. You need a scale, a ruler, a clock and a sheet of paper.
I’m Sînziana. In our workshop in Maramureș, Romania, we’ve been pouring candles since 2010, in moulds and in glasses, and we sell on the waxes and wicks we work with ourselves. In several articles we’ve written that a wick is confirmed on the whole candle, "burned in sessions down towards the end", and in the one on gift candles we put this stage in a single table row. Here is the whole stage, evening by evening. The facts come from the manufacturers’ data sheets and from our workshop benchmarks, already written on the wick pages and in the articles; where the benchmark is ours, I’ll tell you.
How long does a candle burn test take?
A candle burn test takes as long as the test candle needs to burn down to the last centimetre, plus the 48 hours of rest after pouring. On our 5.5 cm diameter candles, worked out from the time measured for every 5 cm, a 10 cm test candle burns for about 24 hours: with sessions of no more than four hours, that’s at least six evenings, so roughly eight days from pouring to verdict.
The length puts people off, and that’s why it gets skipped. How many of your test candles have ever made it to the bottom? The two-hour test tells you which wick to start with, and the remaining evenings tell you whether the candle keeps the promise of the first. The expensive mistake is to pour the batch the day after one good first evening: the faults that only show after a few lightings then go out to buyers, in every piece at once.
What do the wax data sheets ask for, and what do we add?
The wax manufacturers’ data sheets ask for four things: 48 hours of rest after pouring, the wick kept short, testing of every combination, and a test burn in which you look at the width of the melt pool, the liquid layer around the wick, and at the mushroom on the wick’s tip, the carbon build-up that interferes with its burn. How long one lighting lasts, how deep the pool may be and when you stop are workshop benchmarks, ours.
We’ve put them side by side, so you can see at each step who says what. The data sheets are those of the Kerax waxes we sell: KeraSoy Container 4130, EcoCoco and EcoOlive for glasses, KeraSoy Pillar 4120 for moulds.
| Step | What the wax data sheet says | What we add, from the workshop |
|---|---|---|
| rest after pouring | 48 hours, undisturbed, at room temperature, about 25 °C | on the page of the waxed wick for glasses we write 48–72 hours |
| the wick, before lighting | kept at a quarter of an inch, about 6 mm | the same length on all the test candles you compare |
| what you watch | the width of the pool and the "mushroom" on the wick’s tip; you change the wick until you have the pool you want and a "good clean flame" | in a glass, the pool reaches the walls and is no more than half a centimetre deep; in a mould, a thin, intact wall remains |
| how long one lighting lasts | the data sheet gives no duration | the first hour is the warm-up; on the first burn, at least two hours; on any burn, no more than four |
| when you stop | the data sheet doesn’t say | at the product’s stopping point; on the pages of our candles, one centimetre of wax below the wick |
| what you test | every combination of container or size, wax, dye, fragrance and wick | a single change from one test candle to the next |
The middle column is the manufacturer’s rule, and you follow it as such. The right-hand column is how we work, on our glasses and our recipes: a starting point, which you check on your own glass and recipe. Where the data sheet is silent, on duration and on the finish, our benchmark spares you inventing one on the spot, on the third evening.
What the two-hour test misses
The two-hour test misses everything that builds up from one evening to the next: the tunnel that grows from the ring left by the first burn, the wick that drowns after a few lightings and the glass that overheats towards the bottom. All three can appear on a candle that looked fine on the first evening.
Tunnelling comes from geometry. Each burn starts from the shape left by the one before: if the pool didn’t reach the walls, a ring of untouched wax stays on the edge, and if the following burns don’t melt it either, the flame sinks from one evening to the next into an ever deeper hollow. We described the mechanism in the article on the first burn. The drowning is there too: in this well the flame gets less and less air, the liquid rises around the wick, and the wick glows faintly and goes out. It’s the sentence we read in reviews, "it simply doesn’t burn any more" (translated from Romanian), and on the first evening you can’t see it.
Overheating has its own timetable. In the guide to wicks for container candles we wrote that the signs sometimes only appear in the third or fourth hour. Towards the bottom of the glass the risk grows: the pool is at its widest and the flame is closest to the glass.
Say your test candle has, at the second hour, its pool at the walls and exactly half a centimetre deep, as in our benchmark. You leave it for the third hour too and watch whether the depth grows and the glass heats up. The next evening you take the same reading, with the pool starting from the shape left by the first.
How many days do you put in the calendar before the batch?
In the calendar you put 48 hours of rest and as many evenings as the test candle needs to burn to the bottom, at no more than four hours an evening. How many evenings, you find out by weighing the test candle before the first lighting and after you put it out.
For an order of magnitude, I’ll take our figures. On our 5.5 cm diameter candles, the burn time measured in the workshop is about 12 hours for every 5 cm, as it says in our FAQ. A 10 cm test candle of the same diameter would therefore burn for about 24 hours: six evenings of four hours each, plus the two days of rest. Roughly eight days from pouring to verdict, if you light it every evening. The figure belongs to our candles; yours comes from your own test.
The calculation on your own test candle is the one from the article on candles to give as gifts: the grams burned on the first evening, divided by the hours of burning, give you how much it burns per hour, and the remaining wax, divided by that figure, tells you how many hours it has left. The remaining wax is the current weight minus the empty glass and minus the wax you leave below the stopping point. It’s an estimate: the first hour is the warm-up, so a calculation made on the first evening is approximate.
There’s also a cost, in wax. Test candles get used up and aren’t sold, which is why in the guide to which wax to choose we wrote that you should add two pieces to your first batch, for the burn test. For moulds, our test kit has 1 kg of soy wax and three wick sizes, roughly enough for 4–5 test candles of 6 × 8 cm.
How to test a candle, evening after evening
You test a candle by lighting it the way the person who receives it will: in sessions of no more than four hours, with the wick trimmed before each lighting, in the same place, down to the stopping point you write on your product. Between sessions you let it set completely, and at each lighting you look at the same things, in the same order.
The conditions stay the same from one evening to the next. If one evening it burns by the window and the next on the table in the middle of the room, the difference between the evenings comes from the draught, and the test no longer tells you anything about the wick.
What do you prepare before the first lighting?
Before the first lighting you prepare the test candles on the final recipe, the scale, the place and the sheet you take notes on. You do all of them on the evening you pour, while you still have the recipe in front of you.
- The test candles, on the final recipe. The wax, fragrance and dye you’ll pour the batch with, in the batch’s glass or mould. With moulds you first choose the wick on plain wax and redo the test after you add the fragrance and colour, as we wrote in the article on your first candle in a mould.
- One test candle for each wick you’re comparing, all from the same pour, with the wick written on the bottom of each.
- A clear glass next to the final container, if the batch goes into ceramic or coloured glass: the same inside diameter, the same recipe, the same wick. In it you see the depth of the pool, which you can’t see through ceramic; the confirmation still comes from the container you sell in, because the 4130 data sheet includes the container in the combination to be tested.
- The scale. You weigh the empty glass, with the wick stuck in, before pouring, and each test candle before the first lighting.
- 48 hours of rest, with the test candles undisturbed, at room temperature.
- The place: a surface that won’t catch fire and catches the wax if it runs, away from windows, doors and radiators, with the test candles spaced apart, where you can see them.
- The wick trimmed to the same length on all the test candles, about 6 mm.
The preparation is the part you can’t make up for afterwards. A test candle that wasn’t weighed can’t tell you how many evenings it has, one without the wick written on the bottom becomes just another candle after two evenings, and without the clear twin, the ceramic hides the depth you’re looking for. If you’re pouring at home for the first time, the kitchen rules, from pots to temperatures, are in the article on pouring safety.
What do you read on the first evening?
On the first evening you read the melt pool more than the flame: in a glass, whether it reaches the walls and how deep it is compared with our benchmark of half a centimetre, and in a mould, whether it leaves a thin, intact wall. The first hour is the warm-up, you judge from the second, and the test candle burns for at least two hours and no more than four.
We’ve written up the first evening at length in other articles: for glasses it’s the protocol in the guide to wicks for container candles, with the diagnostic table; for moulds it’s the three-wick test in the article on your first candle in a mould; and for gift glasses, the step-by-step reading in the article on gifts. From the first evening you carry three figures into the log: after how many minutes the pool reached the walls, how deep the pool is when you put it out, and how much the test candle weighs afterwards. You catch the minutes by looking from above every twenty minutes, after the first hour.
You put a test candle out on the spot, without waiting for the two hours, if the flame rises and smokes, if the melted wax runs down the side or if the glass overheats, and you note exactly what you saw. With the wick trimmed to 6 mm and away from draughts, the most likely hypothesis is a wick that’s too big: the Kerax wax data sheets say that a wick that’s too big can cause soot, can speed up the burn and can make the wax run down one side of the candle.
Say you’ve poured two glasses 5 cm across on the inside, one with an SHW 50/7.5 wick and one with 60/7.5, the size above, as in the article on gifts. At two hours, the 50/7.5 still has a ring on the edge, and the 60/7.5 has reached the walls with the pool under half a centimetre. You have a hypothesis, 60/7.5, and a test candle to take to the bottom. You let the 50/7.5 burn on, up to four hours: some recipes reach the edge more slowly. You will also find the sizes for the test in the wick calculator: it gives you the starting wick and the sizes below and above it.
What do you watch from the second evening to the bottom?
From the second evening you watch whether the test candle behaves at least as well as on the first: the ring on the edge, if there was one, melts, the flame stays steady, the mushroom doesn’t grow back, the glass doesn’t overheat. Any sign that only appears now is the information the short test couldn’t give.
- The surface, when you relight. If a ring of untouched wax has stayed on the edge, you note it and watch whether this evening melts it. Some recipes reach the edge gradually, over several burns; a ring that grows from one evening to the next, with an ever deeper hollow in the middle, is the tunnel.
- The wick. You trim the blackened tip before lighting and check it has stayed in the centre: on the page of the waxed wick for glasses we write that a wick that isn’t centred moves the burn towards the wall.
- The minutes to the walls. You write them down every evening, so you can compare them with the first.
- The flame. A flame that shrinks from one evening to the next, with the liquid rising around the wick, points to a wick that’s drowning; one that grows and smokes, to a wick that’s too big.
- The scent, in the same room, at the same point in the session. If it weakens or turns sharp, chemical, and the glass is hot, the wick is overheating the fragrance.
- The glass, at the end of each session, checked the same way every evening, at the same spot: by touch or with a thermometer, if you have one. Especially in the last evenings, when the pool is at its widest and the flame closest to the bottom.
On a good test candle, the log rows look alike from one evening to the next. What you’re looking for is the difference between evenings: minutes to the walls that go up, a flame that shrinks, a glass warmer in the last evenings than in the first. How long did your last test candle take for the pool to reach the walls? If you didn’t write it down, you have nothing to compare the third evening with.
You stop at the stopping point you write on your product, without going past it; on the pages of our candles, the limit is one centimetre of wax below the wick. Before you throw the glass away, look at the walls: the wax left stuck to the glass is the wax the tunnel never used up. If the test checks a fix, for example a bigger wick after one that kept going out, you look above all at whether it gets past the evening on which the old one went out, as we wrote in the article on the wick that goes out.
With a candle poured in a mould you read the same evenings on the wall. You want it intact all the way round, with the melted wax held inside; when the wall gives way, the wax runs onto the table, and the data sheets put wax running down one side down to a wick that’s too big.
What do you write in the burn log?
In the log you write two things: once, on the evening you pour, everything that goes into the test candle, and then, at each lighting, a row with what you saw. The first part tells you which recipe burned, the second how it burned, and together they let you pour the batch the same way as the test candle.
In July we spoke one by one with eight customers who had ordered from us between ten and 31 times. They choose their combination of wax, wick and fragrance by testing on their own, after reading the wick descriptions on our site and other sources. They do the test anyway. The log makes it reusable for the next batch. Written from memory the next day, it loses precisely the minutes to the walls and the depth of the pool.
The test sheet, filled in once
The test sheet is the test candle’s identity card: which wax, which fragrance, which colour, which wick, which container and which temperatures. You fill it in on the evening you pour and keep it next to the test candle, with its number.
| Row | What you write | Why you need it |
|---|---|---|
| the wax | the name and the batch number on the bag | a new batch of wax needs a test piece before a production run |
| the fragrance | the name, the percentage and the grams weighed | fragrance weighs in the choice of wick; drops don’t tell you how many grams you put in |
| the dye | the name, the form and the amount: for liquid, the drops from the same bottle; for solid, the grams | you only repeat the colour with the same dose on the same amount of wax |
| the additives | what and how much, if you used any | any ingredient changed is another combination |
| the wick | the type, the series, the size and the batch | so that for the batch you buy exactly the same wick |
| the glass or mould | the inside diameter, the height, the material | the wick is chosen on the inside diameter |
| the temperatures | at melting, at adding fragrance, at pouring | the batch is poured the same way as the test candle |
| the pour | the date and time | you count the 48 hours from it |
| the empty glass | the grams of the glass, with the wick stuck in, before pouring | you subtract it from every weighing after |
| the weight | the grams of the test candle before the first lighting | from it you find out how many evenings the test candle has |
You fill in the sheet once and don’t touch it again. If you want to change a row, you pour another test candle, with another sheet. A completed sheet looks like this: test candle 2, KeraSoy Container 4130 with the batch number from the bag, fragrance 5%, that is 25 g to 500 g of wax, no dye, SHW 60/7.5 wick, clear glass 5 cm across on the inside, poured on Wednesday evening.
The row you write at each lighting
At each lighting you write a single row, with the same columns: when you lit it and when you put it out, the wick length, the minutes to the walls, the depth of the pool, the flame, the mushroom, the glass, the scent and the weight afterwards. You write the row as soon as you put the test candle out.
| Column | What you write | What you look at when you compare evenings |
|---|---|---|
| evening | the number of the lighting and the date | the gaps between evenings, so you have them when you compare |
| time | when you lit it and when you put it out | the session stays under four hours |
| wick | how many millimetres after trimming | the same length as on the other test candles |
| minutes | how long the pool took to reach the walls | whether they go up from one evening to the next |
| depth | how deep the pool is at the end, read through the clear glass | against our benchmark of half a centimetre, together with the glass and the flame |
| flame | steady, flickering, shrinking, smoking | whether it shrinks with liquid around the wick, or grows and smokes |
| mushroom | none, small, large | whether it grows back within the same burn |
| glass | warm or hot, with the same method every evening | whether it’s hotter in the last evenings than in the first |
| scent | noticeable, faint, sharp | whether it weakens together with a hot glass and a deep pool |
| weight | the grams once it has set | the count of evenings left |
The columns are observations and they’re the same on all test candles, so you can put them side by side. A single row doesn’t give you the verdict; the rows in order, evening after evening, do. Separate from them are the three situations in which you put the candle out on the spot, on any evening: the flame rises and smokes, the melted wax runs down the side, the glass overheats. Under the row, in the notes, you write anything else: a draught in the room, the candle going out by itself and after how many minutes, bubbles around the wick. Small bubbles around the wick, during the burn, are normal, says the EcoOlive data sheet.
When do you say the test has passed?
The test has passed when the candle has reached the stopping point without having to be put out on the spot on any evening, and the log rows have stayed calm: the ring on the edge, if there was one, melted over the following evenings, the depth and the glass temperature didn’t rise towards the bottom, the flame didn’t smoke, and the candle didn’t go out by itself.
A sign on a single evening is an observation: you note it and watch whether it repeats. Signs that repeat or come together, such as a deep pool, a hot glass and a scent that fades, give you the direction. Then you change one thing on the next test candle and start again, with 48 hours of rest: for a ring that grows you go up one wick size, as we wrote in the article on tunnelling, and for soot and a hot glass you go down one, as we wrote in the article on soot.
You pour the batch from the sheet of the test candle that passed, row by row: the same wax, the same wick, the same weighed fragrance, the same temperatures. The log stays with you. When a buyer writes to say the candle went out, you have something to compare with.
Where to start
Start with a single test candle, on the recipe you want to sell or give away, with the sheet filled in on the evening you pour and a fixed place where it burns. Light it at 48 hours and take it down to the last centimetre, with a row in the log at each lighting.
When do you redo the test from scratch?
You redo the test from scratch when any row of the test sheet changes: another batch of wax or wick, another fragrance, another dose, another colour, another glass, another diameter. The wax data sheets ask for each combination to be tested, and on our wick pages we write that with a new batch you pour a test piece before the production run.
Your autumn batch has the same wax and the same wick as the summer one, but a new seasonal fragrance. One row on the sheet has changed, so the test is redone with the new fragrance, from the 48 hours. Why the same recipe can come out differently with a new batch of wax is in the article on the recipe that stops working with a new batch, and what you compare on the batch’s certificate of analysis, in the article on the wax technical data sheet.
What do you send us if the test doesn’t work out?
If the test doesn’t work out and the wax or the wick is from us, send us the test sheet, the log rows up to the evening the sign appeared, and two photos, one from above and one from the side. With them we see the same candle you see.
Write to us on WhatsApp or call us on +40 726 162 810 (we answer in English).
The two-hour test tells you which wick to start with. The log kept down to the last centimetre tells you what candle you’re selling.